Managing Deployments
You can manage all current and previous deployments regardless of environment, status, or branch from the dashboard. To manage a deployment from the dashboard:
- Ensure your team is selected from the scope selector
- Select your project
- From the top navigation, select the Deployments tab
- You can then filter, redeploy, or manually promote your deployment to production
Vercel CLI and Vercel REST API also provide alternative ways to manage your deployments. You can find a full list of the commands available in the Vercel CLI Reference, along with the deployments section of the Vercel REST API Reference.
You can filter your deployments based on branch, status, and deployment environment:
- Select your project from the dashboard
- From the top navigation, select the Deployments tab
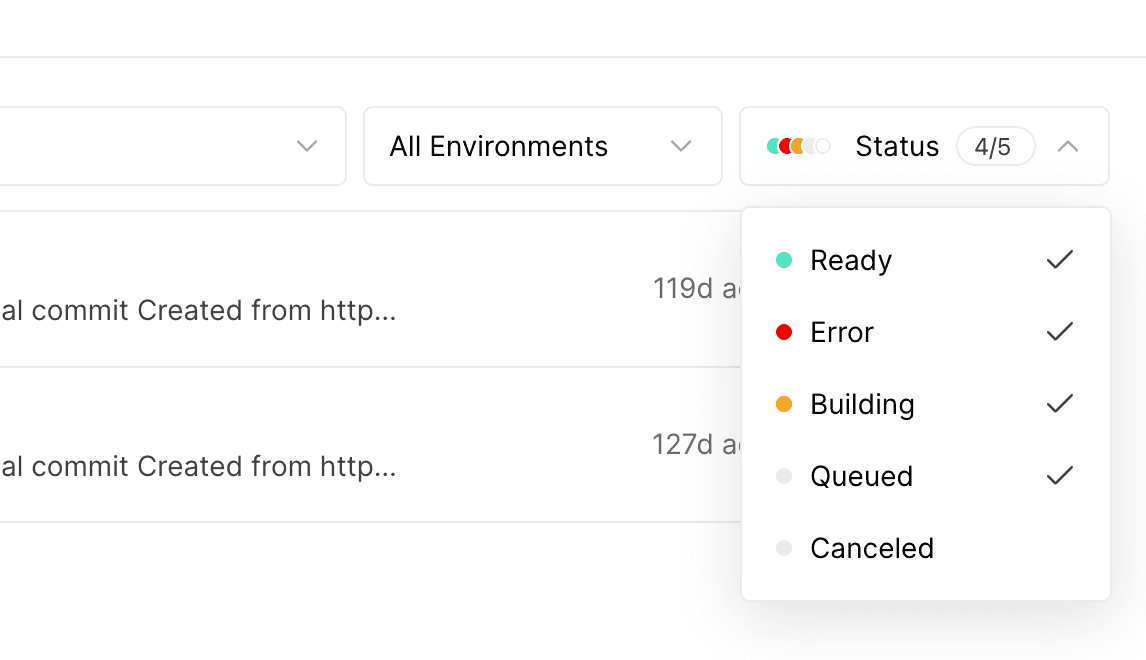
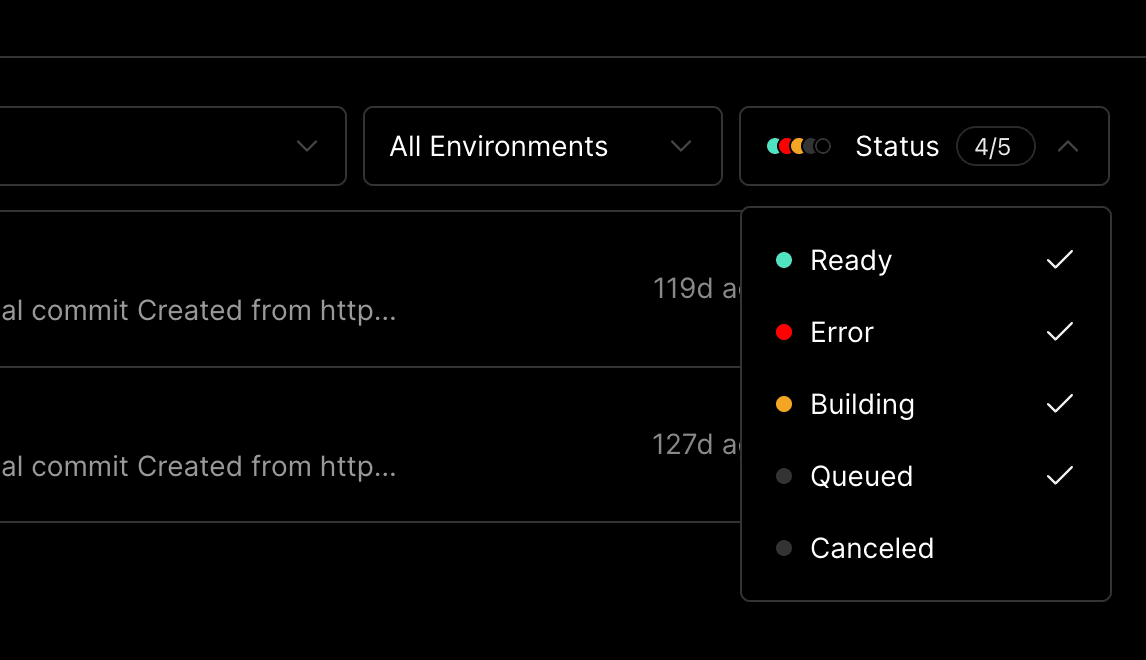
- Use the dropdowns to search by Branch, Date Range, All Environments, or Status


The Deployments tab with the status filter dropdown open.
If you no longer need a specific deployment of your app, you can delete it from your project with the following steps:
- From your dashboard, select the project where the specific deployment is located.
- Click on the Deployments tab.
- From the list of deployments, click on the deployment that you want to delete
- Click the ... button.
- From the context menu, select Delete.
To create an Authorization Bearer token, see the access token section of the API documentation.
curl --request DELETE \
  --url https://api.vercel.com/v13/deployments/<deployment-id> \
  --header "Authorization: Bearer $VERCEL_TOKEN"
To create an Authorization Bearer token, see the access token section of the API documentation.
import { Vercel } from '@vercel/sdk';

const vercel = new Vercel({
  bearerToken: '<YOUR_BEARER_TOKEN_HERE>',
});

async function run() {
  const result = await vercel.deployments.deleteDeployment({
    id: 'deployment-id',
  });

  // Handle the result
  console.log(result);
}

run();
Deleting a deployment prevents you from using instant rollback on it and might break the links used in integrations, such as the ones in the pull requests of your Git provider.
You can also set a deployment retention policy to automatically delete deployments after a certain period.
You can set the retention policy for your deployments to automatically delete them after a certain period. To learn more, see Deployment Retention.
Vercel provides a way to protect your deployments from being accessed by unauthorized users. You can use Vercel Authentication to restrict access to your deployments to only Vercel users with suitable access rights. You can also configure which environments are protected.
In addition, Enterprise teams can use Trusted IPs and Password Protection to further secure their deployments. Password protection is also available as a paid add-on for Pro teams.
To learn more, see Deployment Protection.
Vercel automatically redeploys your application when you make any commits. However, there can be situations such as bad cached data where you need to Redeploy your application to fix issues manually. To do so:
- Ensure your team is selected from the scope selector
- Select your project
- From the top navigation, select the Deployments tab
- Locate the deployment you wish to deploy. You may need to use the filter options
- Click the ellipsis icon () and select Redeploy
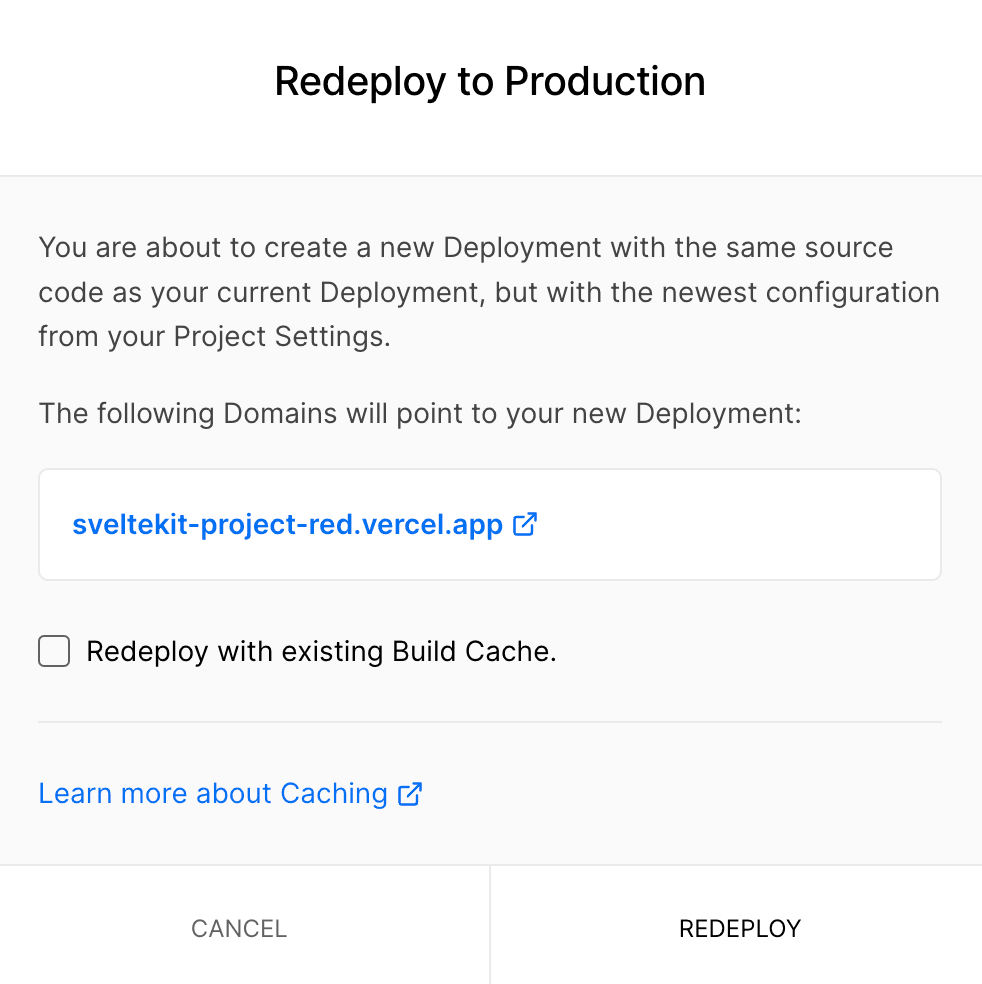
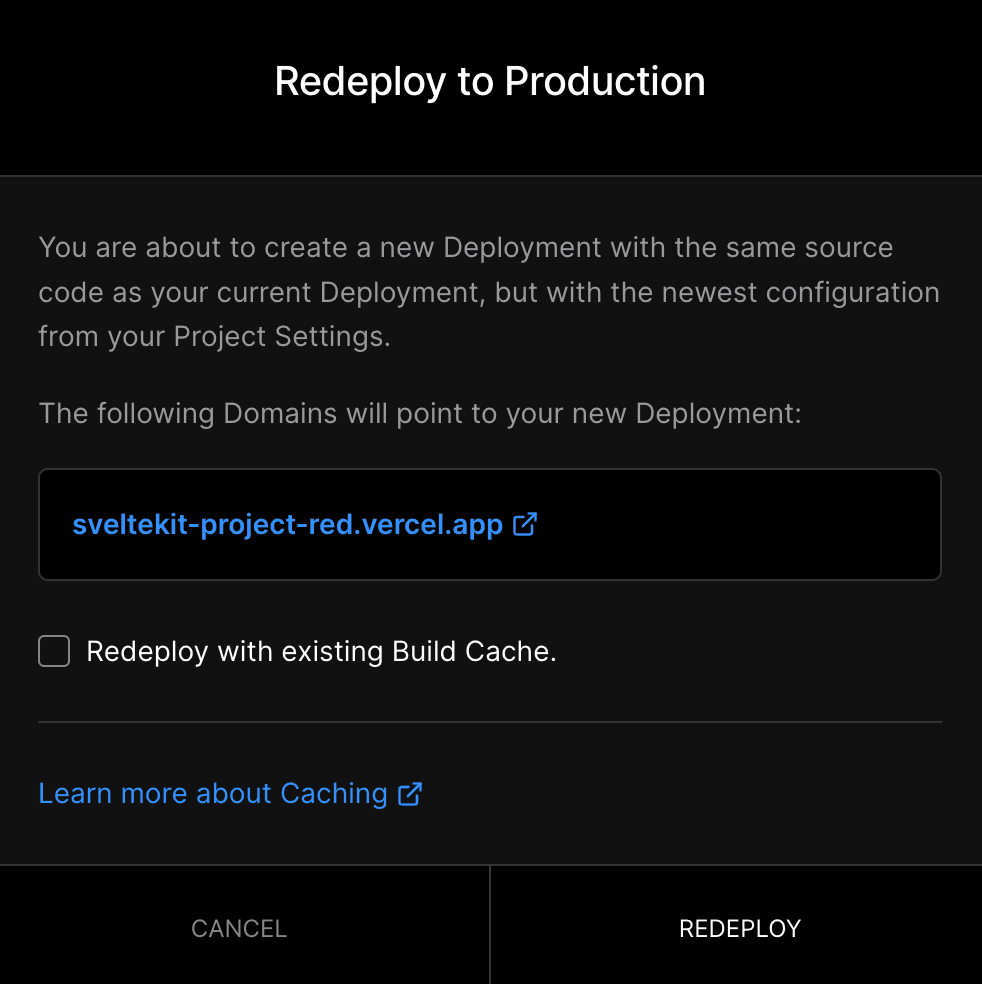
- In the Redeploy to Production window, decide if you want to use the existing Build Cache, and then select Redeploy


Other than your custom needs to redeploy, it's always recommended to redeploy your application to Vercel for the following use cases:
- Enabling the Analytics
- Changing the Environment Variables
- Outage Resiliency
- Making changes to Build & Development Settings
- Redirect or Rewrites from a subdomain to a subpath
Was this helpful?

