Vercel and Contentful Integration
Contentful is a headless CMS that allows you to separate the content management and presentation layers of your web application. This integration allows you to deploy your content from Contentful to Vercel.
This quickstart guide uses the Vercel Contentful integration to allow streamlined access between your Contentful content and Vercel deployment. When you use the template, you'll be automatically prompted to install the Integration during deployment.
If you already have a Vercel deployment and a Contentful account, you should install the Contentful Integration to connect your Space to your Vercel project. To finish, the important parts that you need to know from the QuickStart are:
- Getting your Space ID and Content Management API Token
- Importing your content model
- Adding your Contentful environment variables to your Vercel project
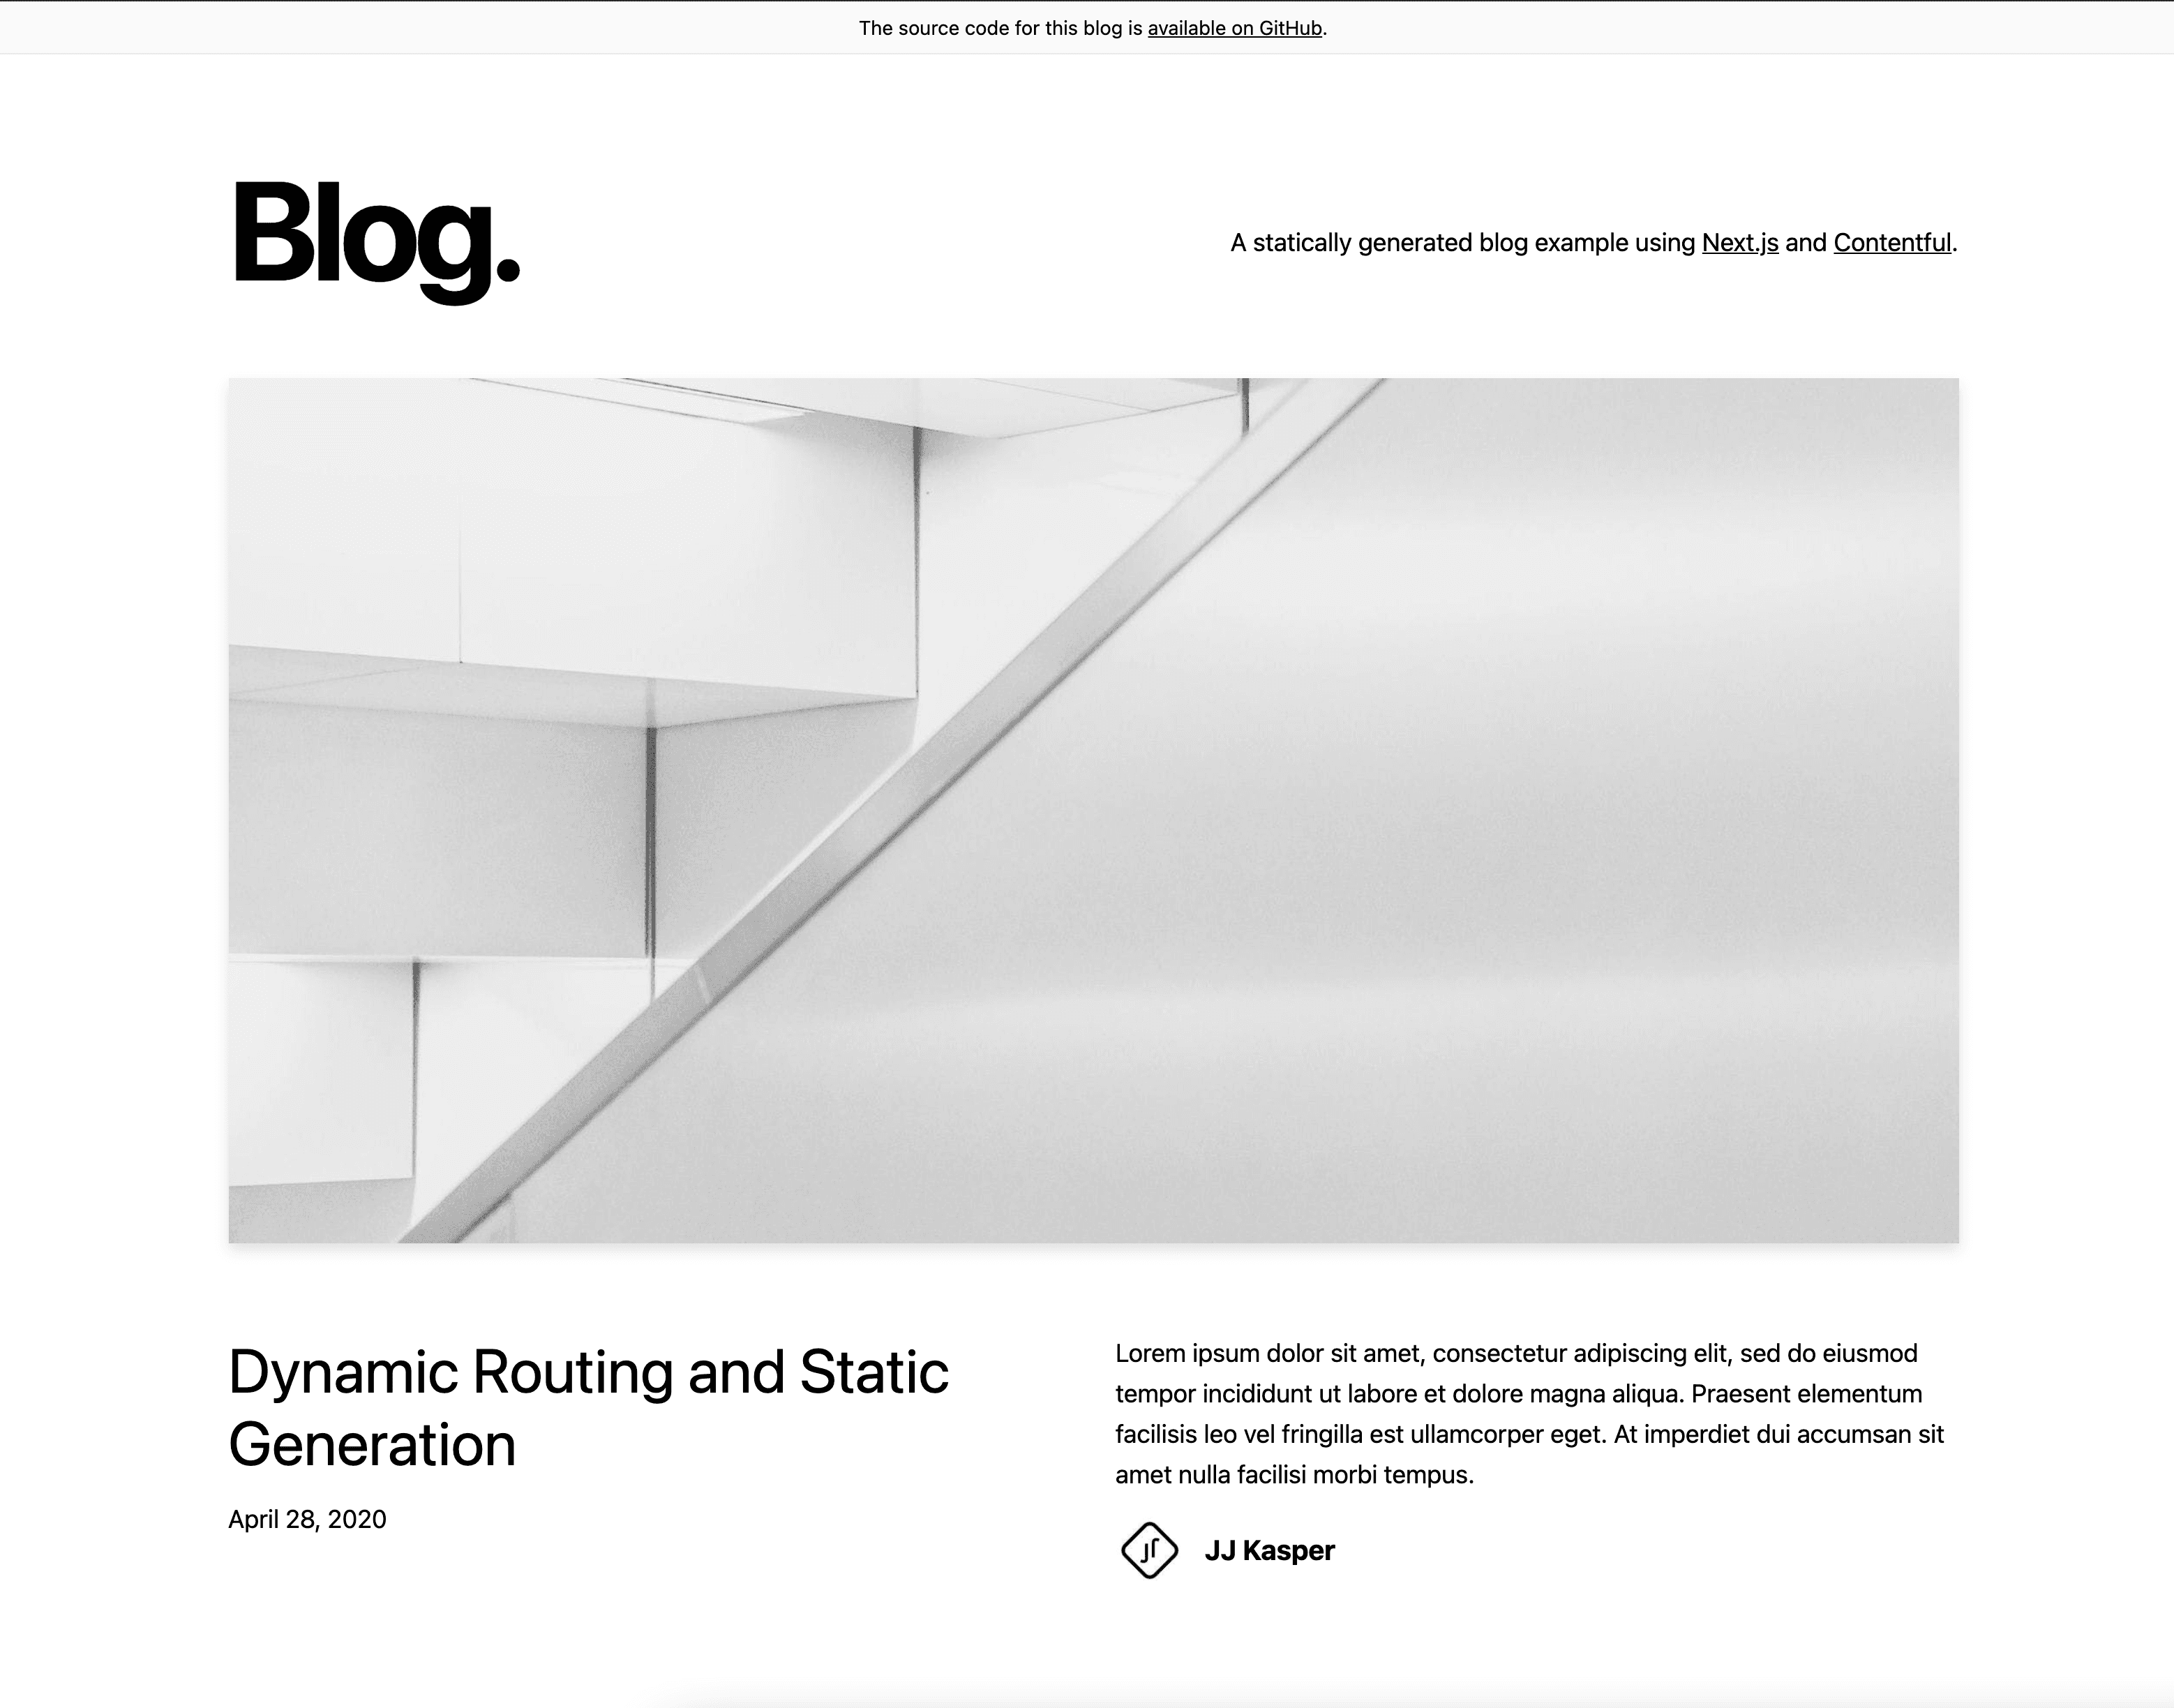
To help you get started, we built a template using Next.js, Contentful, and Tailwind CSS.
You can either deploy the template above to Vercel with one click, or use the steps below to clone it to your machine and deploy it locally:
You can clone the repo using the following command:
Terminalpnpm create next-app --example cms-contentfulNext, create a new account on Contentful and make an empty "space". This is where your content lives. We also created a sample content model to help you get started quickly.
If you have an existing account and space, you can use it with the rest of these steps.
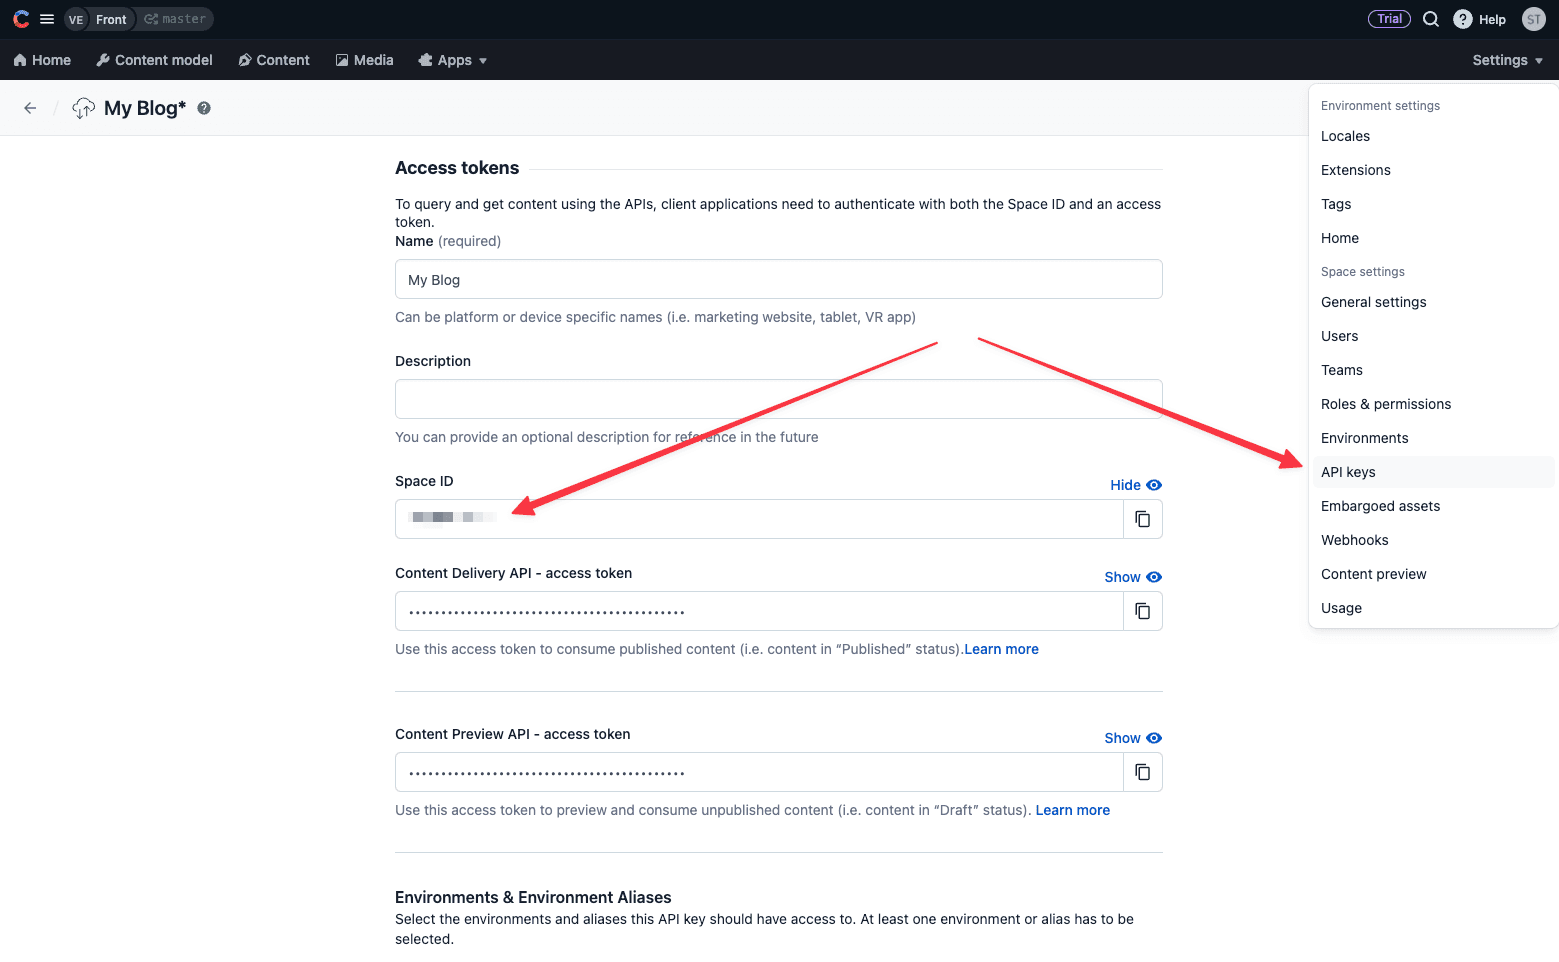
The Vercel integration uses your Contentful Space ID to communicate with Contentful. To find this, navigate to your Contentful dashboard and select Settings > API Keys. Click on Add API key and you will see your Space ID in the next screen.
You will also need to create a Content Management API token for Vercel to communicate back and forth with the Contentful API. You can get that by going to Settings > API Keys > Content management tokens.
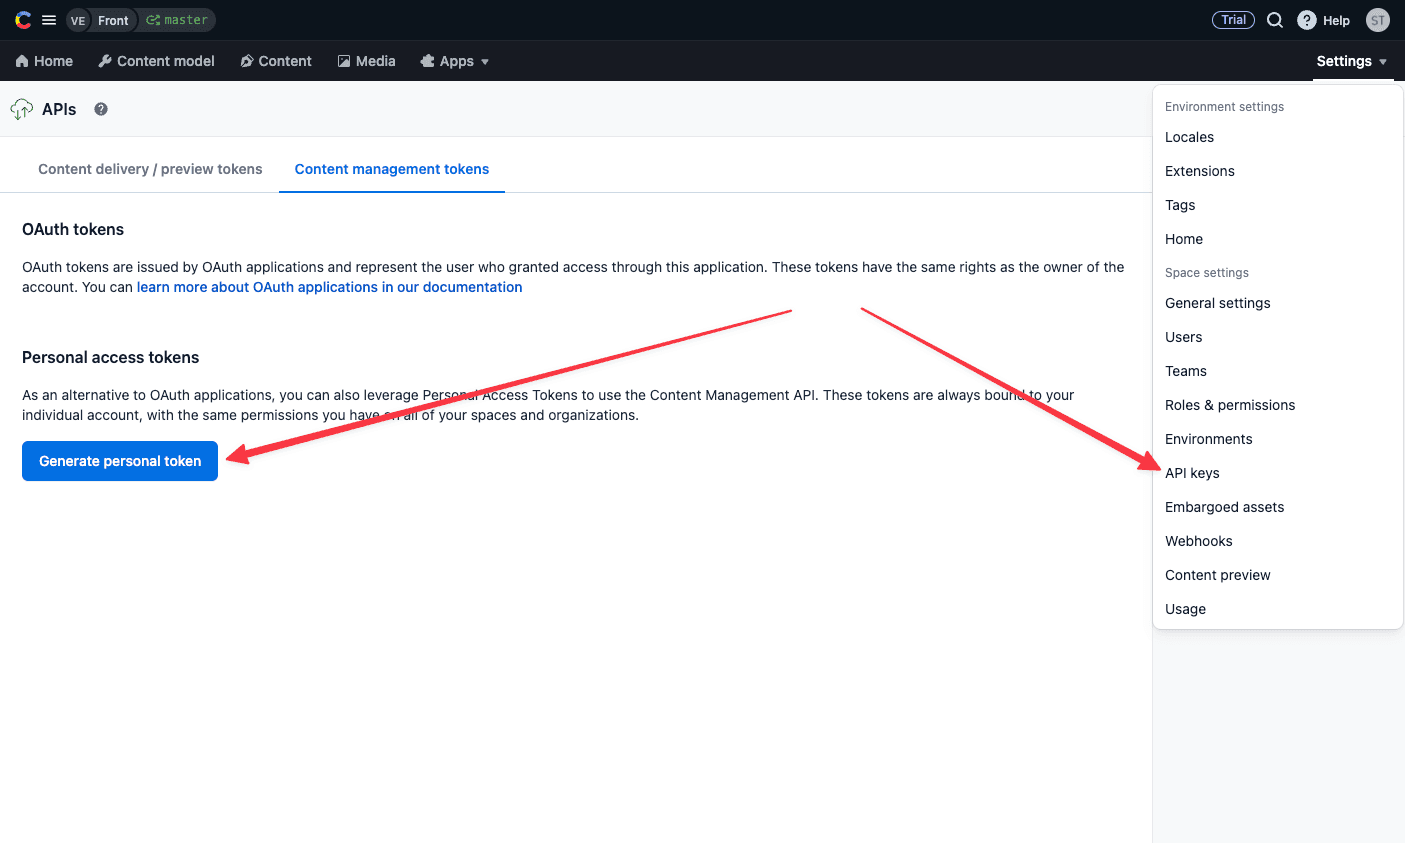
Click on Generate personal token and a modal will pop up. Give your token a name and click on Generate.
Avoid sharing this token because it allows both read and write access to your Contentful space. Once the token is generated copy the key and save remotely as it will not be accessible later on. If lost, a new one must be created.
Use your Space ID and Content Management Token in the command below to import the pre-made content model into your space using our setup Node.js script. You can do that by running the following command:
Terminalnpx cross-env CONTENTFUL_SPACE_ID=YOUR_SPACE_ID CONTENTFUL_MANAGEMENT_TOKEN=XXX pnpm run setup
Now that you've created your space in Contentful, add some content!
You'll notice the new author and post entries for the example we've provided. Publish each entry to make this fully live.
Now, let's save the Space ID and token from earlier to add as Environment Variables for running locally. Create a new
.env.localfile in your application:terminalCONTENTFUL_SPACE_ID='your-space-id' CONTENTFUL_ACCESS_TOKEN='your-content-api-token'You can now start your application with the following comment:
Terminalpnpm install && pnpm run devYour project should now be running on
http://localhost:3000.
Next.js is designed to integrate with any data source of your choice, including Content Management Systems. Contentful provides a helpful GraphQL API, which you can both query and mutate data from. This allows you to decouple your content from your frontend. For example:
async function fetchGraphQL(query) {
  return fetch(
    `https://graphql.contentful.com/content/v1/repos/${process.env.CONTENTFUL_SPACE_ID}`,
    {
      method: 'POST',
      headers: {
        'Content-Type': 'application/json',
        Authorization: `Bearer ${process.env.CONTENTFUL_ACCESS_TOKEN}`,
      },
      body: JSON.stringify({ query }),
    },
  ).then((response) => response.json());
}
This code allows you to fetch data on the server from your Contentful instance. Each space inside Contentful has its own ID (e.g. CONTENTFUL_SPACE_ID) which you can add as an Environment Variable inside your Next.js application.
This allows you to use secure values you don't want to commit to git, which are only evaluated on the server (e.g. CONTENTFUL_ACCESS_TOKEN).
Now that you have your application wired up to Contentful, you can deploy it to Vercel to get your site online. You can either use the Vercel CLI or the Git integrations to deploy your code. Let’s use the Git integration.
Push your code to your git repository (e.g. GitHub, GitLab, or BitBucket).
terminalgit init git add . git commit -m "Initial commit" git remote add origin git push -u origin masterLog in to your Vercel account (or create one) and import your project into Vercel using the import flow.
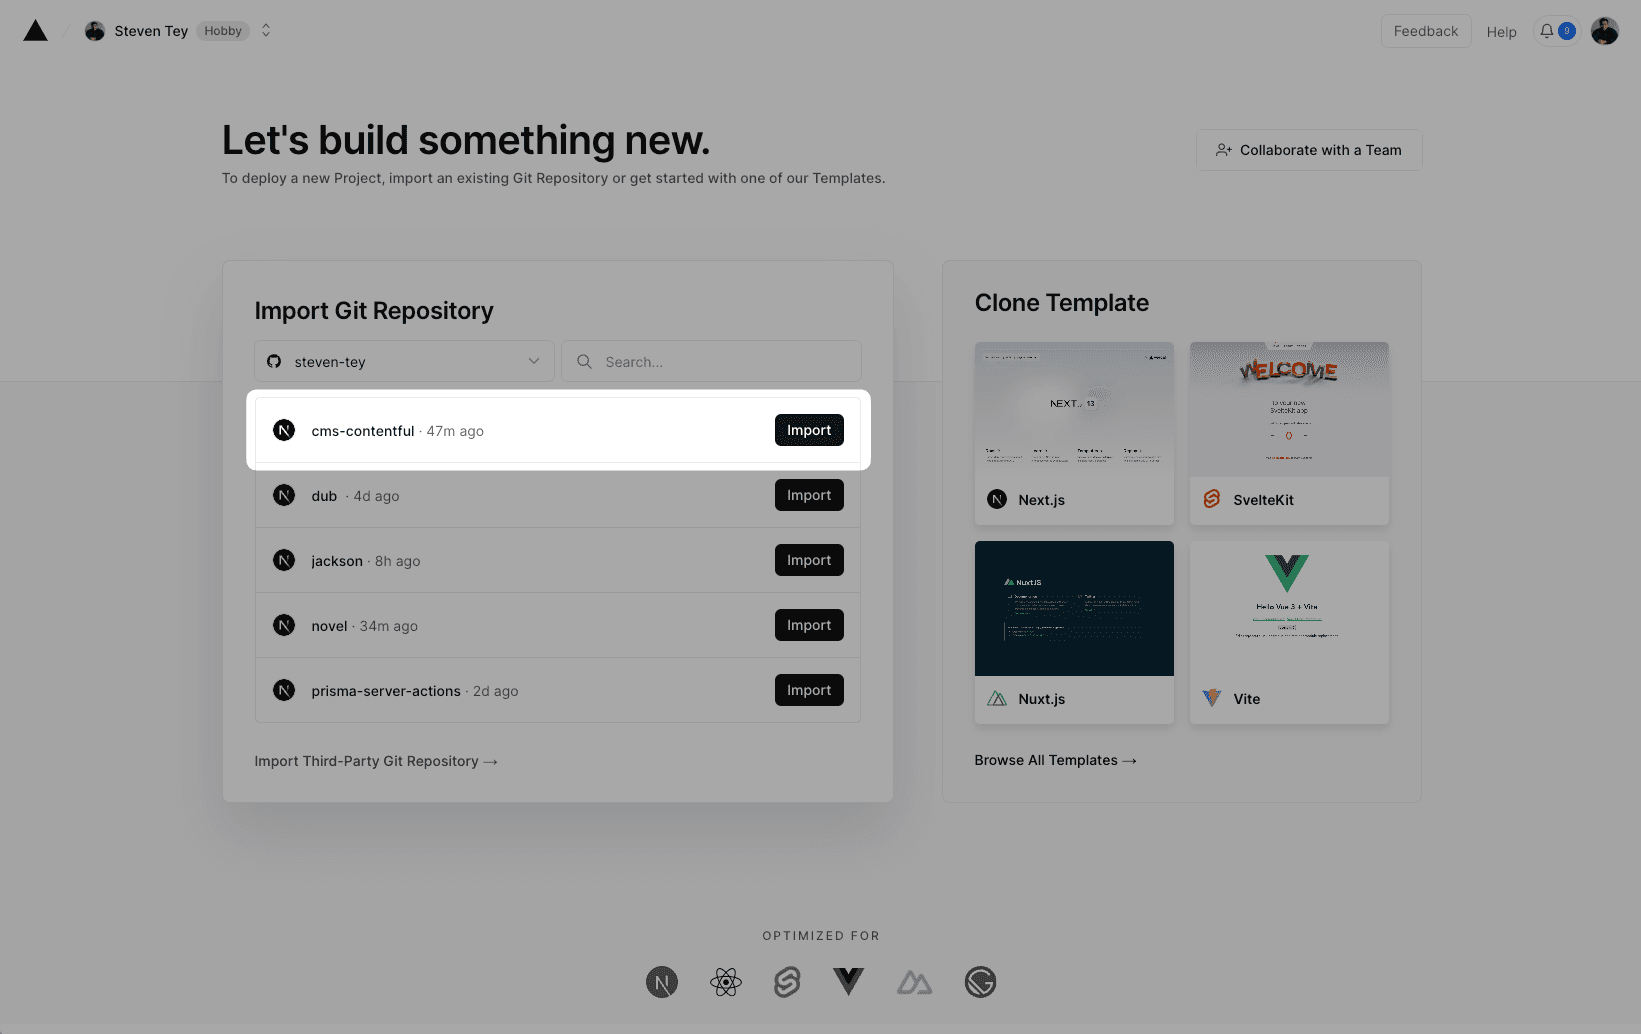
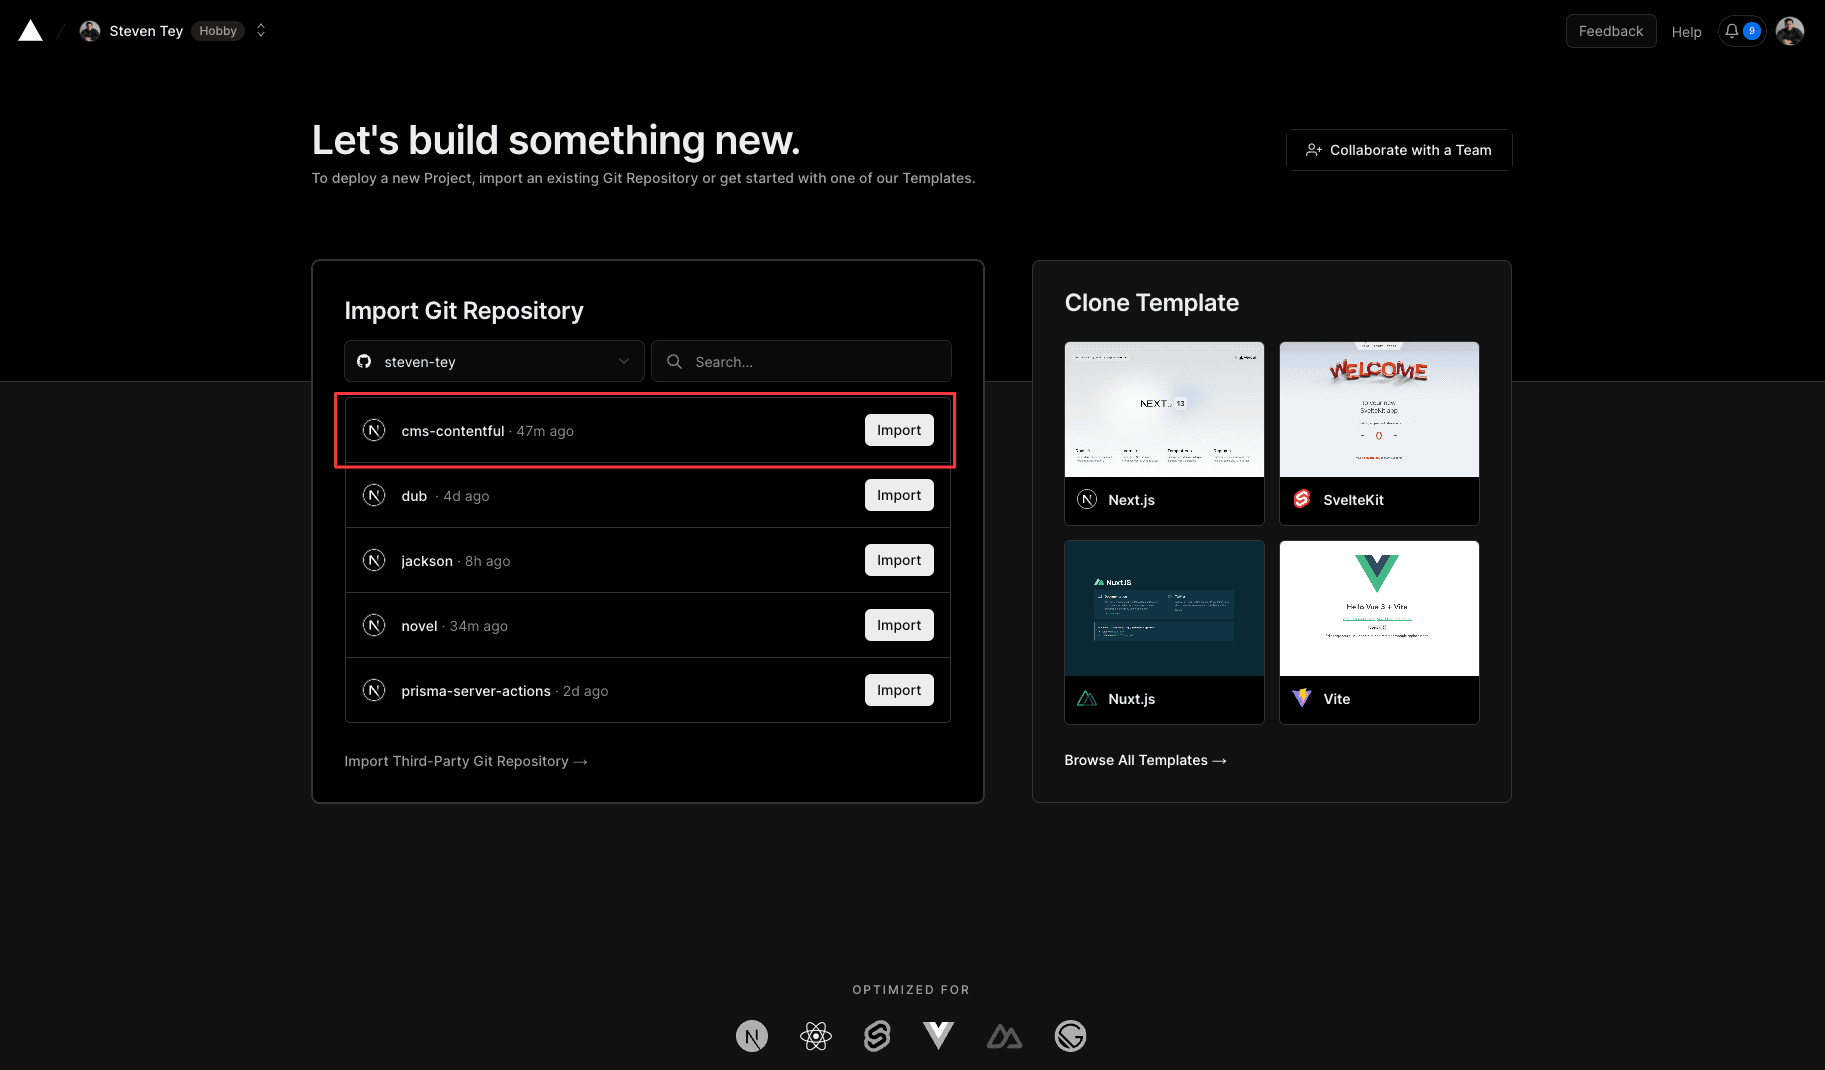
Vercel will detect that you are using Next.js and will enable the correct settings for your deployment.
Add the
CONTENTFUL_SPACE_IDandCONTENTFUL_ACCESS_TOKENEnvironment Variables from your.env.localfile by copying and pasting it under the Environment Variables section.terminalCONTENTFUL_SPACE_ID='your-space-id' CONTENTFUL_ACCESS_TOKEN='your-content-api-token'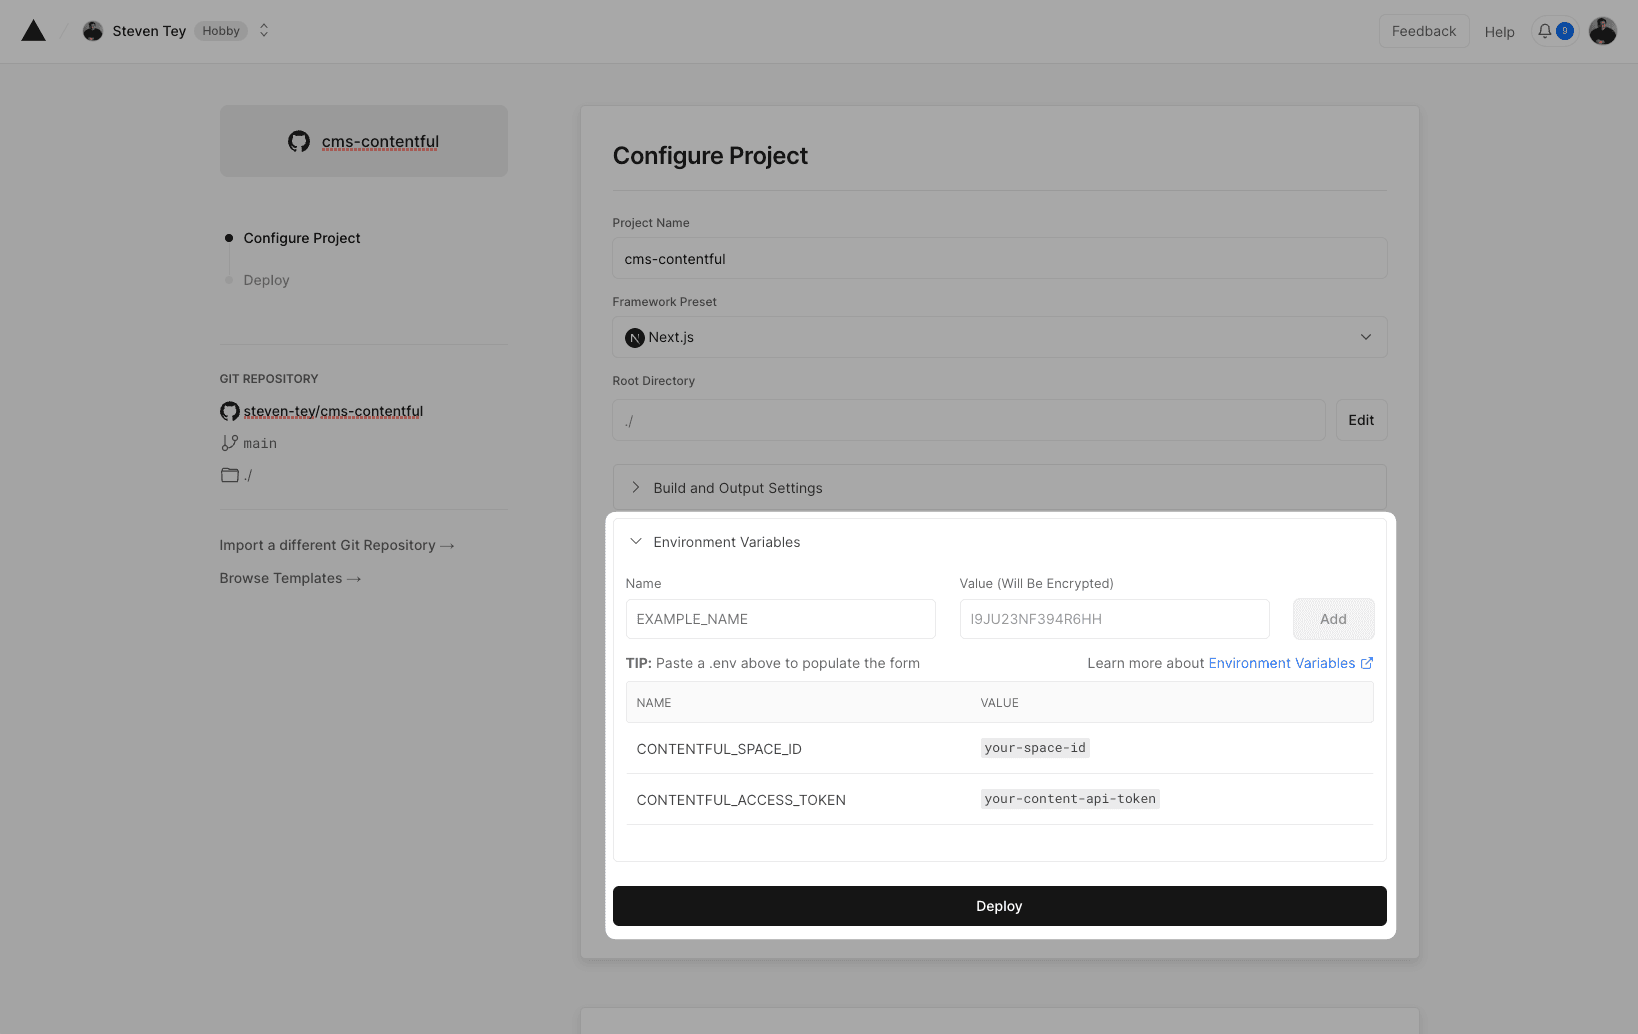
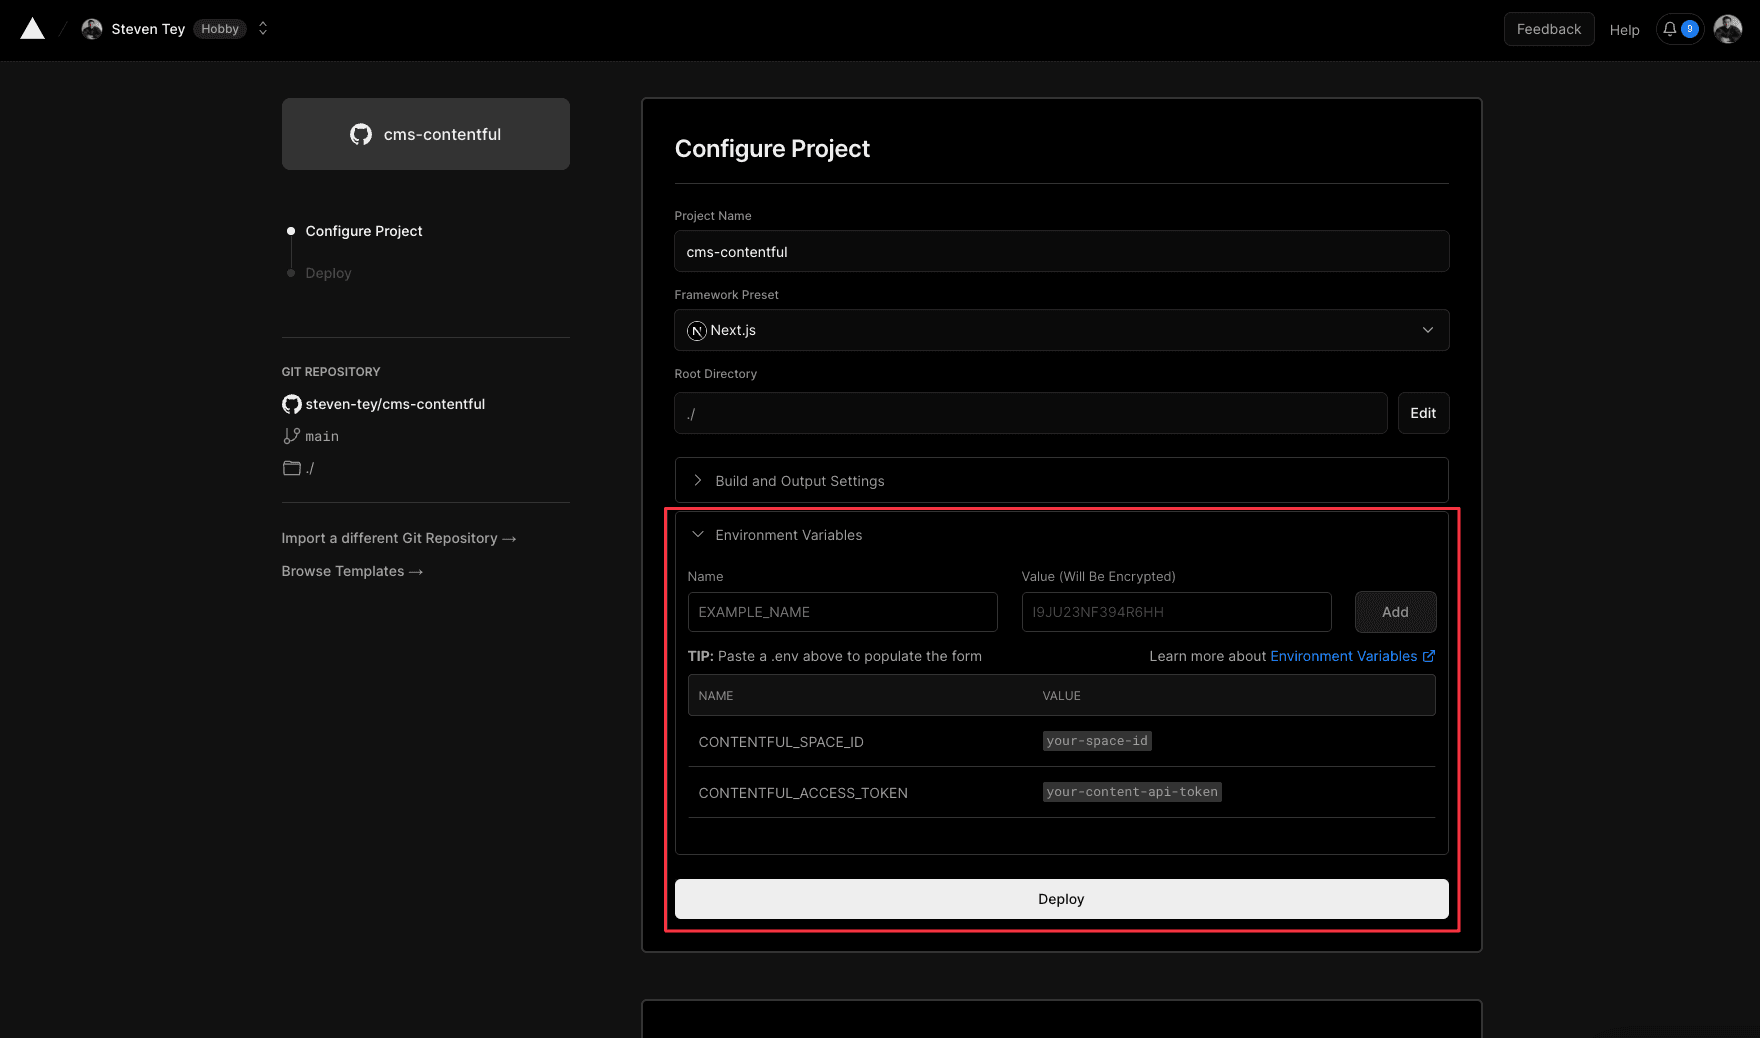
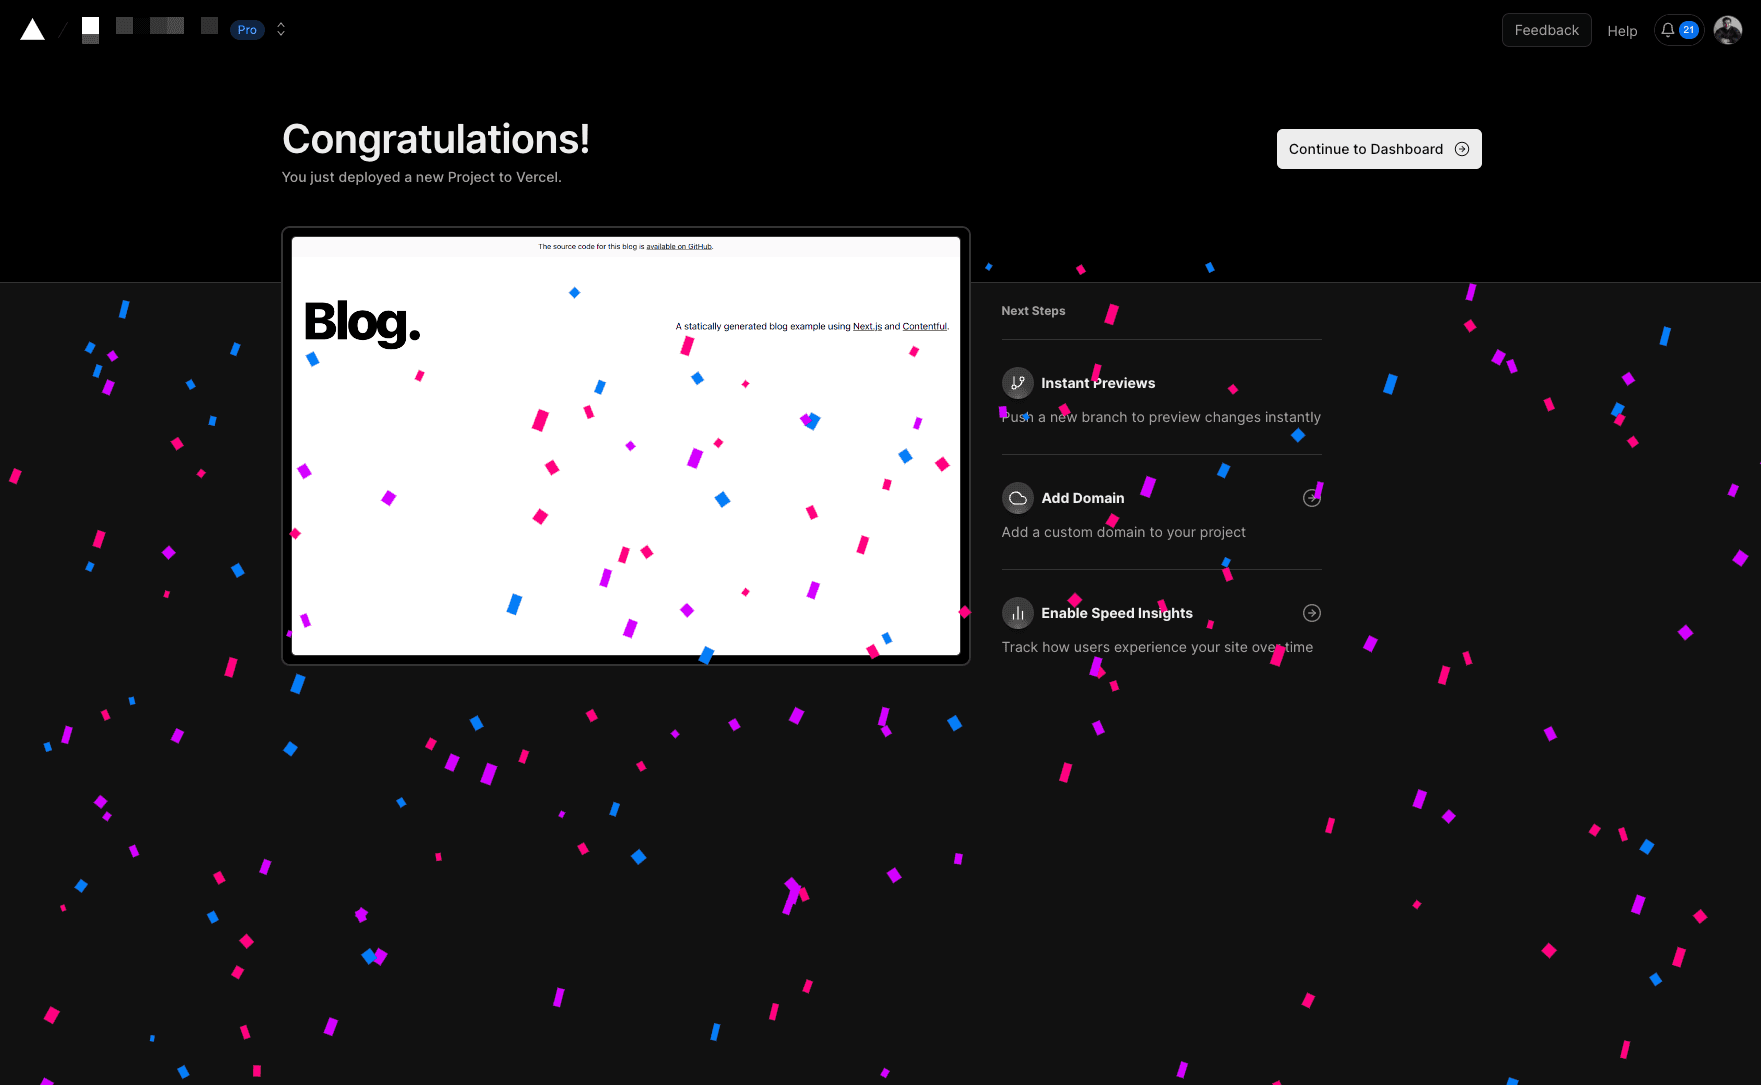
Click "Deploy" and your application will be live on Vercel!
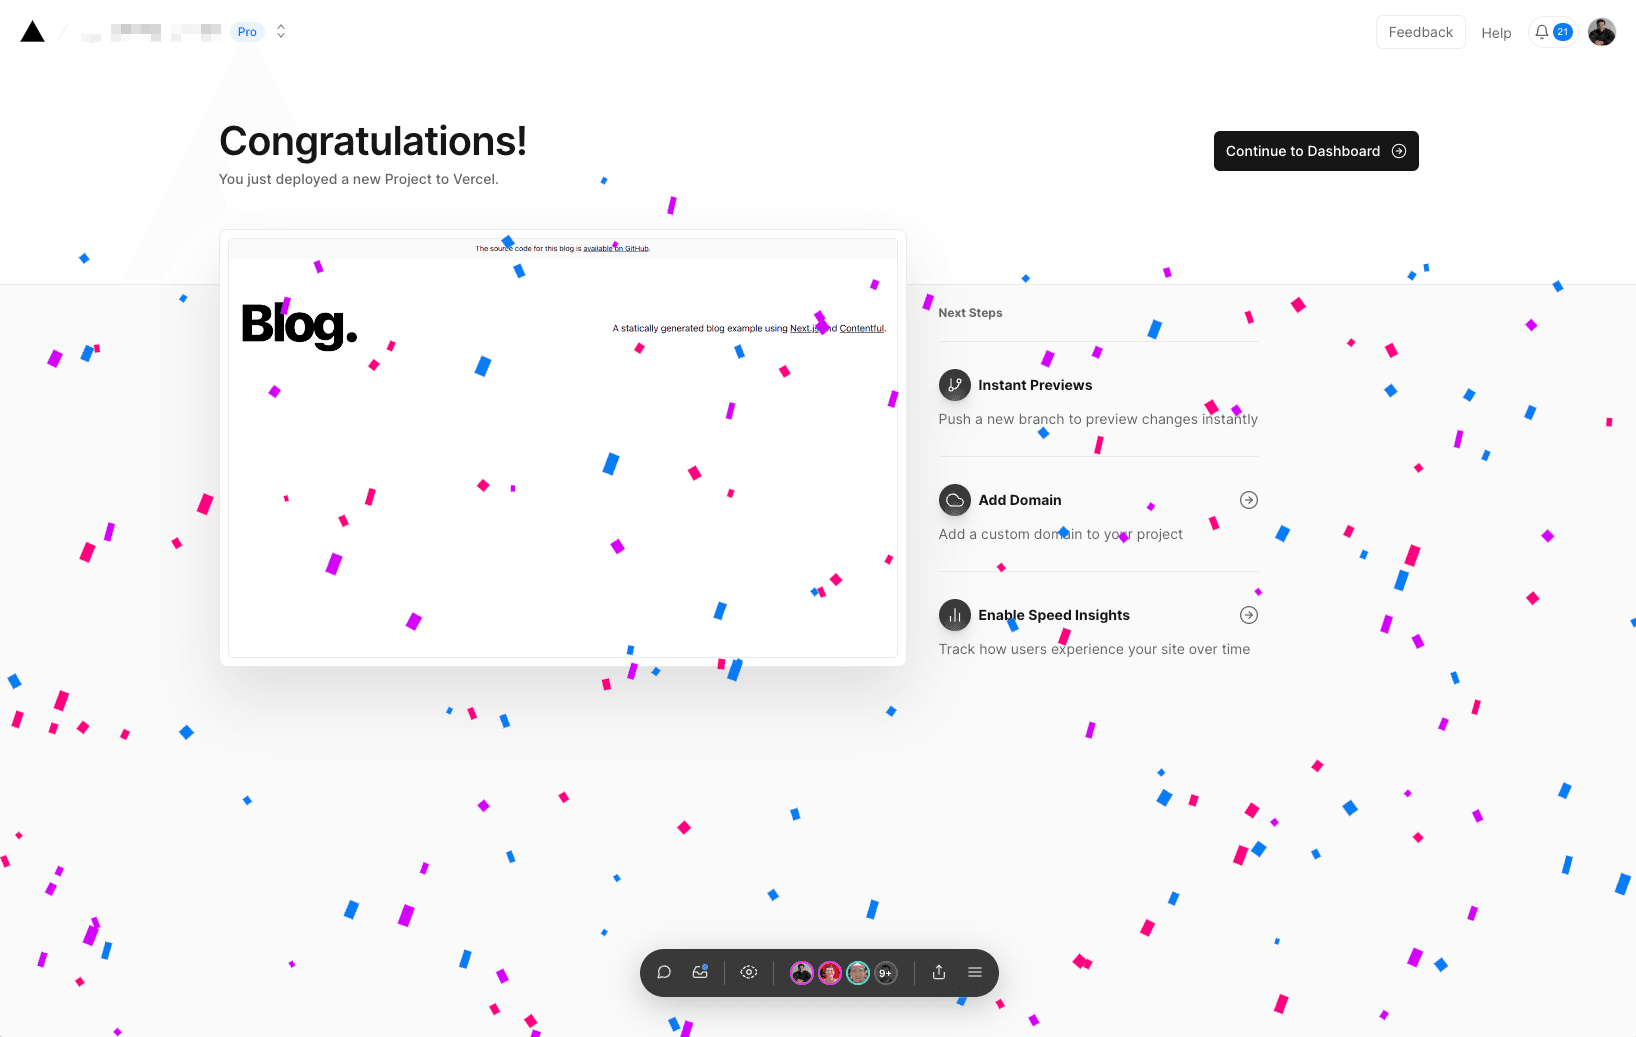
Content Link is available on Enterprise and Pro plans
Content Link enables you to edit content on websites using headless CMSs by providing links on elements that match a content model in the CMS. This real-time content visualization allows collaborators to make changes without needing a developer's assistance.
You can enable Content Link on a preview deployment by selecting Edit Mode in the Vercel Toolbar menu.
The corresponding model in the CMS determines an editable field. You can hover over an element to display a link in the top-right corner of the element and then select the link to open the related CMS field for editing.
You don't need any additional configuration or code changes on the page to use this feature.
To implement Content Link in your project, follow the steps in Contentful's documentation.
Was this helpful?


