Import an existing project
Use the following snippet to deploy your existing project with Vercel CLI:
vercel --cwd [path-to-project]Your existing project can be any web project that outputs static HTML content (such as a website that contains HTML, CSS, and JavaScript). When you use any of Vercel's supported frameworks, we'll automatically detect and set the optimal build and deployment configurations for your framework.
On the New Project page, under the Import Git Repository section, select the Git provider that you would like to import your project from.
Follow the prompts to sign in to either your GitHub, GitLab, or BitBucket account.
Find the repository in the list that you would like to import and select Import.
Vercel will automatically detect the framework and any necessary build settings. However, you can also configure the Project settings at this point including the build and output settings and Environment Variables. These can also be set later.
- To update the framework, build command, output directory, install command, or development command, expand the Build & Output Settings section and update as needed.
- To set environment variables, expand the Environment Variables section and either paste or copy them in.
- You can also configure additional properties by adding a vercel.json to your project. You can either do this now, before you deploy, or add it later and redeploy your project.
Press the Deploy button. Vercel will create the Project and deploy it based on the chosen configurations.
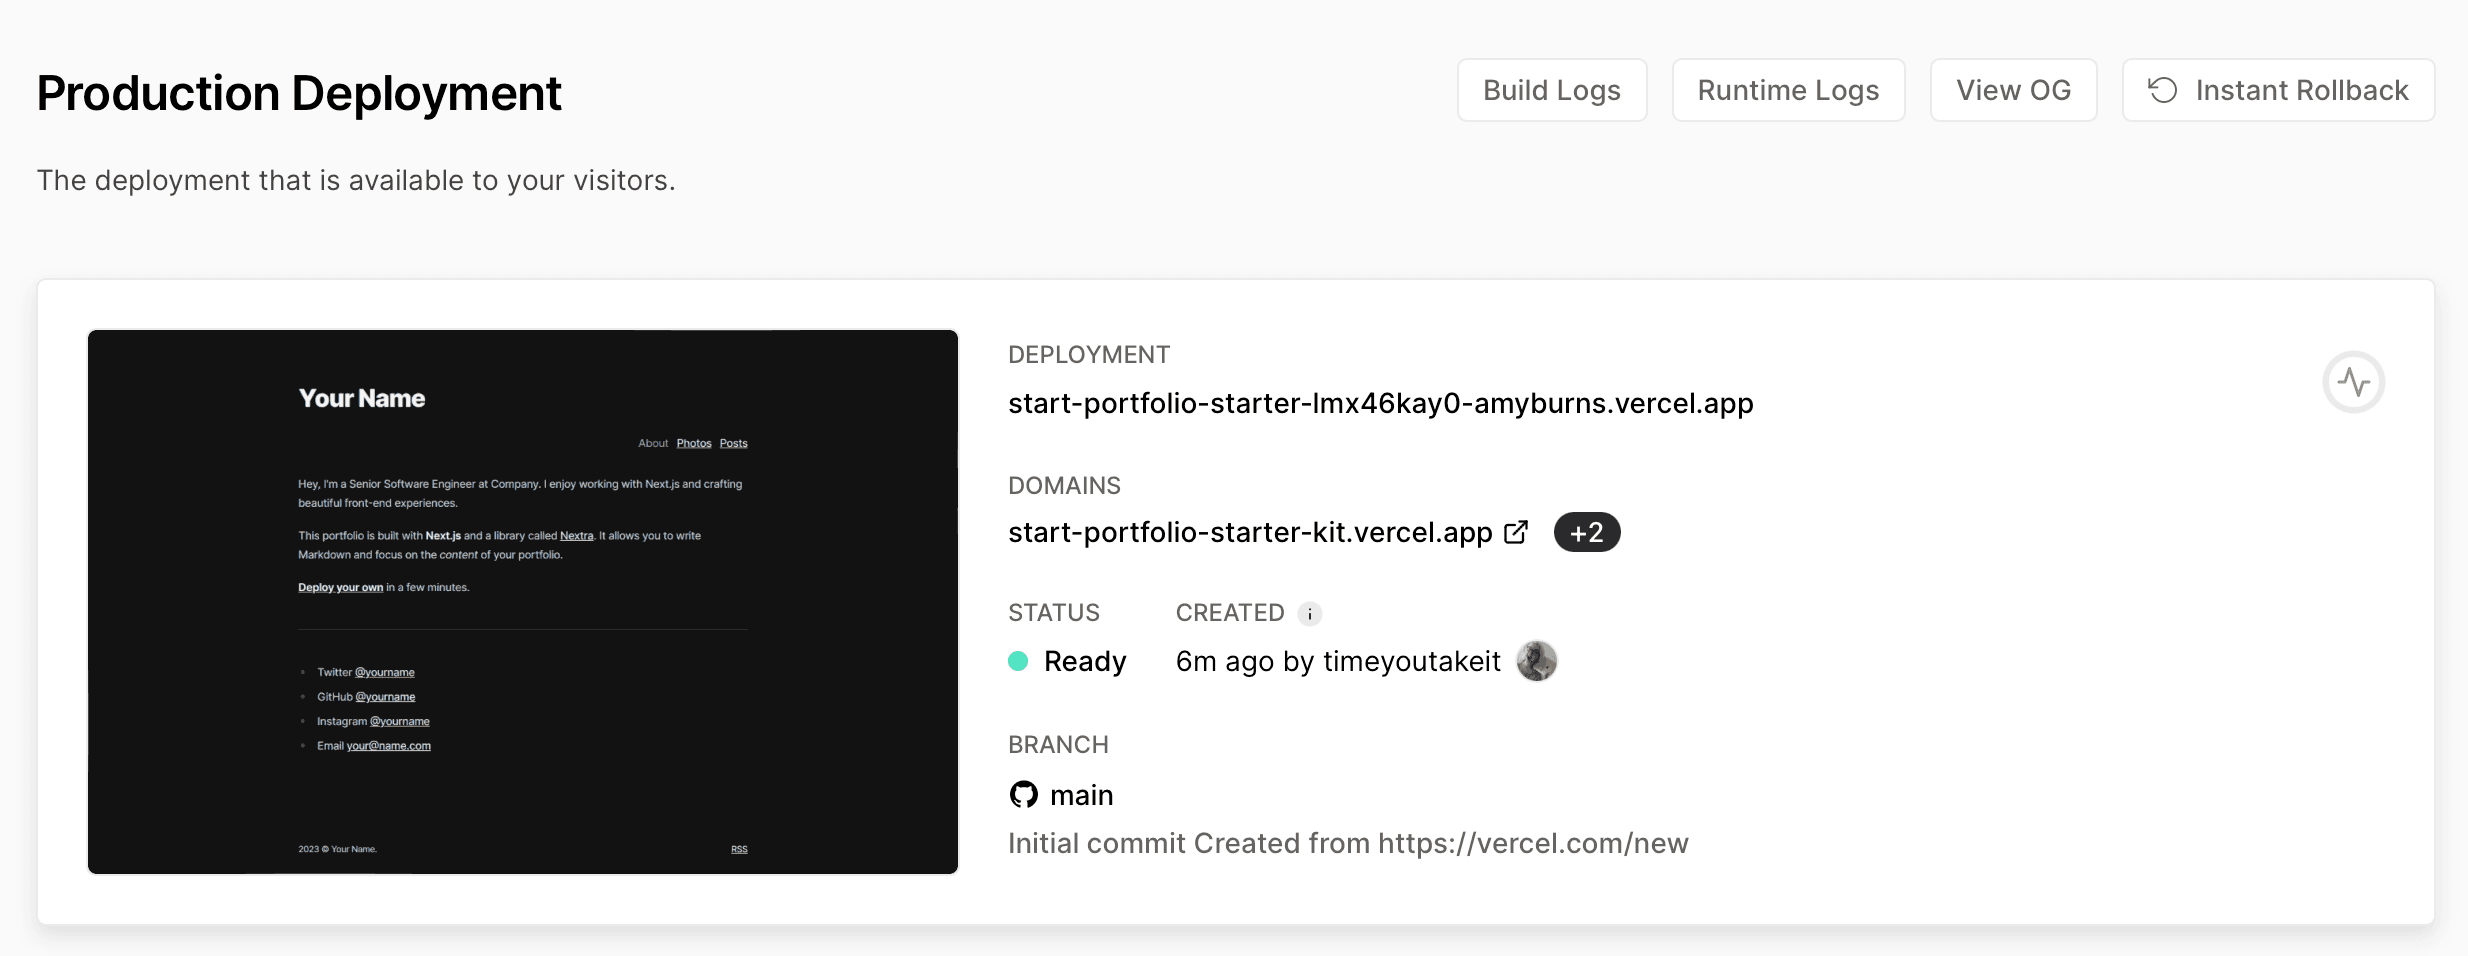
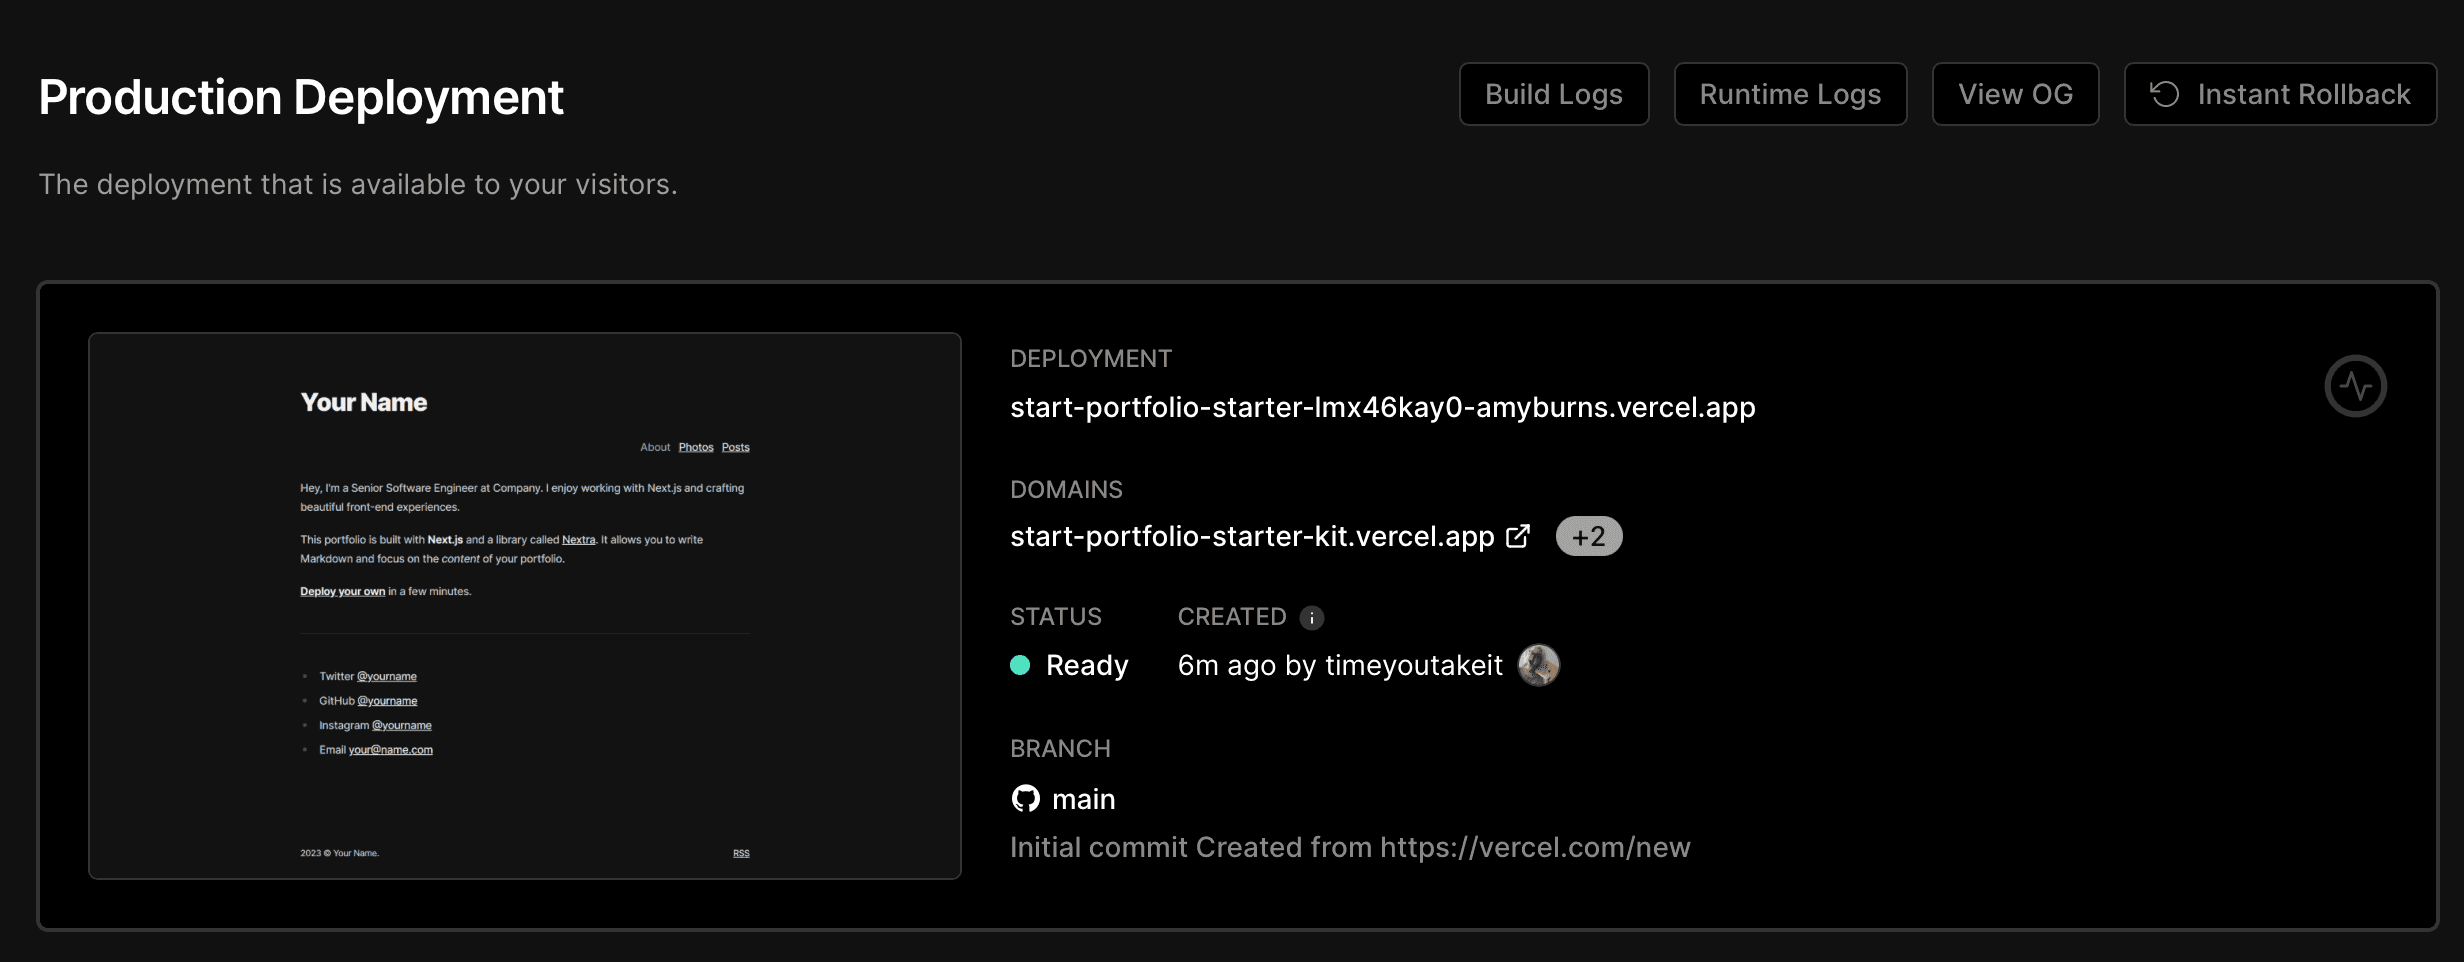
To view your deployment, select the Project in the dashboard and then select the Domain. This page is now visible to anyone who has the URL.


Accessing auto-generated domain
Next, learn how to assign a domain to your new deployment.
Was this helpful?

