Requirements for listing an Integration
Defining the content specs helps you create the main cover page of your integration. On the marketplace listing, the cover page looks like this.
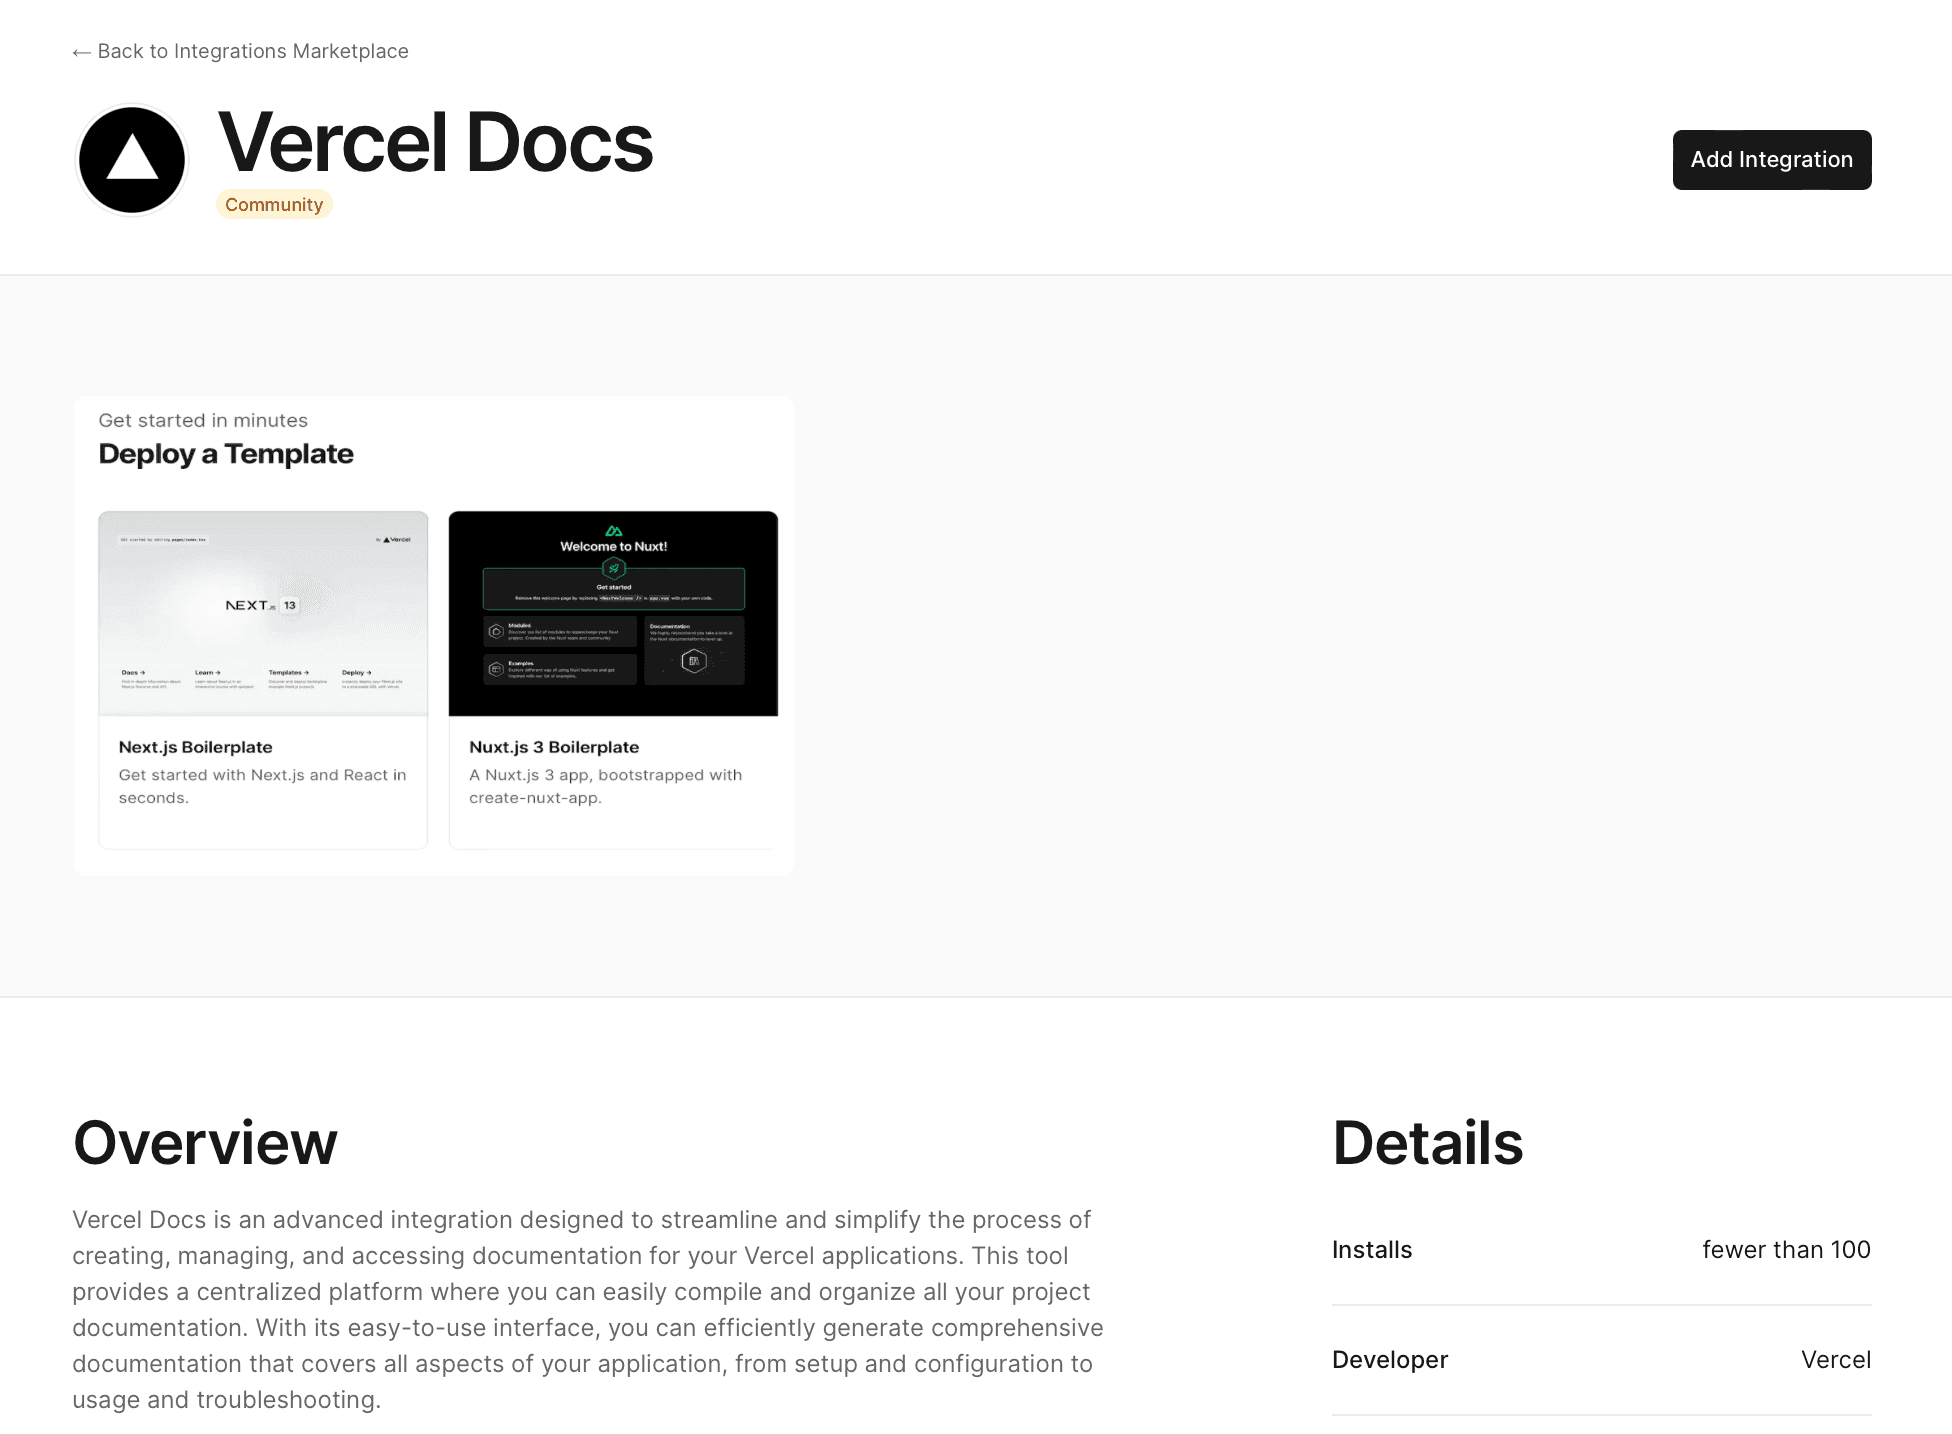
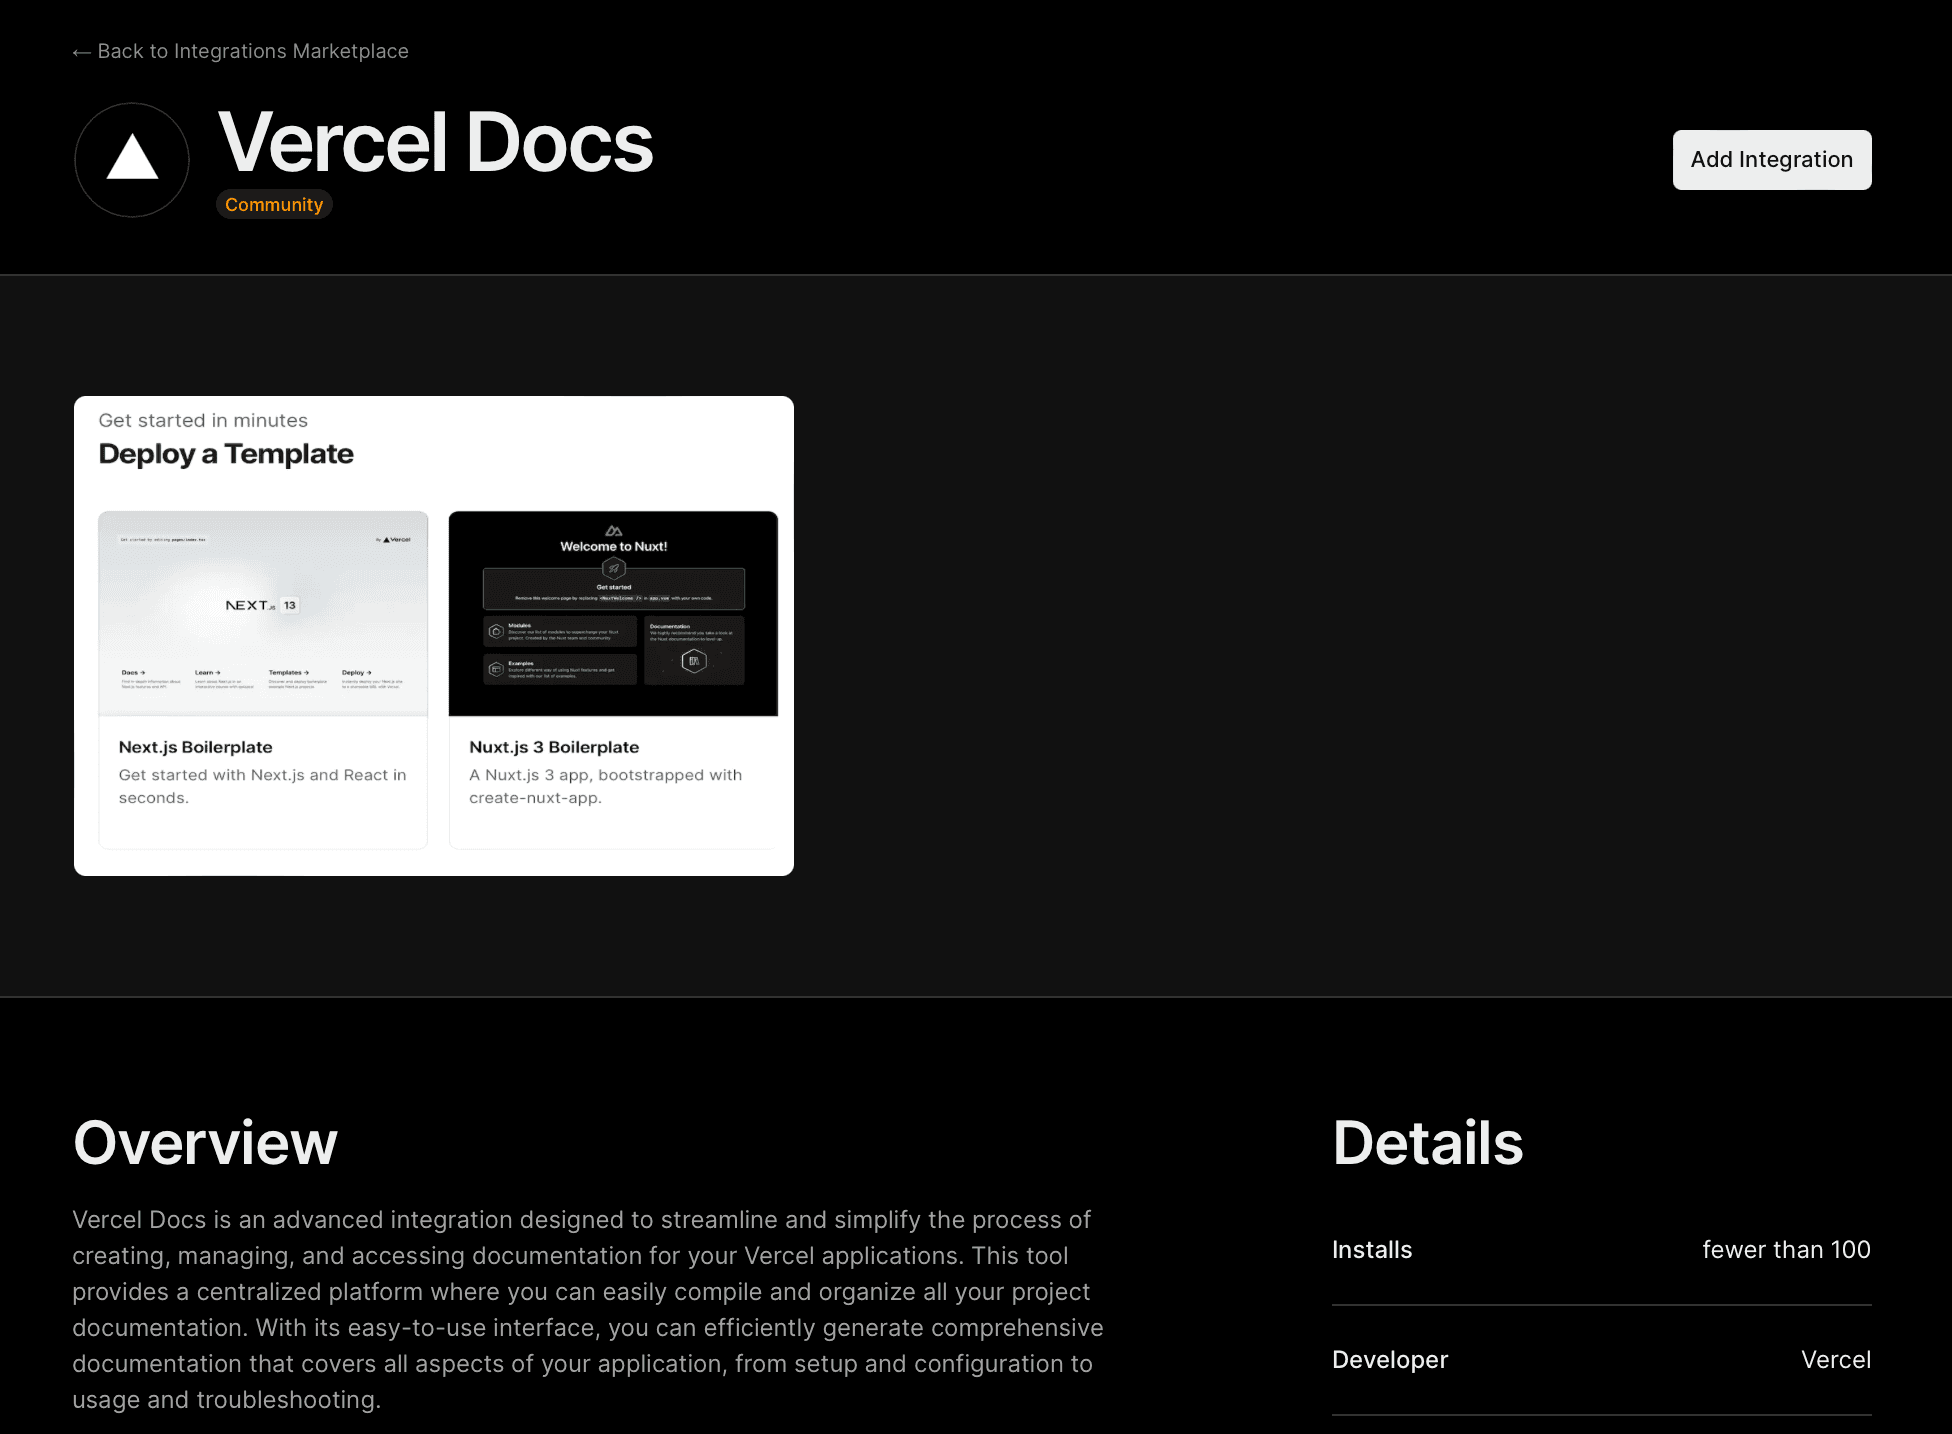
The following requirements are located in the integrations console, separated in logical sections.
- Character Limit: 64
- Required: Yes
This is the integration title which appears on Integration overview. This title should be unique.


- Character Limit: 32
- Required: Yes
This will create the URL for your integration. It will be located at:
https://vercel.com/integrations/<slug>- Character Limit: 64
- Required: Yes
The name of the integration owner, generally a legal name.
- Required: Yes
There are two types of email that you must provide:
- Contact email: This is the contact email for the owner of the integration. It will not be publicly visible and will only be used by Vercel to contact you.
- Support contact email: The support email for the integration. This email will be publicly listed and used by developers to contact you about any issues.
As an integration creator, you are responsible for the support of integration developed and listed on Vercel. For more information, refer to Section 3.2 of Vercel Integrations Marketplace Agreement. You are also solely responsible for your own compliance with applicable laws and regulations, including sanctions and export controls. See Compliance and sanctions for more details.
- Character Limit: 40
- Required: Yes
The integration tagline on the Marketplace card, and the Integrations overview in the dashboard.
- Required: Yes
The image displayed in a circle, that appears throughout the dashboard and marketing pages. Like all assets, it will appear in both light and dark mode.
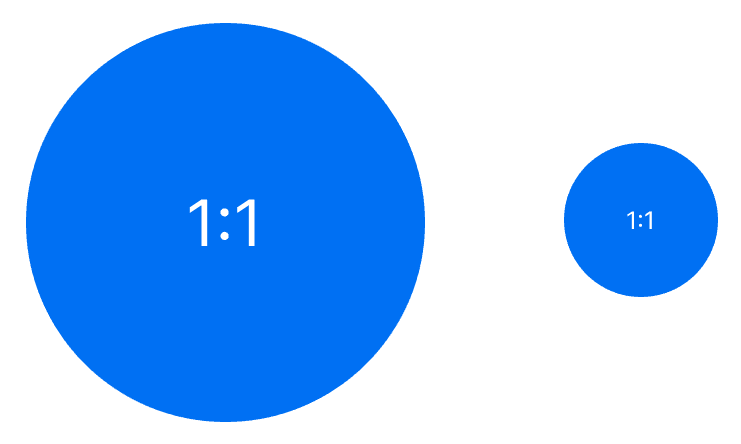
You must make sure that the images adhere to the following dimensions and aspect ratios:
| Spec Name | Ratio | Size | Notes |
|---|---|---|---|
| Icon | 1:1 | 20-80px | High resolution bitmap image, non-transparent PNG, minimum 256px |
- Required: Yes
The category of your integration is used to help developers find your integration in the marketplace. You can choose from the following categories:
- Commerce
- Logging
- Databases
- CMS
- Monitoring
- Dev Tools
- Performance
- Analytics
- Experiments
- Security
- Searching
- Messaging
- Productivity
- Testing
- Observability
- Checks
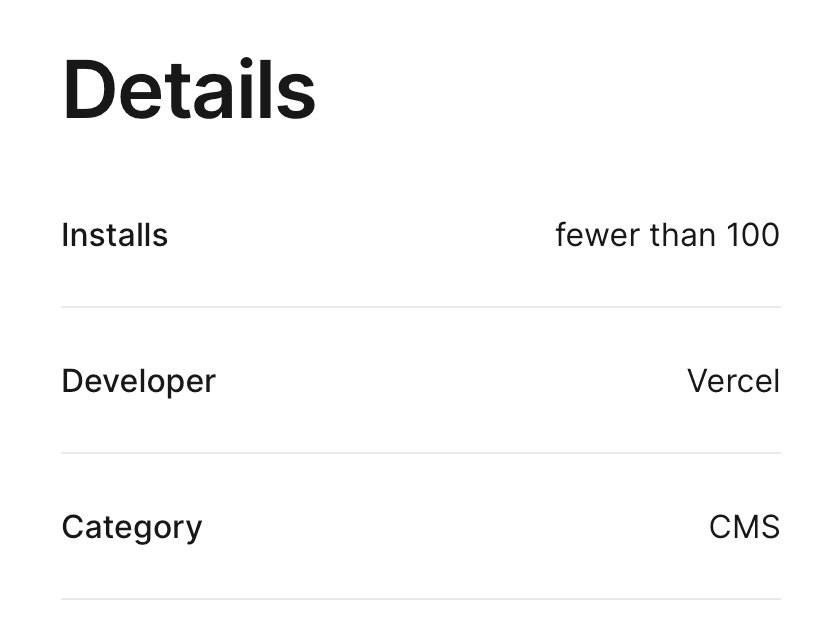
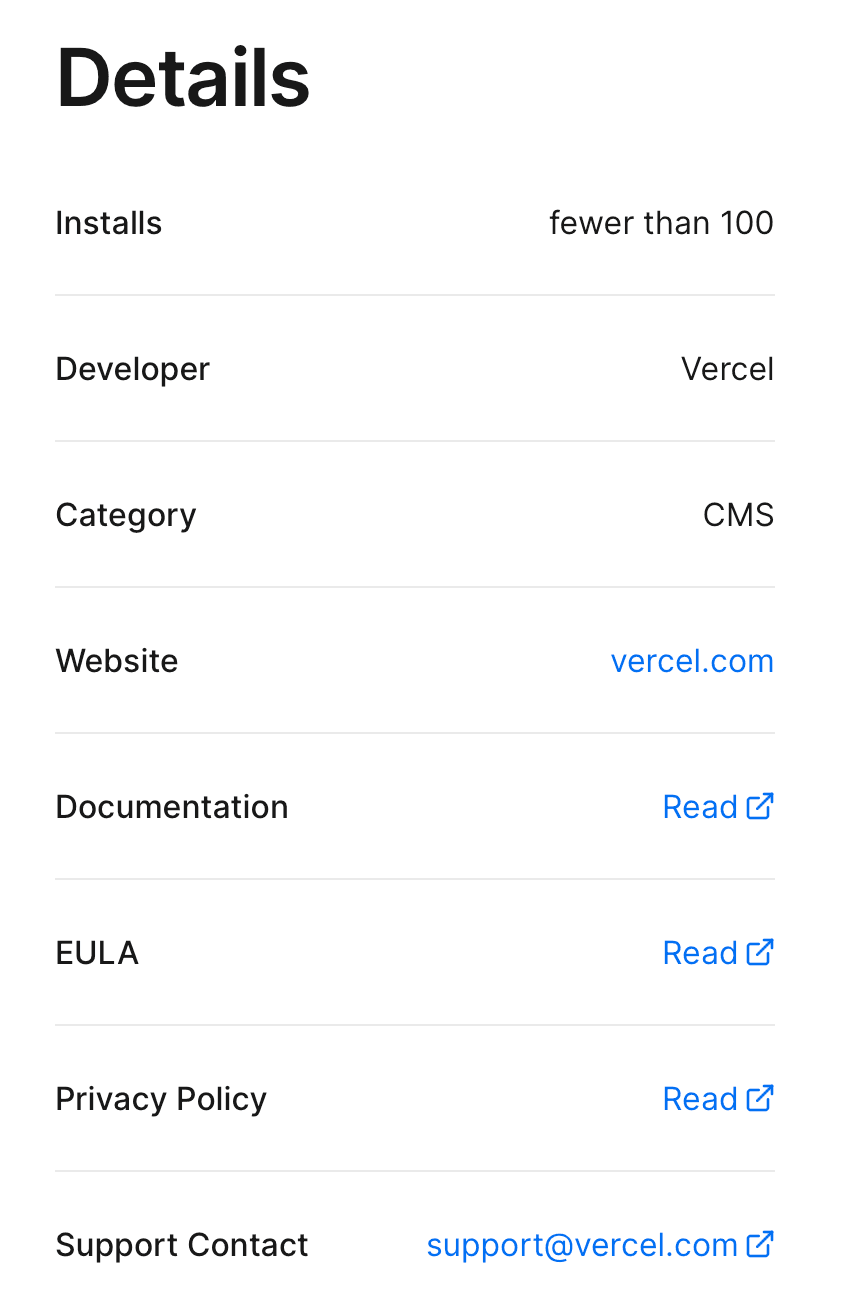
The following URLs must be submitted as part of your application:
- Website: A URL to the website related to your integration.
- Documentation URL: A URL for users to learn how to use your integration.
- EULA URL: The URL to your End User License Agreement (EULA) for your integration. For more information about your required EULA, see the Integrations Marketplace Agreement, section 2.4..
- Privacy Policy URL: The URL to your Privacy Policy for your integration. For more information about your required privacy policy, see the Integrations Marketplace Agreement, section 2.4..
- Support URL: The URL for your Integration's support page.
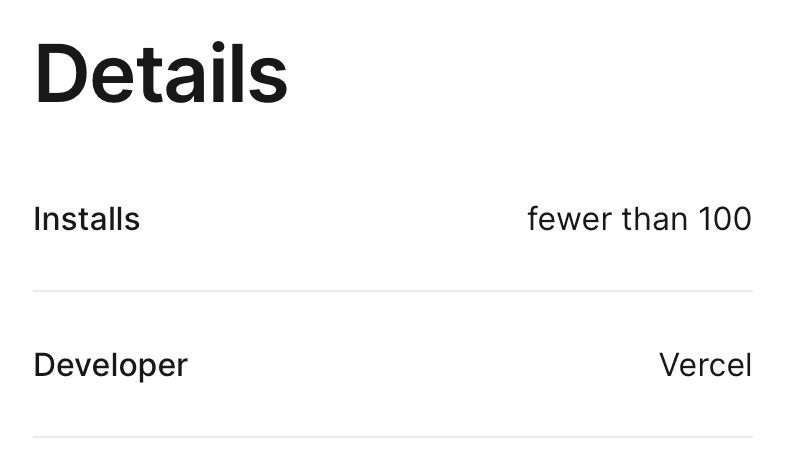
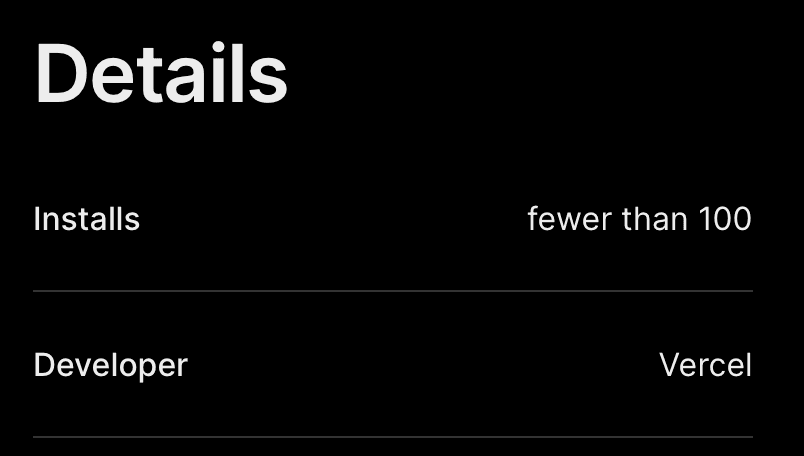
They are displayed in the Details section of the Marketplace integration page that Vercel users view before they install the integration.
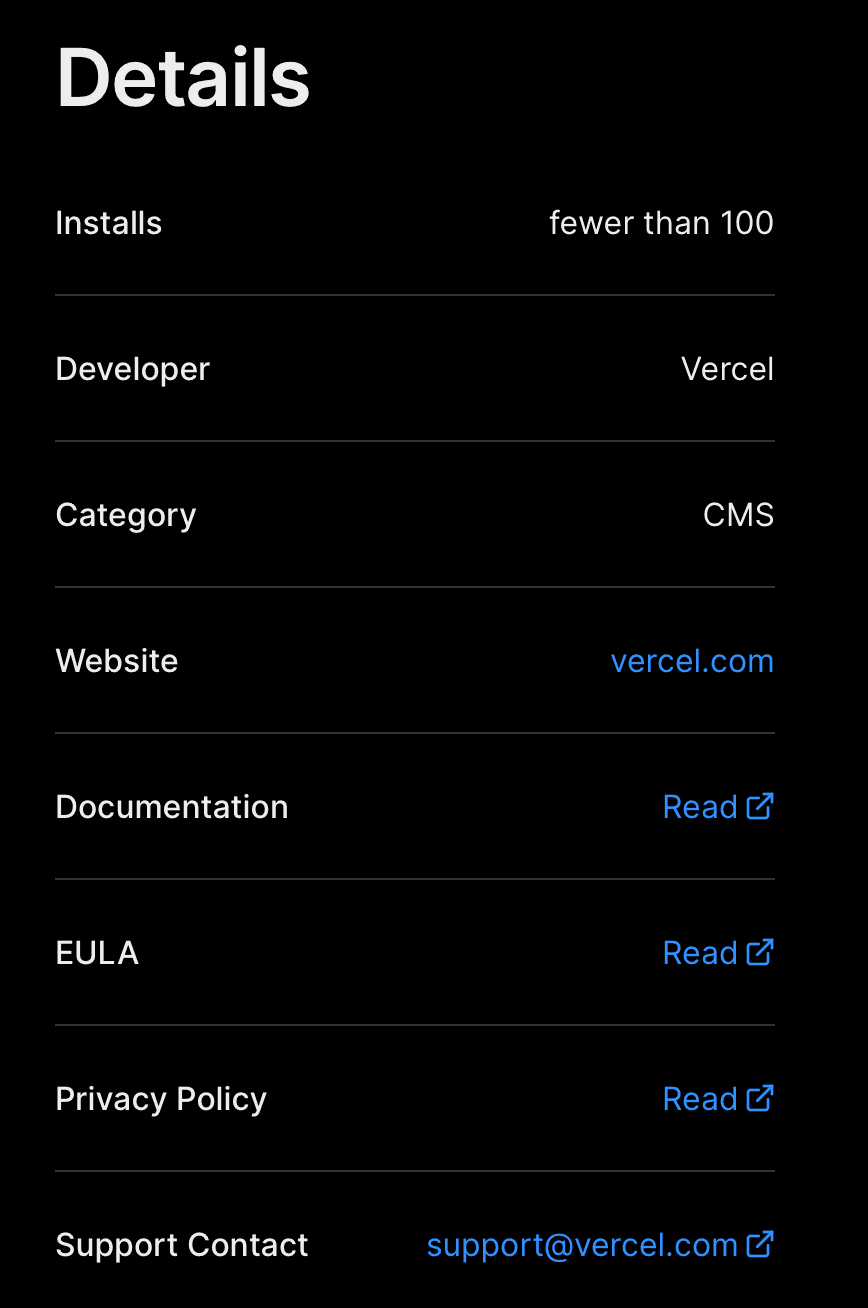
- Character Limit: 768
- Required: Yes
This is a long description about the integration. It should describe why and when a user may want to use this integration. Markdown is supported.
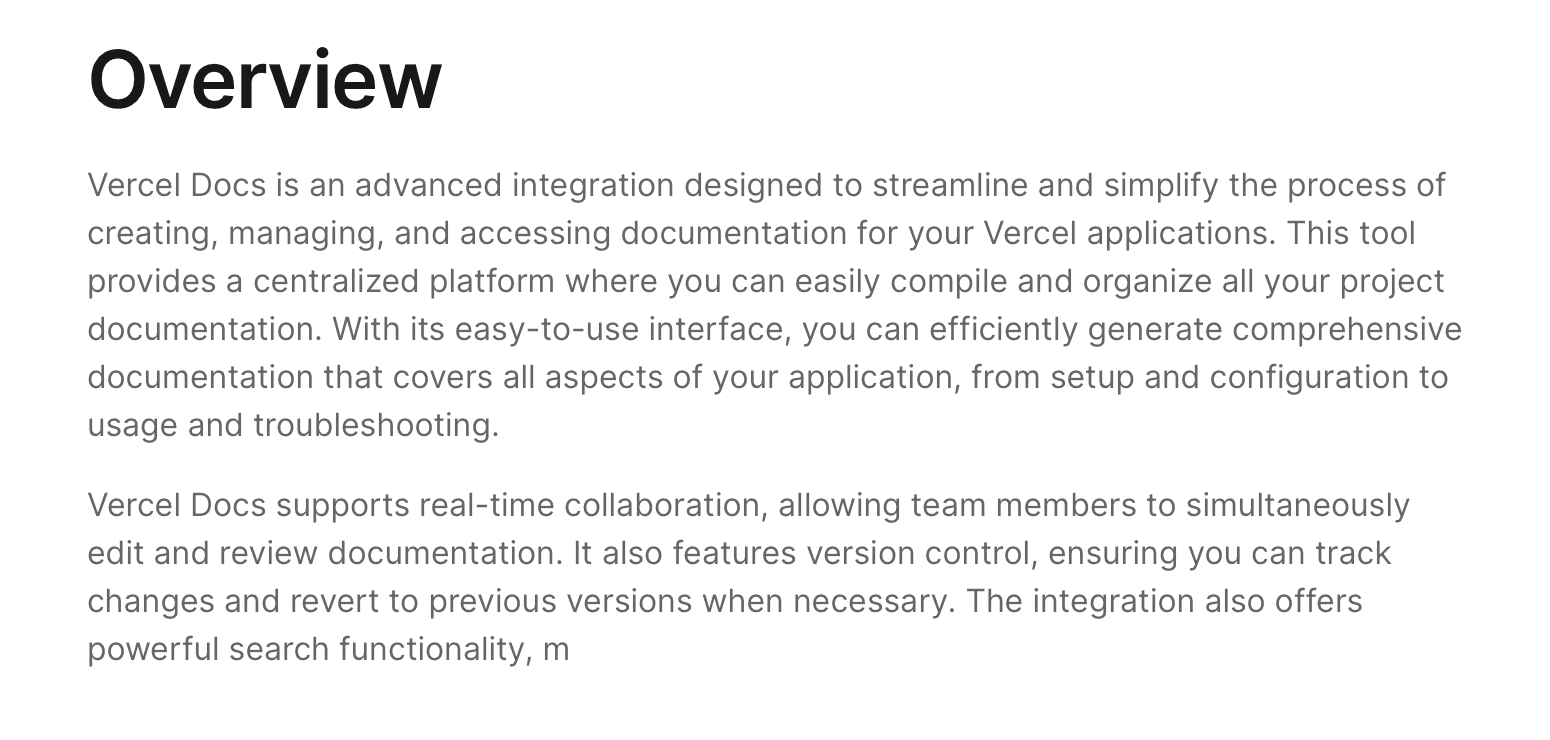
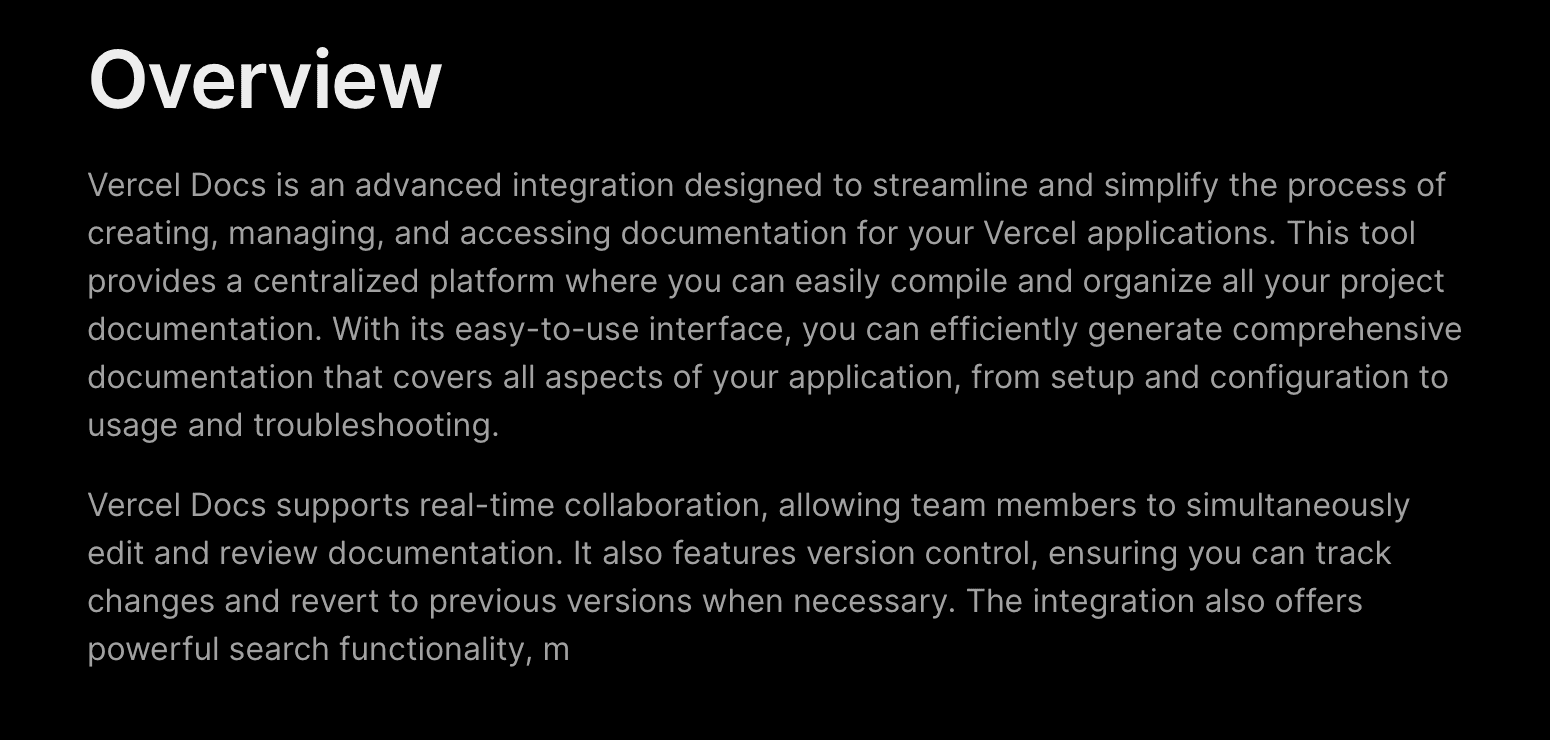
- Character Limit: 1024
- Required: No
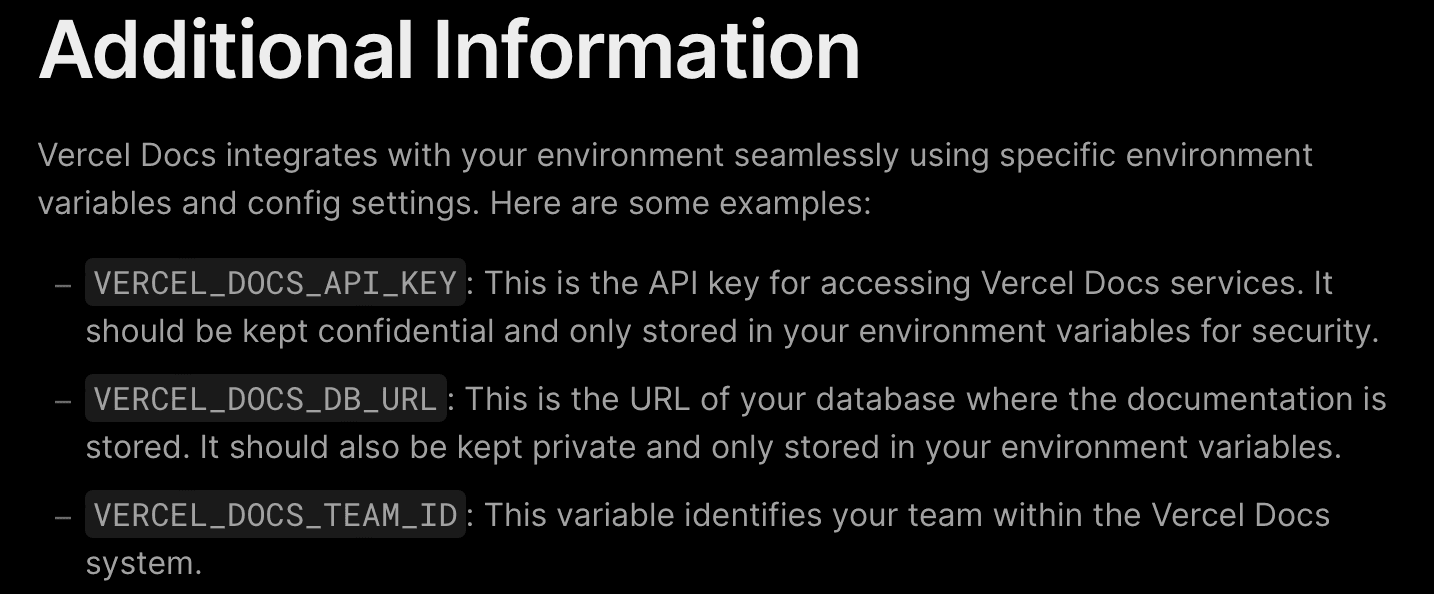
Additional steps to install or configure your integrations. Include environment variables and their purpose. Markdown is supported.
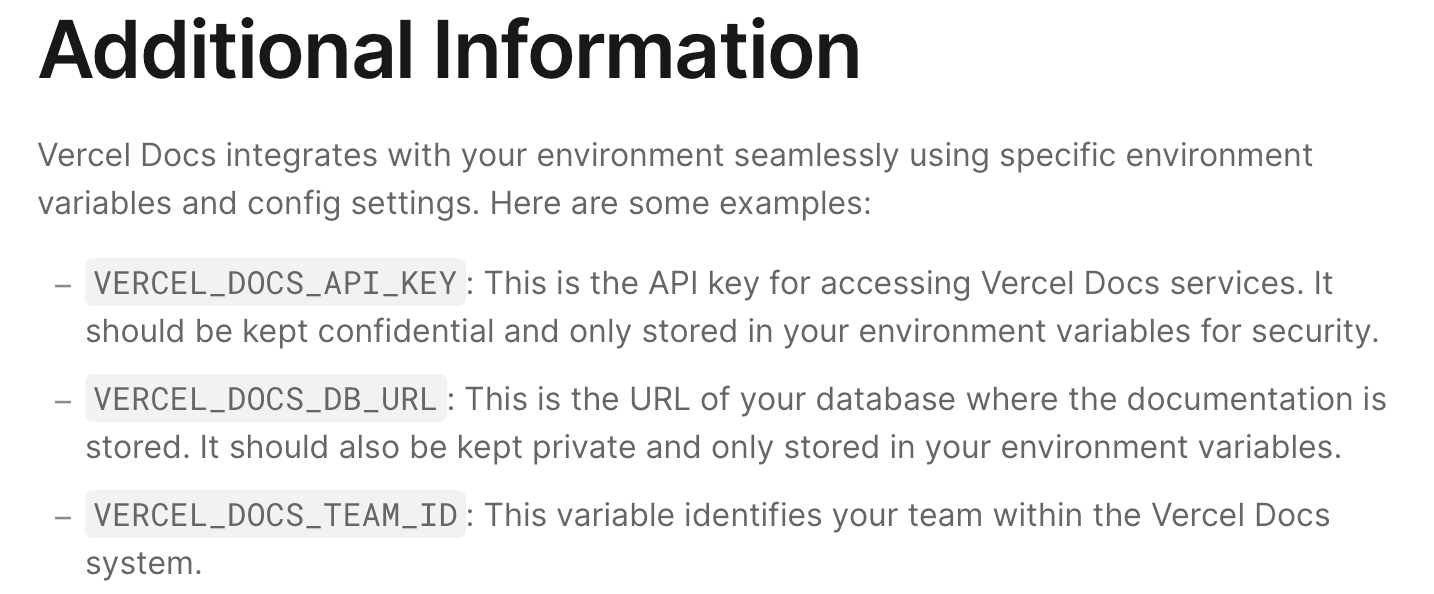
- Required: Yes
These are a collection of images displayed on the carousel at the top of your marketplace listing. We require at least 1 image, but you can add up to 5. The images and text must be of high quality.
These gallery images will appear in both light and dark mode. Avoid long text, as it may not be legible on smaller screens.
Also consider the 20% safe zone around the edges of the image by placing the most important content of your images within the bounds. This will ensure that no information is cut when cropped.
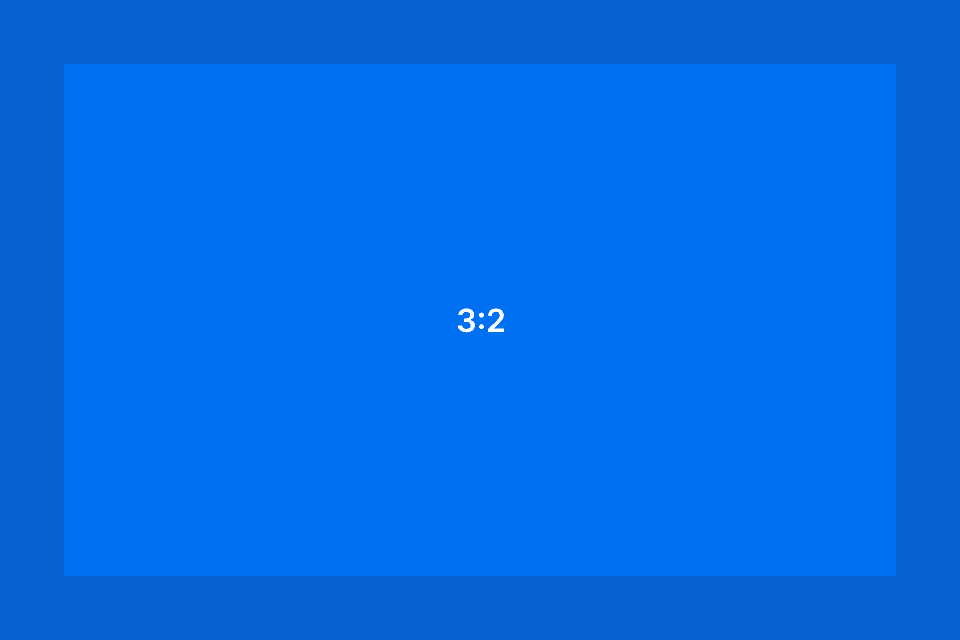

Your media should adhere to the following dimensions and aspect ratios:
| Spec Name | Ratio | Size | Notes |
|---|---|---|---|
| Gallery Images | 3:2 | 1440x960px | High resolution bitmap image, non-transparent PNG. Minimum 3 images, up to 5 can be uploaded. You can upload 1 video link too |
- Required: Yes
The Redirect URL is an HTTP endpoint that handles the installation process by exchanging a code for an API token, serving a user interface, and managing project connections:
- Token Exchange: Exchanges a provided code for a Vercel REST API access token
- User Interface: Displays a responsive UI in a popup window during the installation
- Project Provisioning: Allows users to create new projects or connect existing ones in your system to their Vercel Projects
- Completion: Redirects the user back to Vercel upon successful installation
Important considerations:
- If your application uses the
Cross-Origin-Opener-Policyheader, use the valueunsafe-noneto allow the Vercel dashboard to monitor the popup's closed state. dashboard to monitor the popup's closed state. - For local development and testing, you can specify a URL on
localhost.
- Required: No
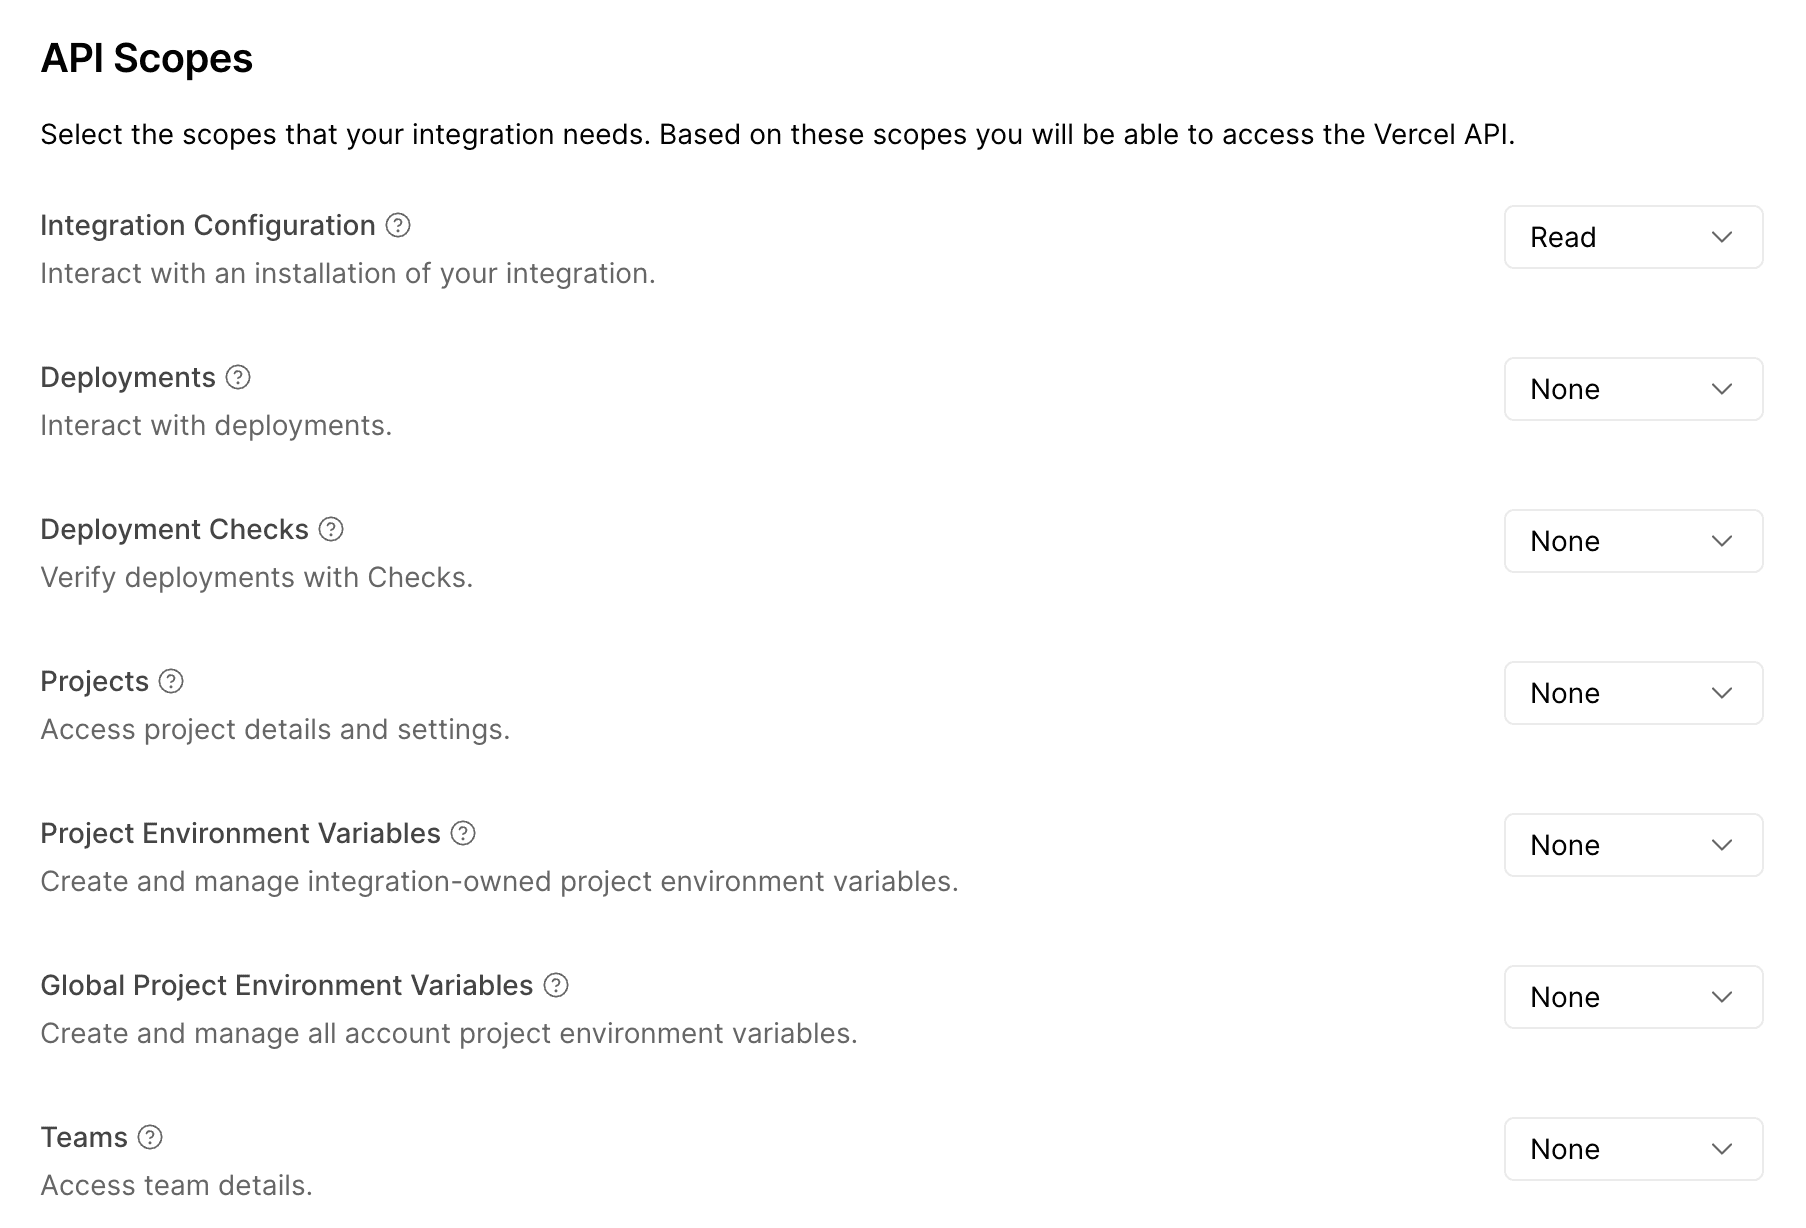
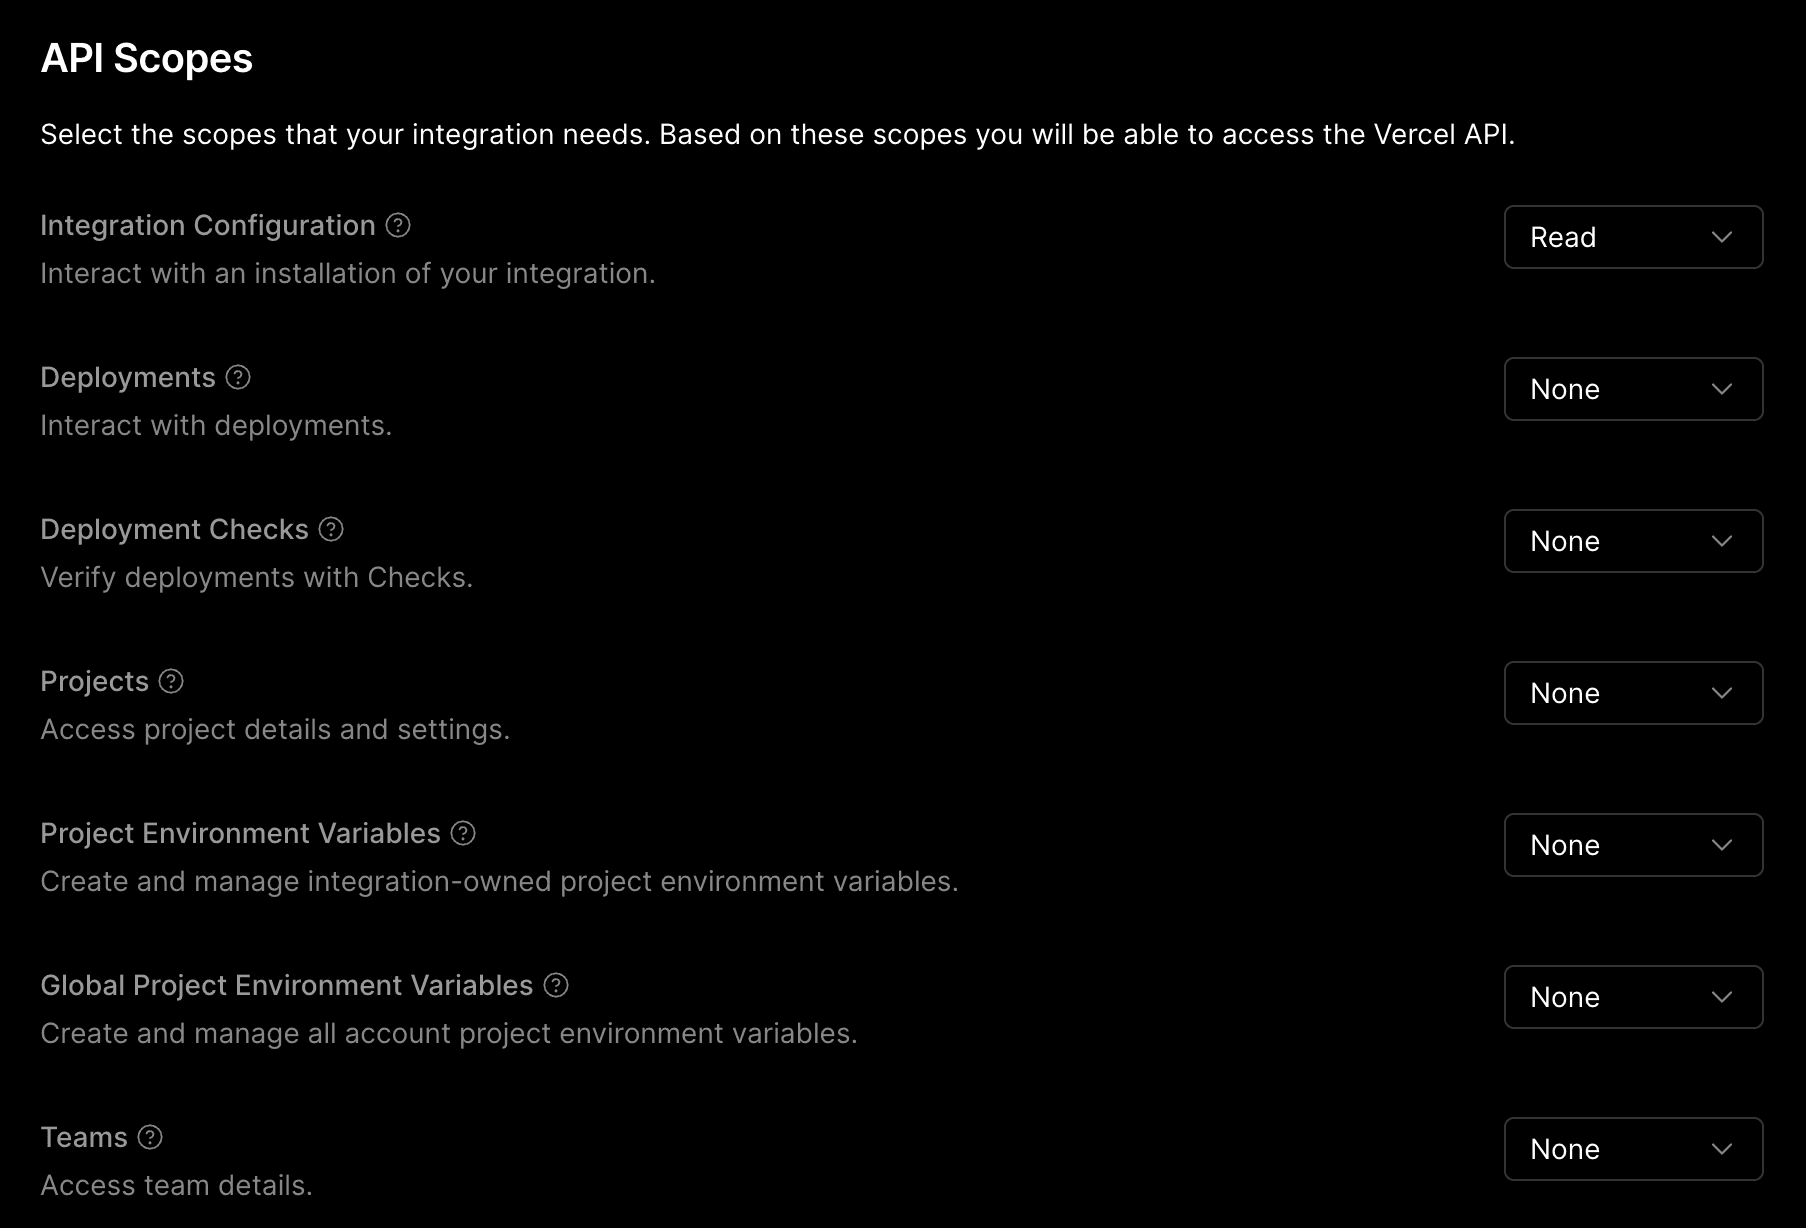
API Scopes define the level of access your integration will have to the Vercel REST API. When setting up a new integration, you need to:
- Select only the API Scopes that are essential for your integration to function
- Choose the appropriate permission level for each scope:
None,Read, orRead/Write
After activation, your integration may collect specific user data based on the selected scopes. You are accountable for:
- The privacy, security, and integrity of this user data
- Compliance with Vercel's Shared Responsibility Model
Learn more about API scope permissions in the Extending Vercel documentation.
- Required: No
With your integration, you can listen for events on the Vercel platform through Webhooks. The following events are available:
The following events are available for deployments:
The following events are available for configurations:
integration-configuration.permission-upgradedintegration-configuration.removedintegration-configuration.scope-change-confirmedintegration-configuration.transferred
The following events are available for domains:
The following events are available for projects:
The following events are available for checks:
See the Webhooks documentation to learn more.
- Required: No
To allow the developer to configure an installed integration, you can specify a Configuration URL. This URL is used for the Configure button on each configuration page. Selecting this button will redirect the developer to your specified URL with a configurationId query parameter. See Interacting with Configurations to learn more.
If you leave the Configuration URL field empty, the Configure button will default to a Website button that links to the website URL you specified on integration settings.
- Required: If it's a product
The URL that points to the provider's integration server that implements the Marketplace Provider API. To interact with the provider's application, Vercel makes a request to the base URL appended with the path for the specific endpoint.
For example, if the base url is https://foo.bar.com/vercel-integration-server, Vercel makes a POST request to something like https://foo.bar.com/vercel-integration-server/v1/installations.
- Required: If it's a product
The URL where Vercel redirect users of the integration in the following situations:
- They open the link to the integration provider's dashboard from the Vercel dashboard as explained in the Open in Provider button flow
- They open a specific resource on the Vercel dashboard
This allows providers to automatically log users into their dashboard without asking them to log in.
- Required: No (It's a toggle which is disabled by default)
- Applies to a installation
When enabled, it allows the integration user to select a billing plan for their installation. The default installation-level billing plan is chosen by the partner. When disabled, the installation does not have a configurable billing plan.
If the billing for your integration happens at the team, organization or account level, enable this toggle to allow Vercel to fetch the installation-level billing plans. When the user selects an installation-level billing plan, you can then upgrade the plan for this team, account or organization when you provision the product.
The user can update this installation-level plan at any time from the installation detail page of the Vercel dashboard.
- Required:
- Yes: If it's a connectable account integration or this is the first time you are creating a native integration
- No: If you are adding a product to the integration. A different agreement may be needed for the first added product
You must agree to the Vercel terms before your integration can be published. The terms may differ depending the type of integration, connectable account or native.
Usage Scenario: For installations initiated from the Vercel Marketplace.
- Post-Installation: After installation, the user is redirected to a page on your side to complete the setup
- Completion: Redirect the user to the provided next URL to close the popup and continue
| Name | Definition | Example |
|---|---|---|
| code | The code you received. | jMIukZ1DBCKXHje3X14BCkU0 |
| teamId | The ID of the team (only if a team is selected). | team_LLHUOMOoDlqOp8wPE4kFo9pE |
| configurationId | The ID of the configuration. | icfg_6uKSUQ359QCbPfECTAY9murE |
| next | Encoded URL to redirect to, once the installation process on your side is finished. | https%3A%2F%2Fvercel.com%2F... |
| source | Source defines where the integration was installed from. | marketplace |
Usage Scenario: When you're initiating the installation from your application.
- Starting Point: Use this URL to start the process:
https://vercel.com/integrations/:slug/new-:slugis the name you added in the Create Integration form
| Name | Definition | Example |
|---|---|---|
| code | The code you received. | jMIukZ1DBCKXHje3X14BCkU0 |
| teamId | The ID of the team (only if a team is selected). | team_LLHUOMOoDlqOp8wPE4kFo9pE |
| configurationId | The ID of the configuration. | icfg_6uKSUQ359QCbPfECTAY9murE |
| next | Encoded URL to redirect to, once the installation process on your side is finished. | https%3A%2F%2Fvercel.com%2F... |
| state | Random string to be passed back upon completion. It is used to protect against CSRF attacks. | xyzABC123 |
| source | Source defines where the integration was installed from. | external |
Usage Scenario: For installations using the Vercel deploy button.
- Post-Installation: The user will complete the setup on your side
- Completion: Redirect the user to the provided next URL to proceed
| Name | Definition | Example |
|---|---|---|
| code | The code you received. | jMIukZ1DBCKXHje3X14BCkU0 |
| teamId | The ID of the team (only if a team is selected). | team_LLHUOMOoDlqOp8wPE4kFo9pE |
| configurationId | The ID of the configuration. | icfg_6uKSUQ359QCbPfECTAY9murE |
| next | Encoded URL to redirect to, once the installation process on your side is finished. | https%3A%2F%2Fvercel.com%2F... |
| currentProjectId | The ID of the created project. | QmXGTs7mvAMMC7WW5ebrM33qKG32QK3h4vmQMjmY |
| external-id | Reference of your choice. See External ID for more details. | 1284210 |
| source | Source defines where the integration was installed from. | deploy-button |
If the integration is already installed in the selected scope during the deploy button flow, the redirect URL will be called with the most recent configurationId.
Make sure to store configurationId along with an access token such that if an existing configurationId was passed, you could retrieve the corresponding access token.
It's used as the product card title in the Products section of the marketplace integration page.
It's used in the integration console for the url slug of the product's detail page.
It's used as the product card description in the Products section of the marketplace integration page.
It's used as the product card footer description in the Products section of the marketplace integration page and should be less than 30 characters.
The metadata schema controls the product features such as available regions and CPU size, that you want to allow the Vercel customer to customize in the Vercel integration dashboard. It makes the connection with your integration server when the customer interacts with these inputs when creating or updating these properties.
It's used as the product logo at the top of the Product settings page once the integration user installs this product. If this is not set, the integration logo is used.
It's used to help integration users filter and group their installed products on the installed integration page.
You are recommended to include links to get started guides for using your product with specific frameworks. Once your product is added by a Vercel user, these links appear on the product's detail page of the user's Vercel dashboard.
These links appear under the Resources left side bar on the product's detail page of the user's Vercel dashboard.
Under the Resources section, Vercel automatically adds a Support link that is a deep link to the provider's dashboard with a query parameter of support=true included.
These code snippets are designed to be quick starts for the integration user to connect with the installed product with tools such as cURL in order to retrieve data and test that their application is working as expected.
You can add up to 6 code snippets to help users get started with your product. These appear at the top of the product's detail page under a Quickstart section with a tab for each code block.
You can include secrets in the following way:
import { createClient } from 'acme-sdk';

const client = createClient('https://your-project.acme.com', '{{YOUR_SECRET}}');
When integration users view your snippet in the Vercel dashboard, {{YOUR_SECRET}} is replaced with a * accompanied by a Show Secrets button. The secret value is revealed when they click the button.
If you're using TypeScript or JavaScript snippets, you can use {{process.env.YOUR_SECRET}}. In this case, the snippet view in the Vercel dashboard shows process.env.YOUR_SECRET instead of a * accompanied by the Show Secrets button.
When enabled, integration users can choose an Edge Config to access experimentation feature flag data.
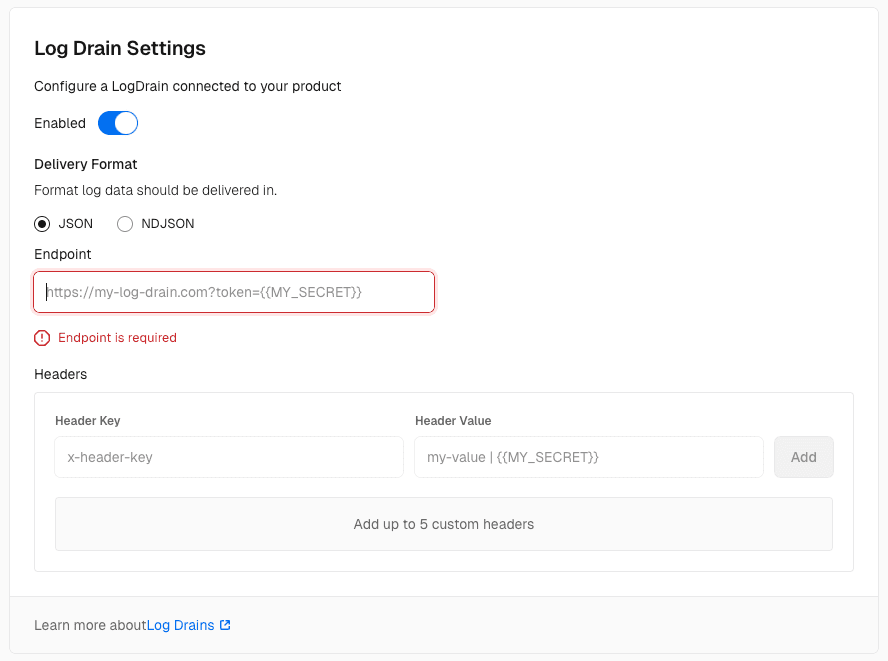
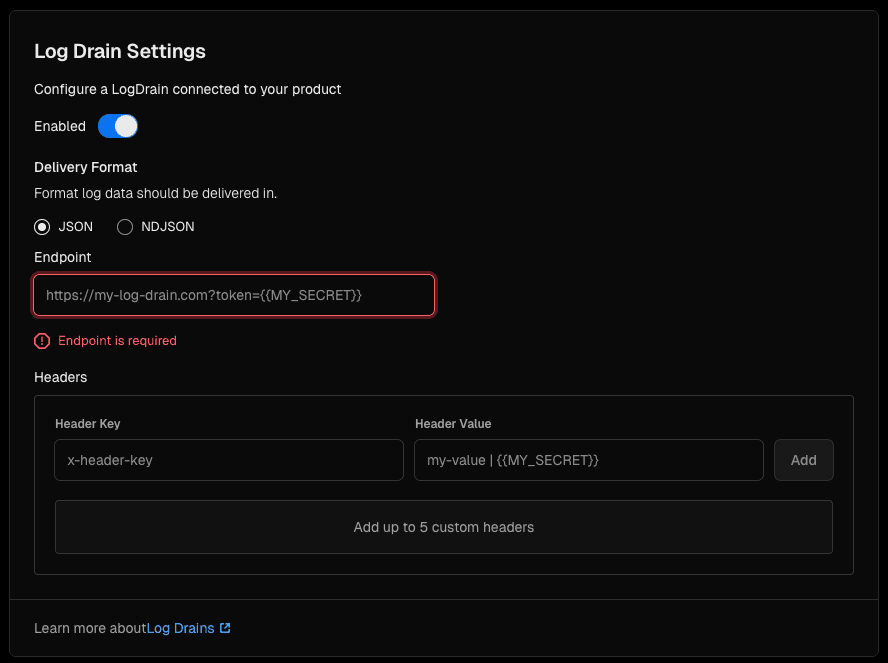
When enabled, the integration user can configure a Log Drain for the Native integration. Once the Delivery Format is chosen, the integration user can define the Log Drain Endpoint and Headers, which can be replaced with the environment variables defined by the integration.
When enabled, the integration can use the Checks API
Was this helpful?

