Deploying to Vercel
A deployment on Vercel is the result of a successful build of your project. Each time you deploy, Vercel generates a unique URL so you and your team can preview changes in a live environment.
Vercel supports multiple ways to create a deployment:
The most common way to create a deployment is by pushing code to a connected Git repository. When you import a Git repository to Vercel, each commit or pull request (on supported Git providers) automatically triggers a new deployment.
Vercel supports the following providers:
You can also create deployments from a Git reference using the Vercel Dashboard if you need to deploy specific commits or branches manually.
You can deploy your Projects directly from the command line using Vercel CLI. This method works whether your project is connected to Git or not.
- Install Vercel CLI:
npm i -g vercel
- Initial Deployment:
In your project's root directory, run:
vercel --prodThis links your local directory to your Vercel Project and creates a Production Deployment. A .vercel directory is added to store Project and Organization IDs.
Vercel CLI can also integrate with custom CI/CD workflows or third-party pipelines. Learn more about the different environments on Vercel.
Deploy Hooks let you trigger deployments with a unique URL. You must have a connected Git repository to use this feature, but the deployment does not require a new commit.
- From your Project settings, create a Deploy Hook
- A unique URL is generated for each Project
- Make an HTTP
GETorPOSTrequest to this URL to trigger the deployment
Refer to the Deploy Hooks documentation for more information.
The Vercel REST API lets you create deployments by making an HTTP POST request to the deployment endpoint. In this workflow:
- Generate a SHA for each file you want to deploy
- Upload those files to Vercel
- Send a request to create a new deployment with those file references
This method is especially useful for custom workflows, multi-tenant applications, or integrating with third-party services not officially supported by Vercel. For more details, see the API reference and How do I generate an SHA for uploading a file.
Vercel provides three default environments—Local, Preview, and Production:
- Local Development: developing and testing code changes on your local machine
- Preview: deploying for further testing, QA, or collaboration without impacting your live site
- Production: deploying the final changes to your user-facing site with the production domain
Learn more about environments.
Vercel’s dashboard provides a centralized way to view, manage, and gain insights into your deployments.
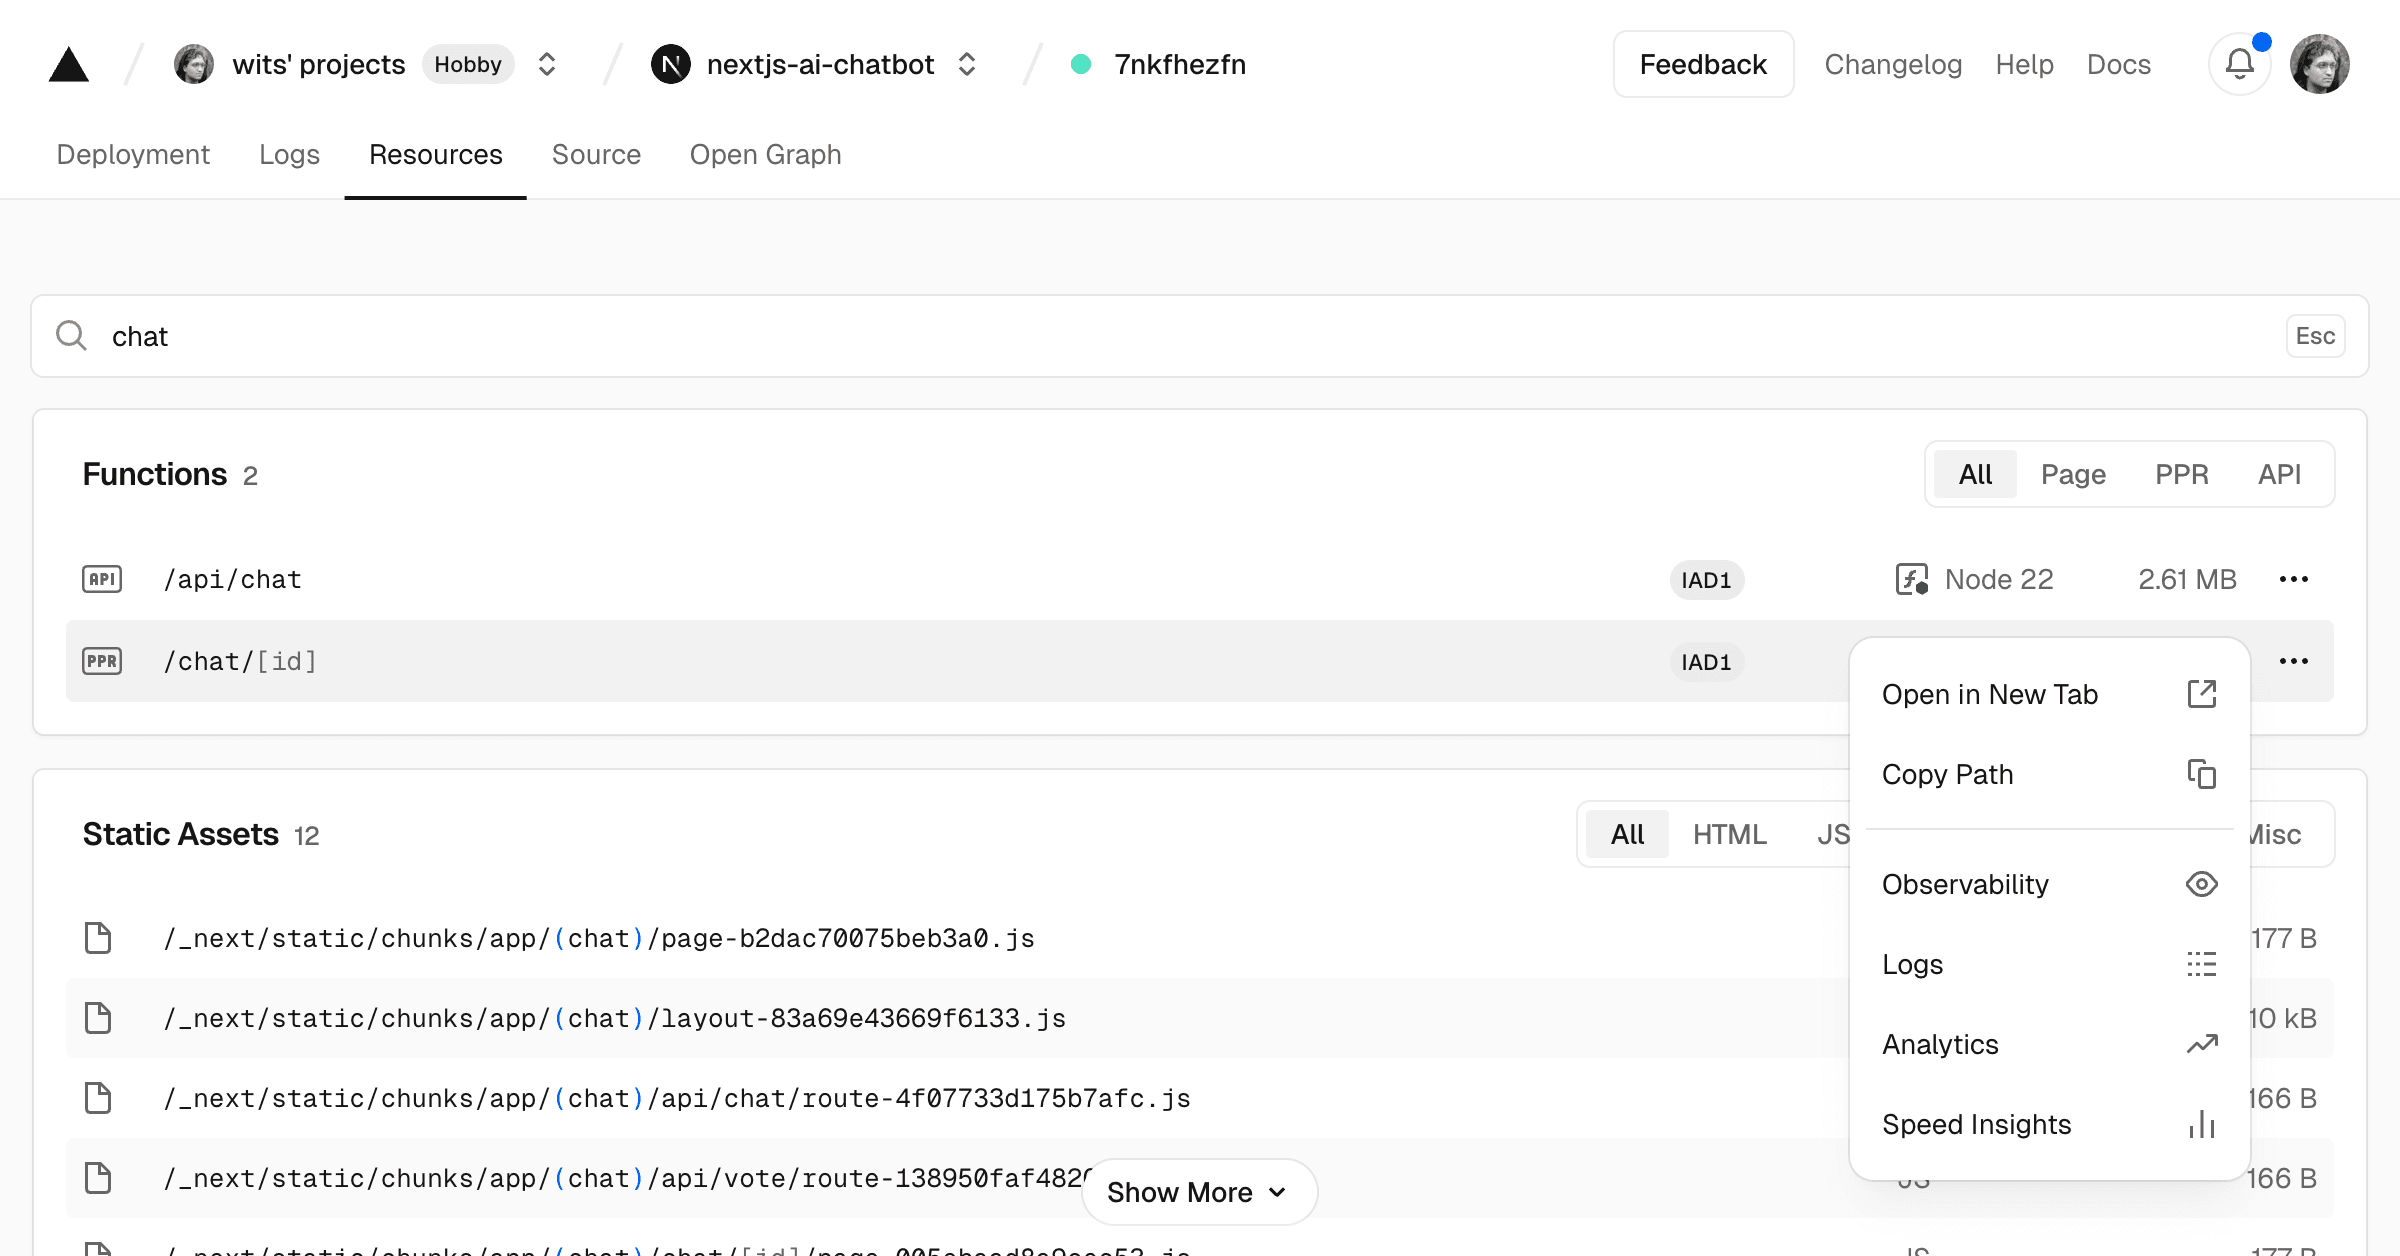
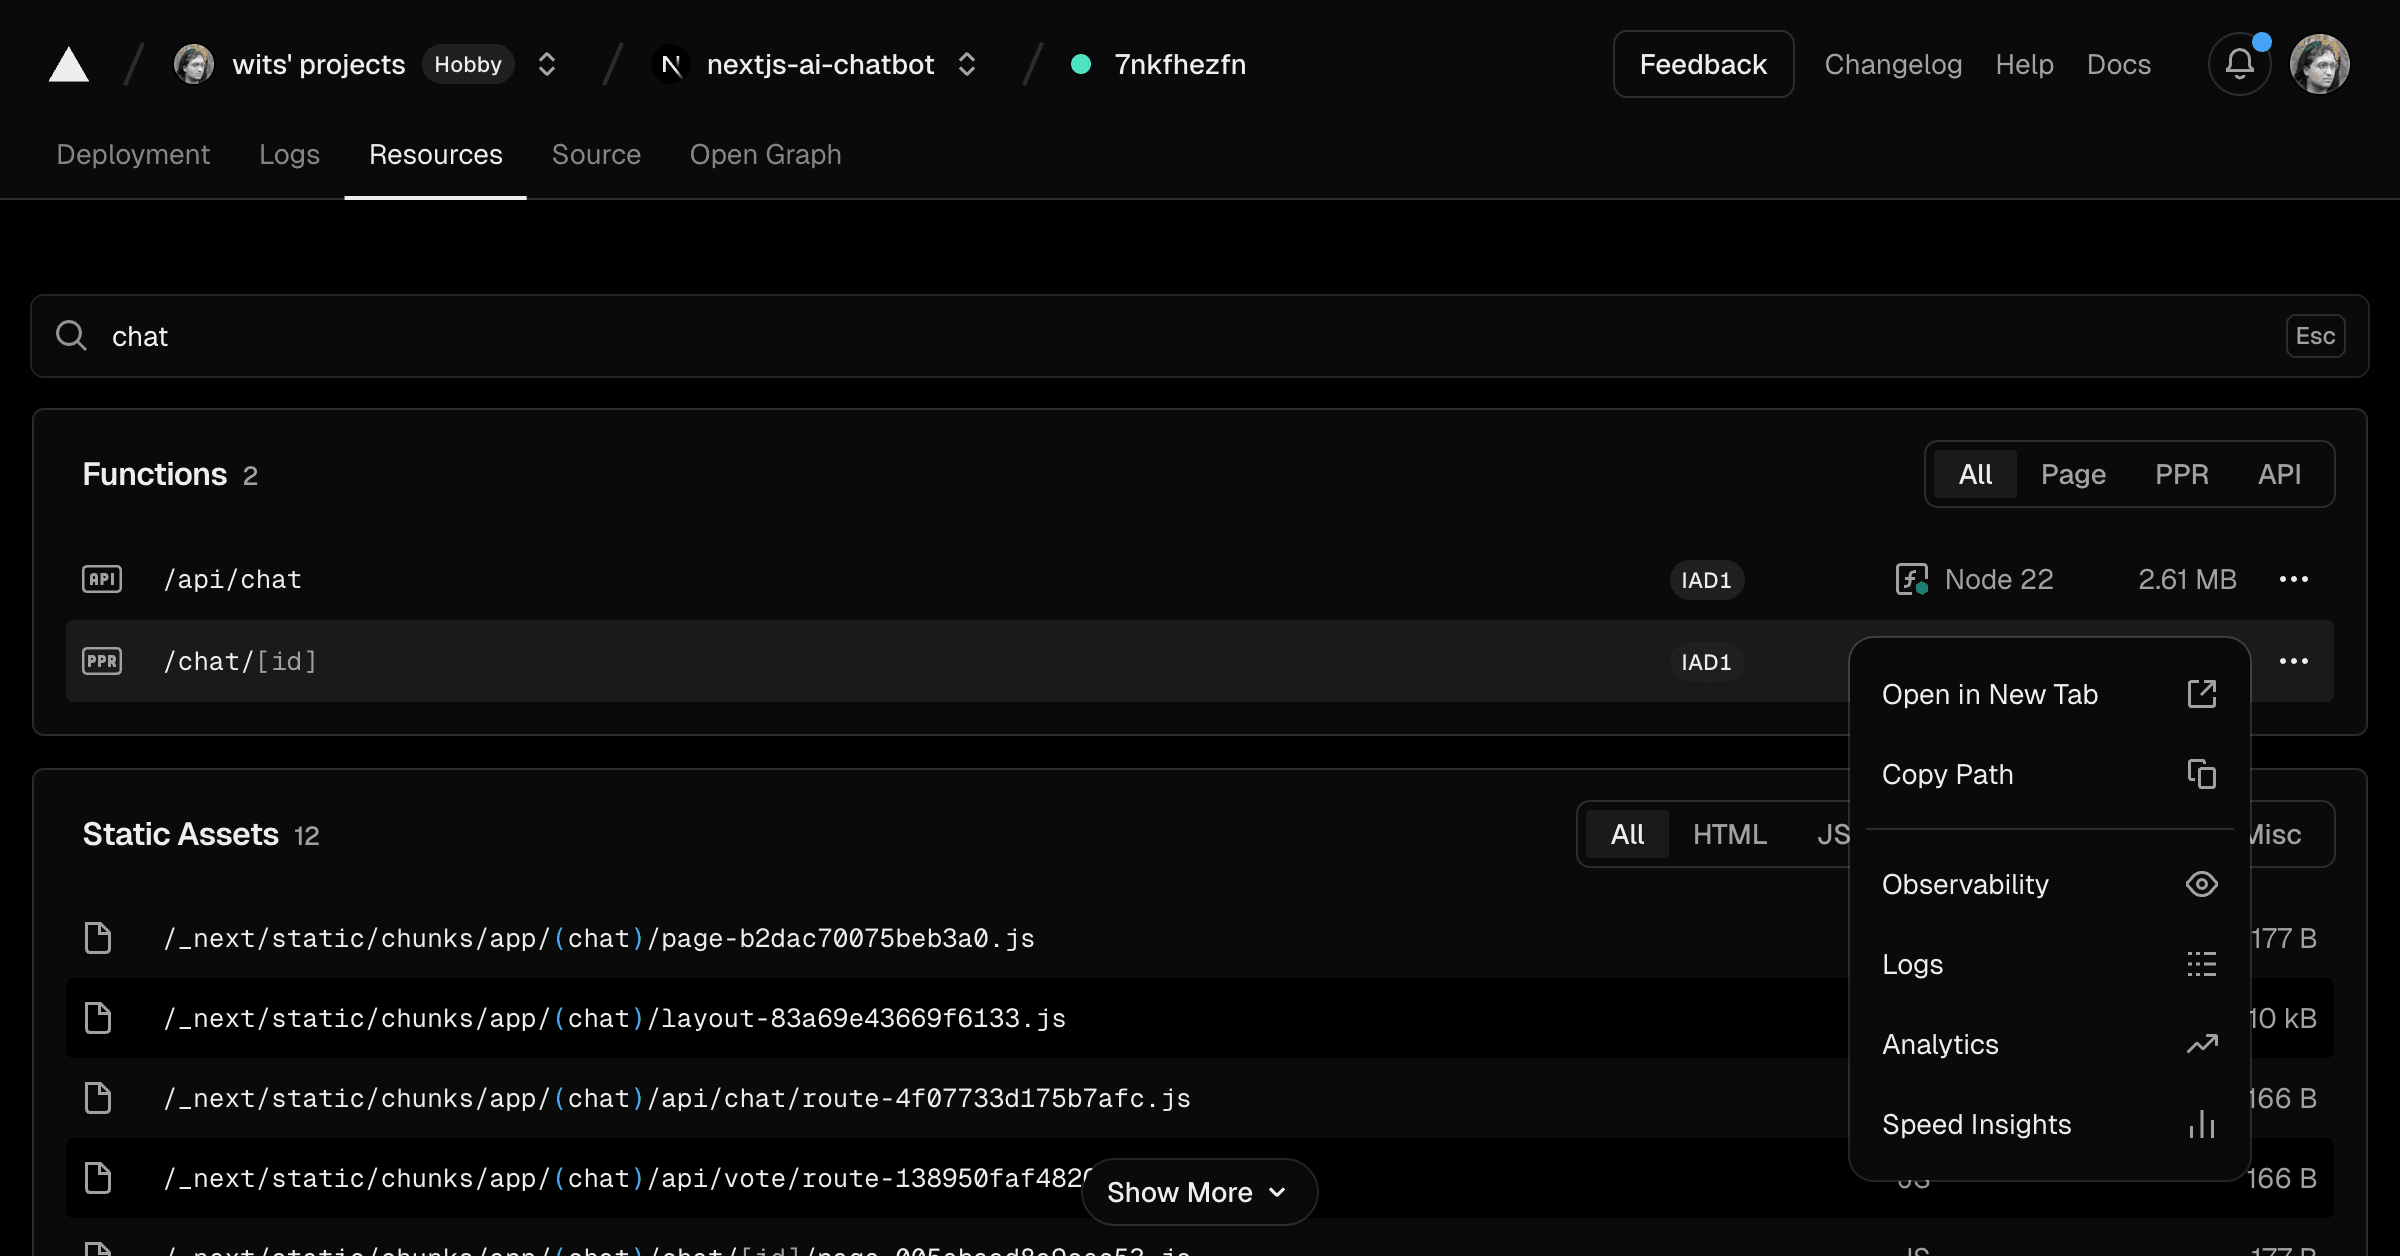
When you select a deployment from your Project → Deployments page, you can select the Resources tab to view and search:
- Middleware: Any configured matchers.
- Static Assets: Files (HTML, CSS, JS) and their sizes.
- Functions: The type, runtime, size, and regions.
You can use the three dot (…) menu for a given function to jump to that function in Logs, Analytics, Speed Insights, or the Observability tab.


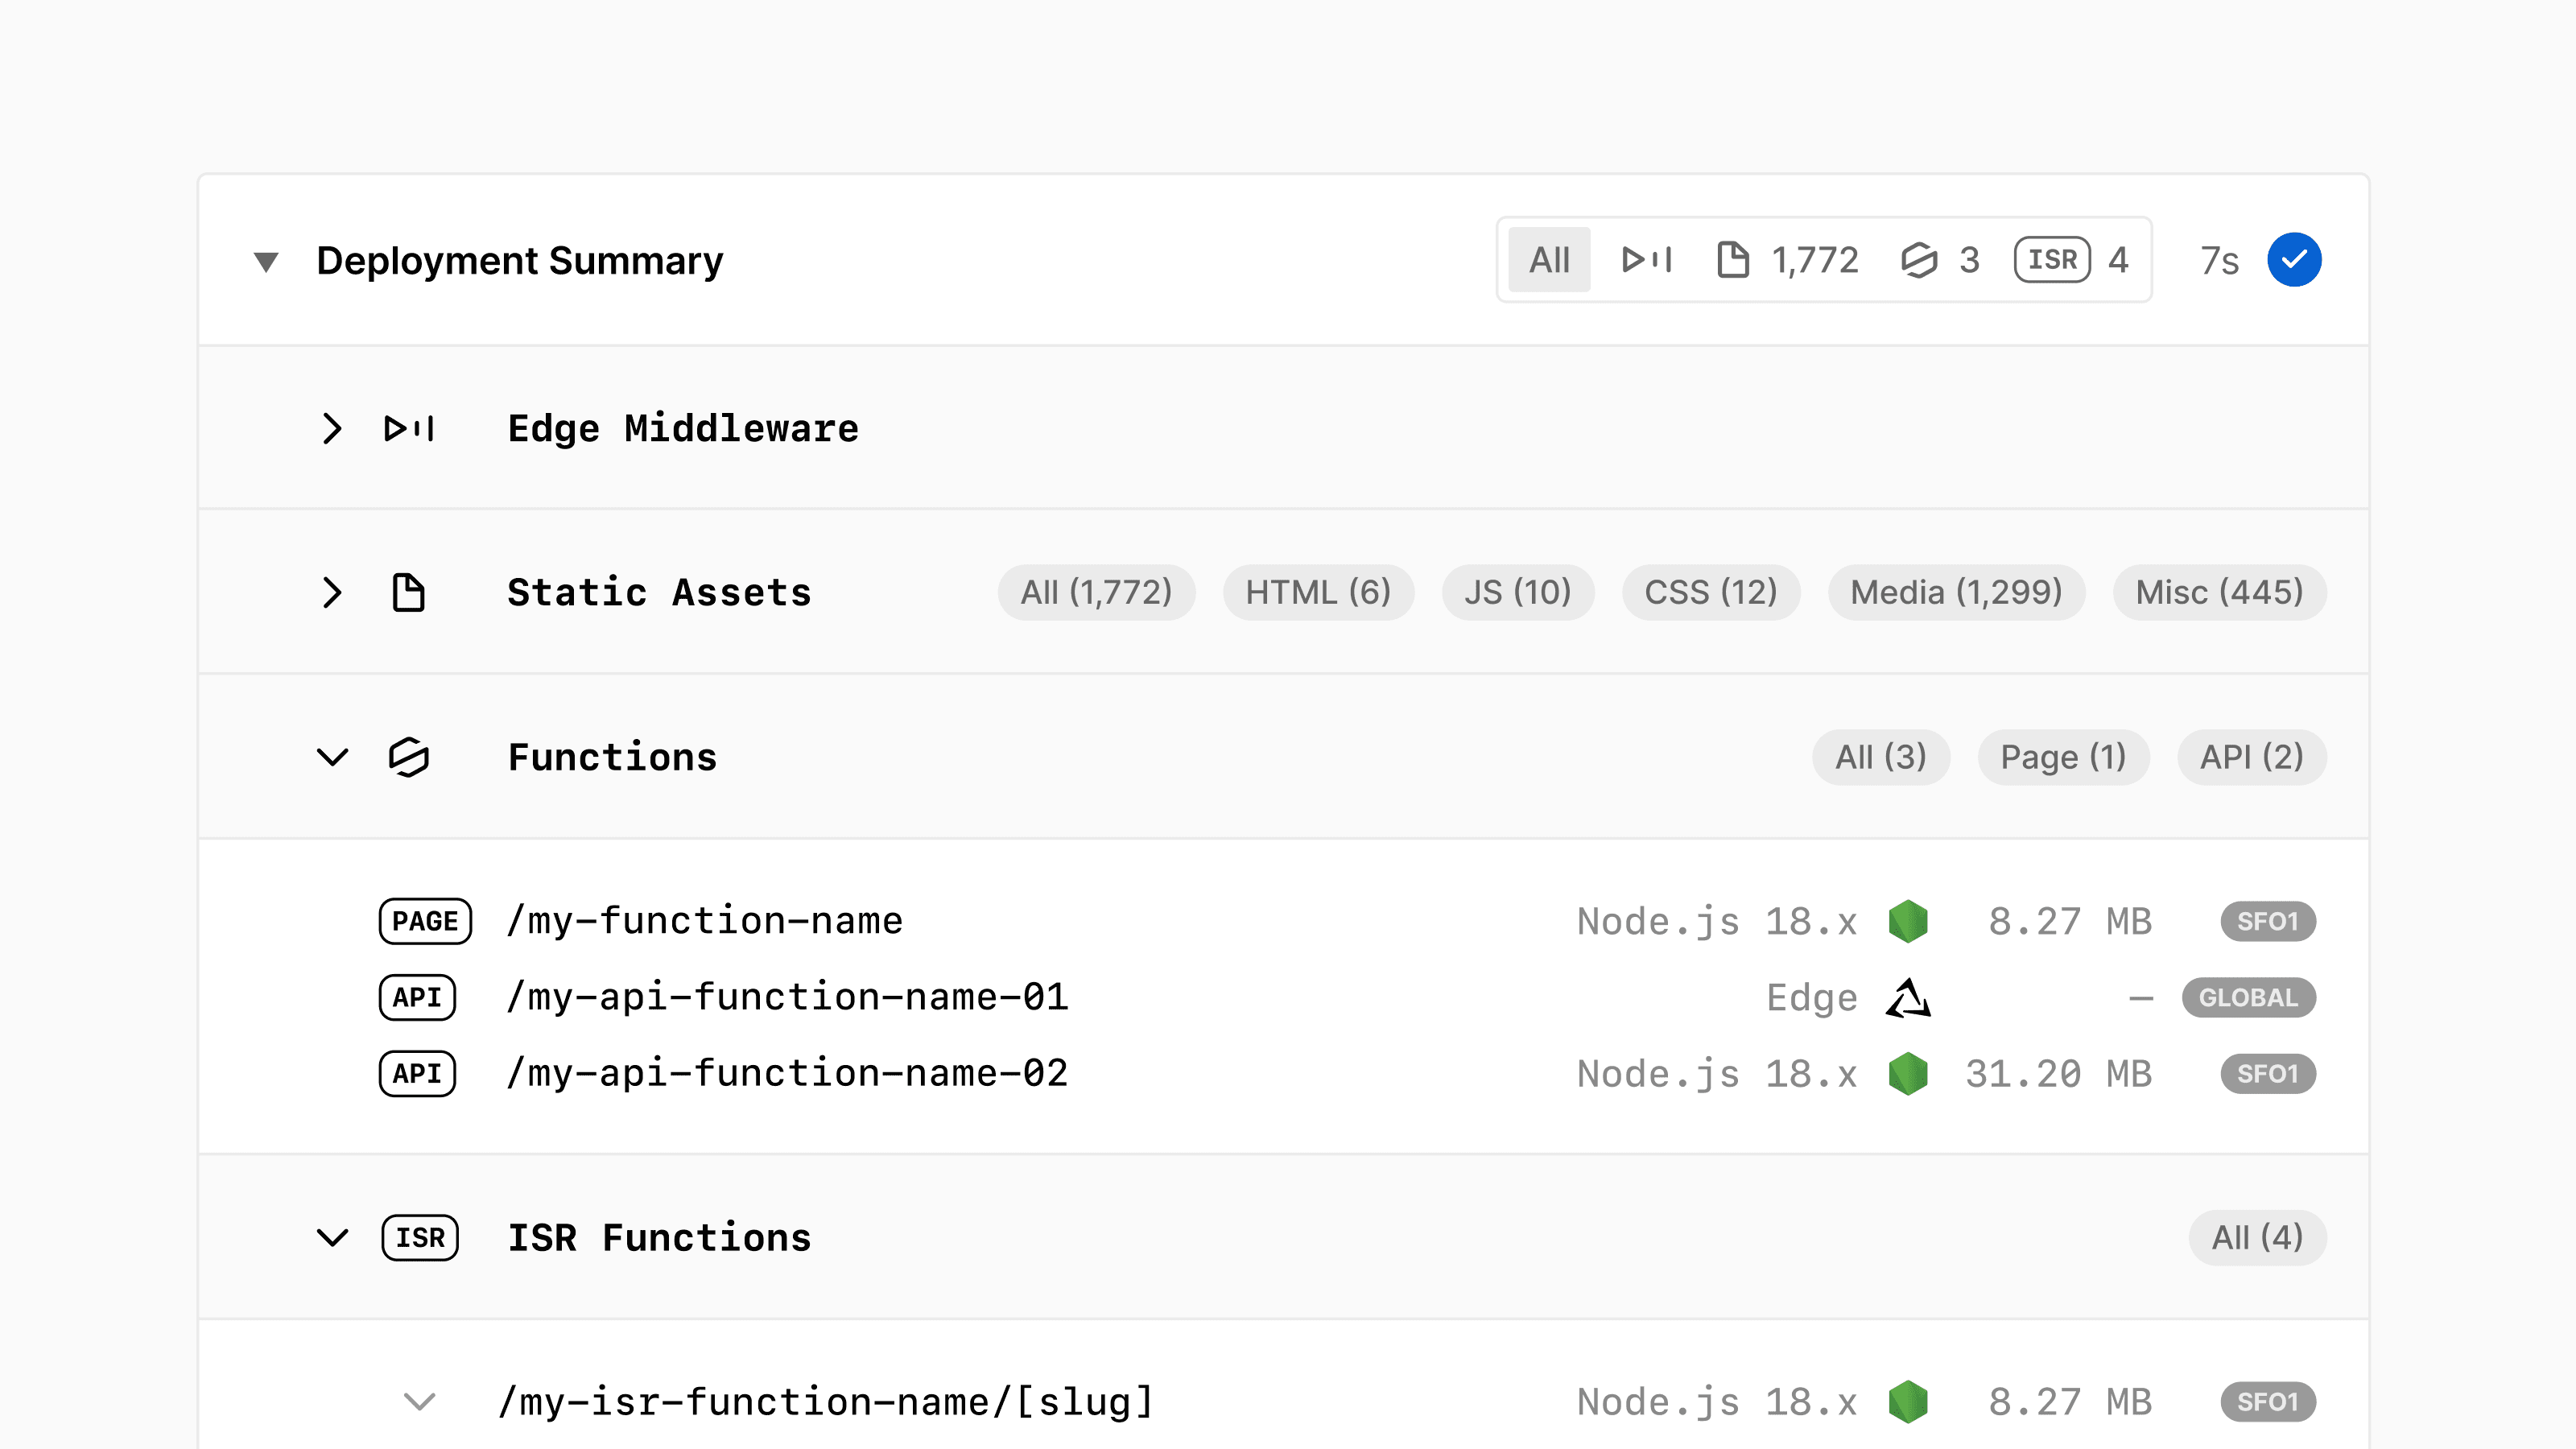
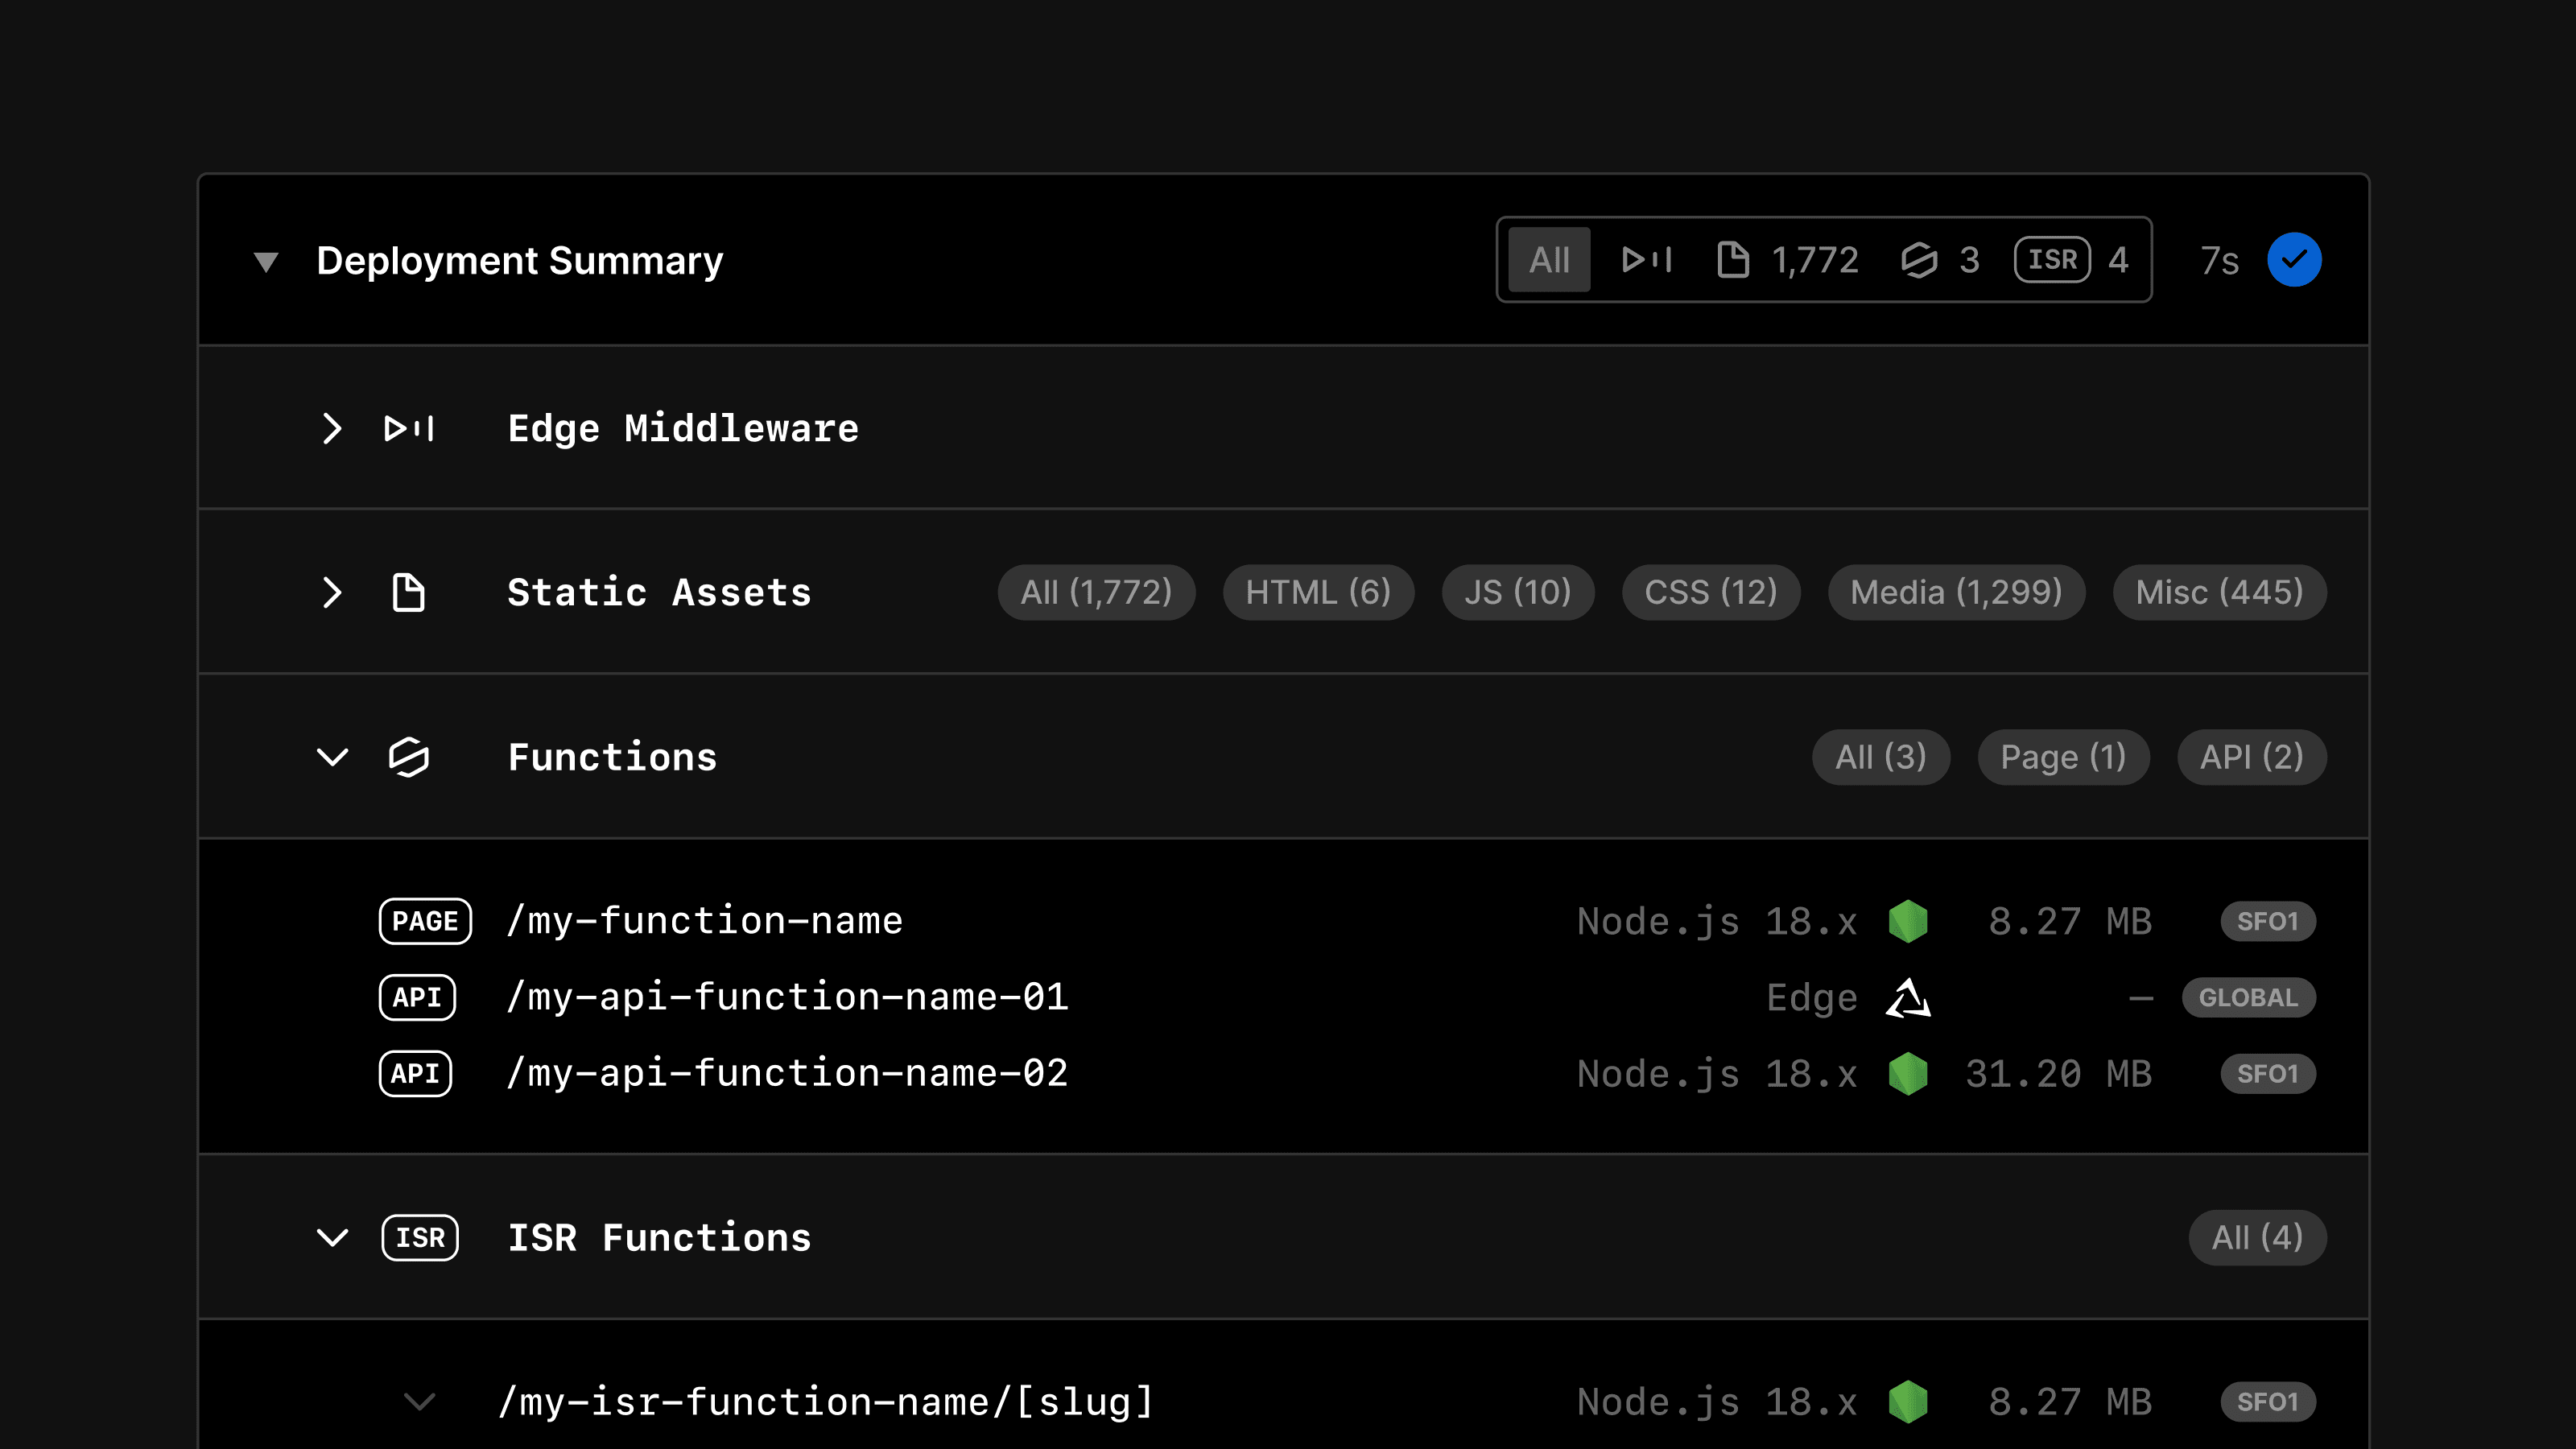
You can also see a summary of these resources by expanding the Deployment Summary section on a Deployment Details page. To visit the Deployment Details page for a deployment, select it from your Project → Deployments page.


You’ll also see your build time, detected framework, and any relevant logs or errors.
On your Project Overview page, you can see the latest production deployment, including the generated URL and commit details, and deployment logs for debugging.
From the Deployments tab, you can:
- Redeploy: Re-run the build for a specific commit or configuration.
- Inspect: View logs and build outputs.
- Assign a Custom Domain: Point custom domains to any deployment.
- Promote to Production: Convert a preview deployment to production (if needed).
For more information on interacting with your deployments, see Managing Deployments.
Was this helpful?

