Setting Up Webhooks
A webhook is a trigger-based HTTP endpoint configured to receive HTTP POST requests through events. When an event happens, a webhook is sent to another third-party app, which can then take appropriate action.
Webhooks configured with Vercel can trigger a deployment when a specific event occurs. Vercel integrations receive platform events through webhooks.
Account Webhooks are available on Enterprise and Pro plans
Vercel allows you to add a generic endpoint for events from your dashboard. Pro and Enterprise teams will be able to configure these webhooks at the account level.
Choose your team scope on the dashboard, and go to Settings ➞ Webhooks.
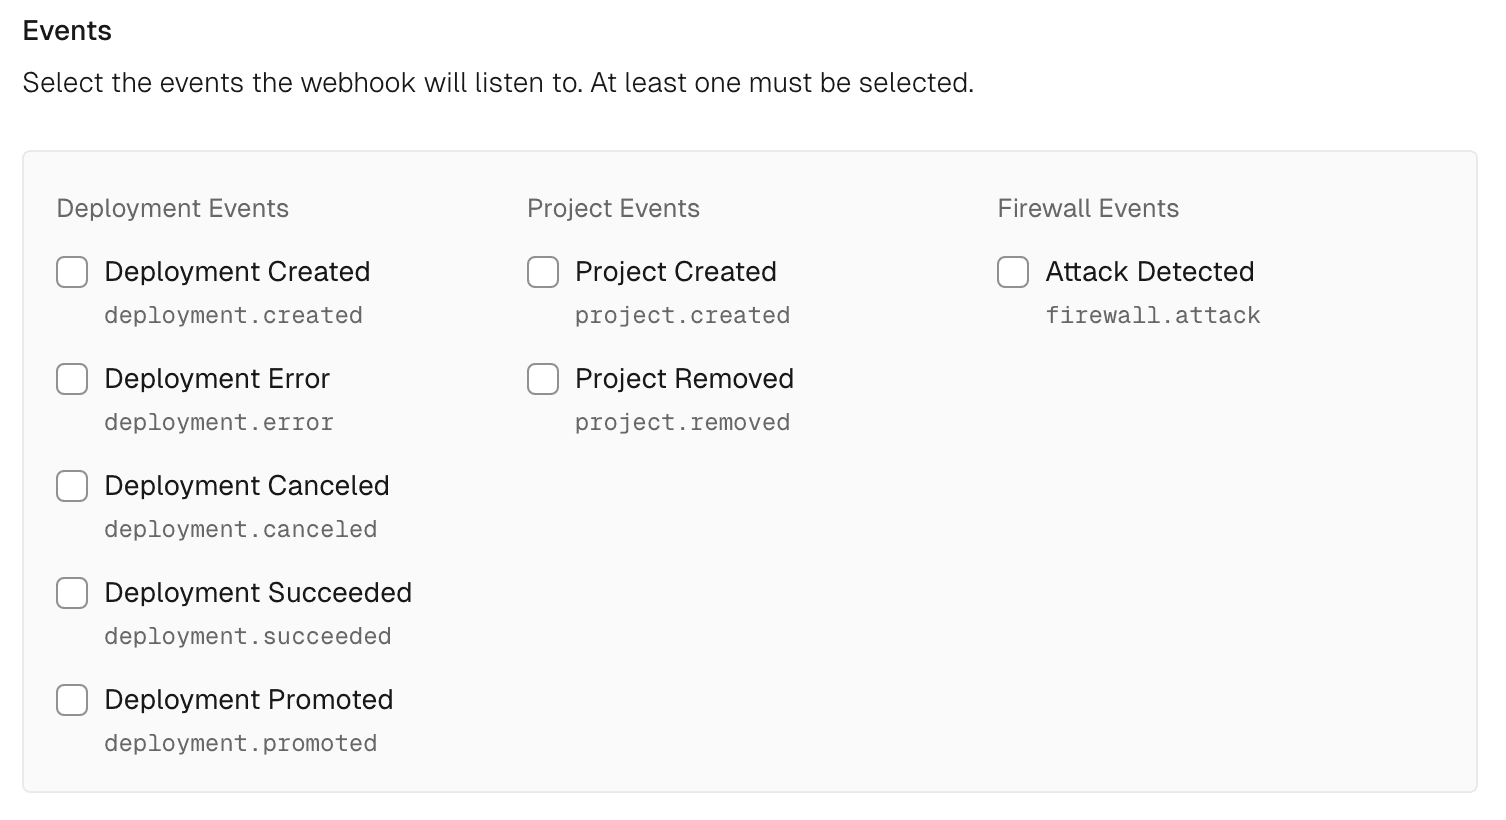
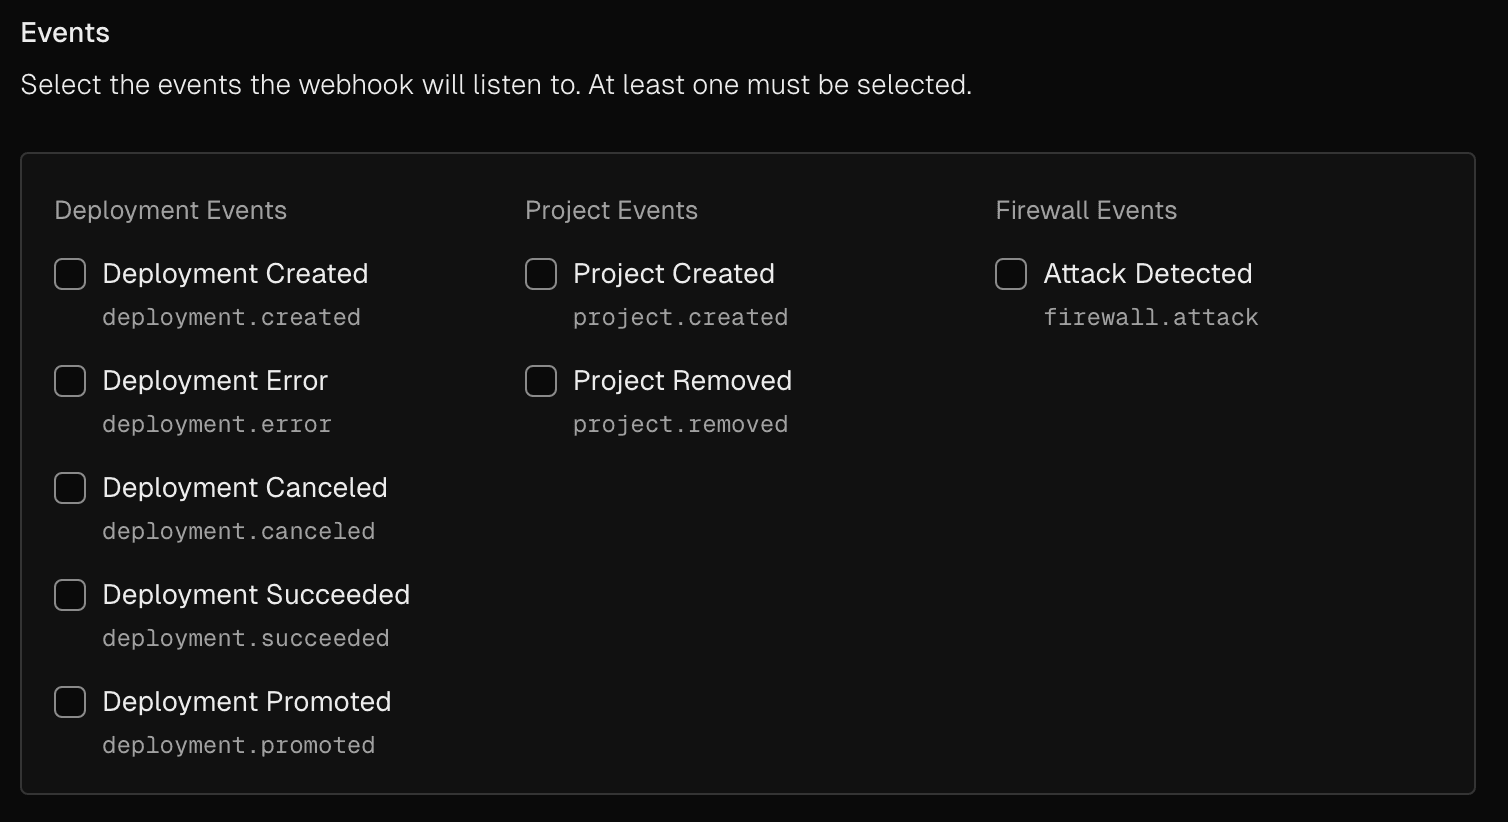
Select events for your webhooks to listen. The configured webhook listens to one or more events before it triggers the function request. Vercel supports event selections from the following categories:
Configurable webhooks listen to the following deployment-based events:
- Deployment Created: Listens for when any new deployment is initiated
- Deployment Succeeded: Listens for a successful deployment
- Deployment Promoted: Listens for when a deployment is successfully promoted, either manually or automatically, does not include rollbacks
- Deployment Error: Listens for any failed deployment
- Deployment Cancelled: Listens for a canceled deployment due to any failure
Project events are only available when "All Team Projects" is selected as the project scope.
Configurable webhooks listen to the following project-based events:
- Project Created: Listens whenever a new project is created
- Project Removed: Listens whenever any project is deleted from the team account
- Project Renamed: Listens whenever a project is renamed
- Project Environment Variable Created: Listens whenever a project environment variable is created
- Project Environment Variable Updated: Listens whenever a project environment variable is updated
- Project Environment Variable Deleted: Listens whenever a project environment variable is deleted
Configurable webhooks listen to the following firewall-based events:
- Attack Detected: Listens for when the Vercel Firewall detects and mitigates a DDoS attack
The events you select should depend on your use case and the workflow you want to implement.


Choose the scope of project(s) for webhooks. After selecting the event types, choose the scope of team projects for which webhooks will listen for events.
The endpoint URL is the destination that triggers the events. All events are forwarded to this URL as a POST request. In case of an event, your webhook initiates an HTTP callback to this endpoint that you must configure to receive data. In order to be accessible, make sure these endpoint URLs are public.


Define the endpoint URL for the webhooks to listen. Once you have configured your webhook, click the Create Webhook button.
The Webhook Created dialog will display a secret key, which won't be shown again. You should secure your webhooks by comparing the
x-vercel-signatureheader of an incoming request with this secret. For integration webhooks, use your Integration Secret (also called Client Secret) from the Integration Console instead. See Securing webhooks to learn how to do this.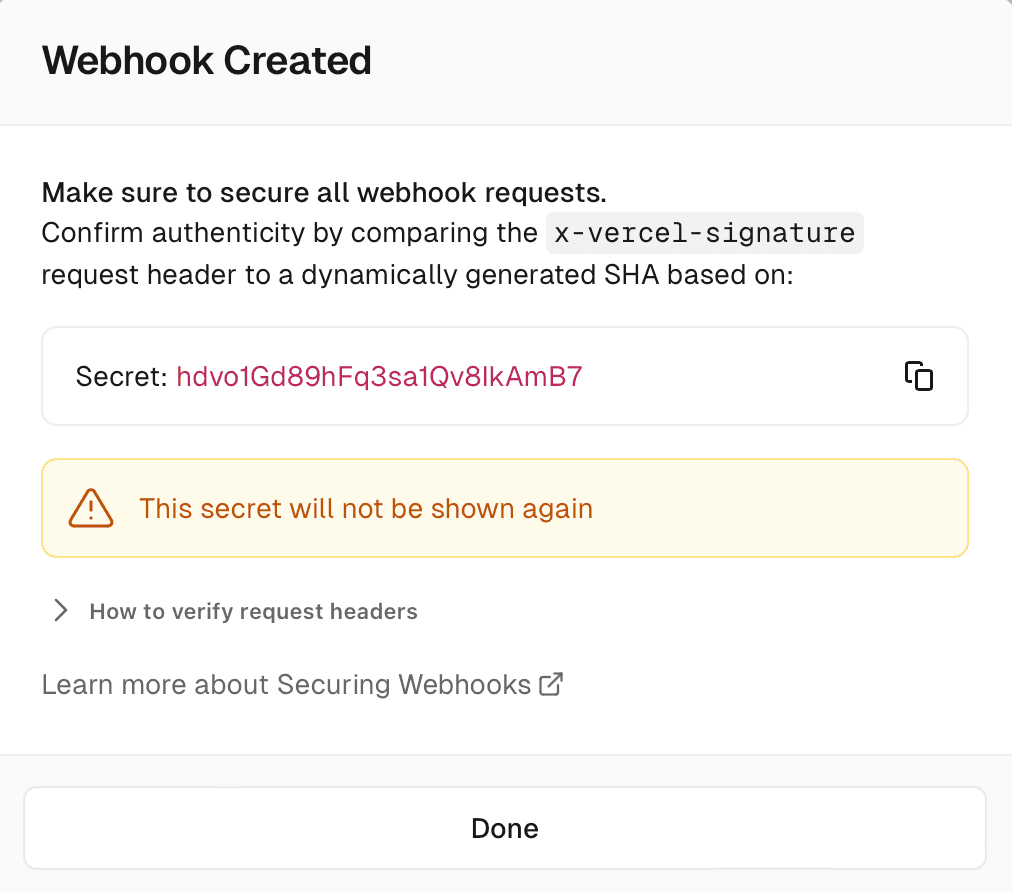
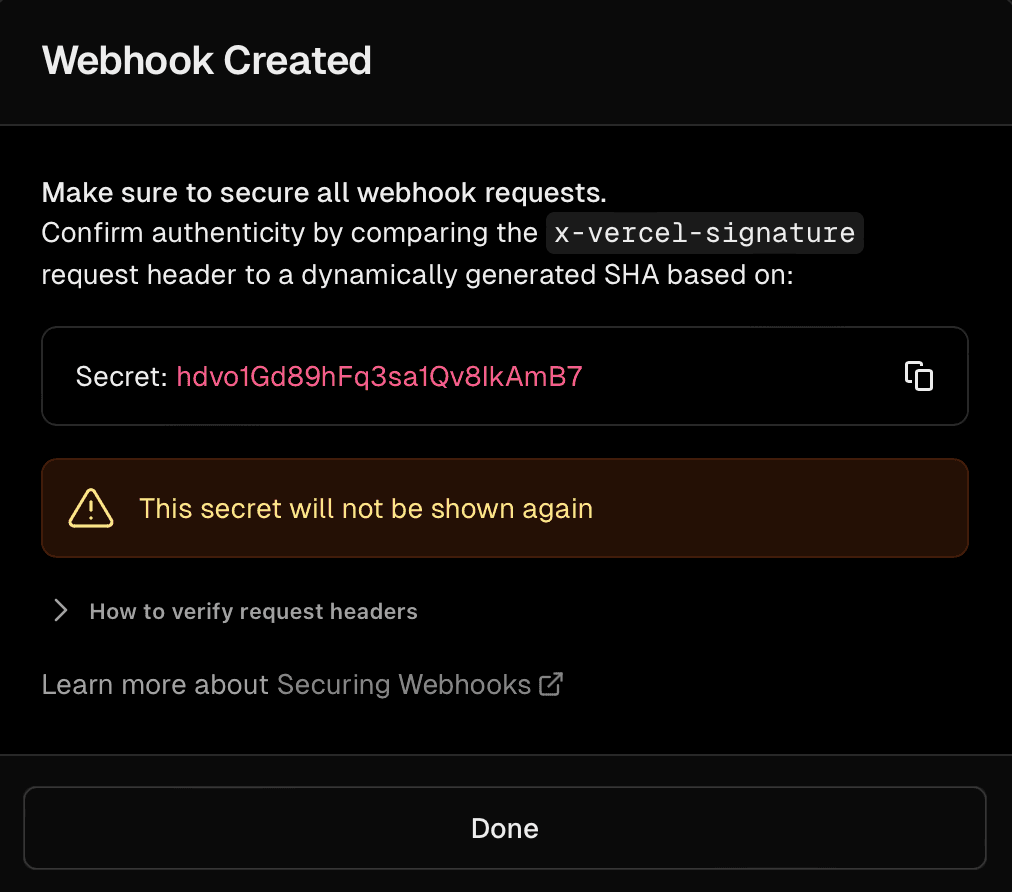
Confirmation to create the webhook. Once complete, click Done.
To view all your new and existing webhooks, go to the Webhooks section of your team's dashboard. To remove any webhook, click the cross icon next to the webhook. You can create and use up to 20 custom webhooks per team.
Webhooks can also be created through Integrations. When creating a new integration, you can add webhooks using the Integration Console. Inside your Integration's settings page locate the text field for setting the webhook URL. This is where you should add the HTTP endpoint to listen for events. Next, you can select one or more of these checkboxes to specify which events to listen to.
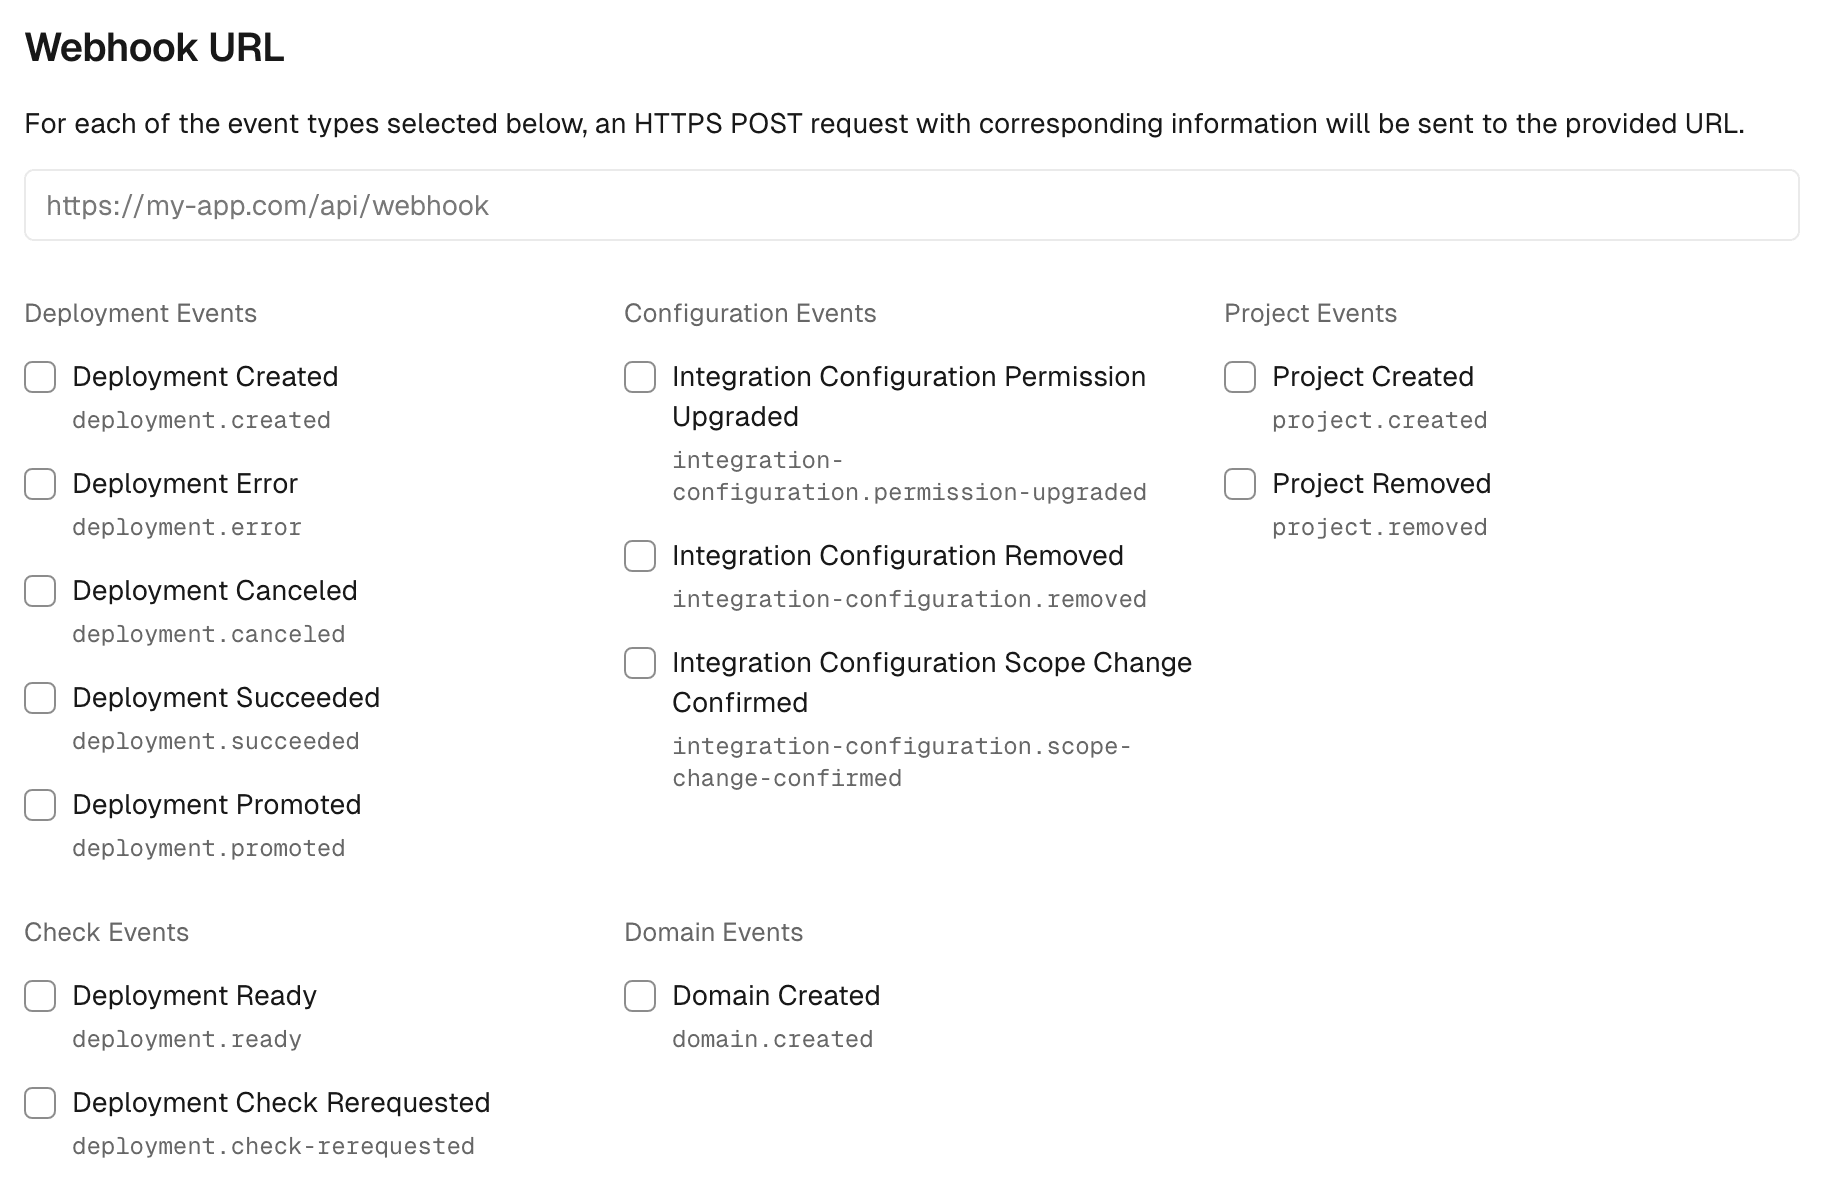
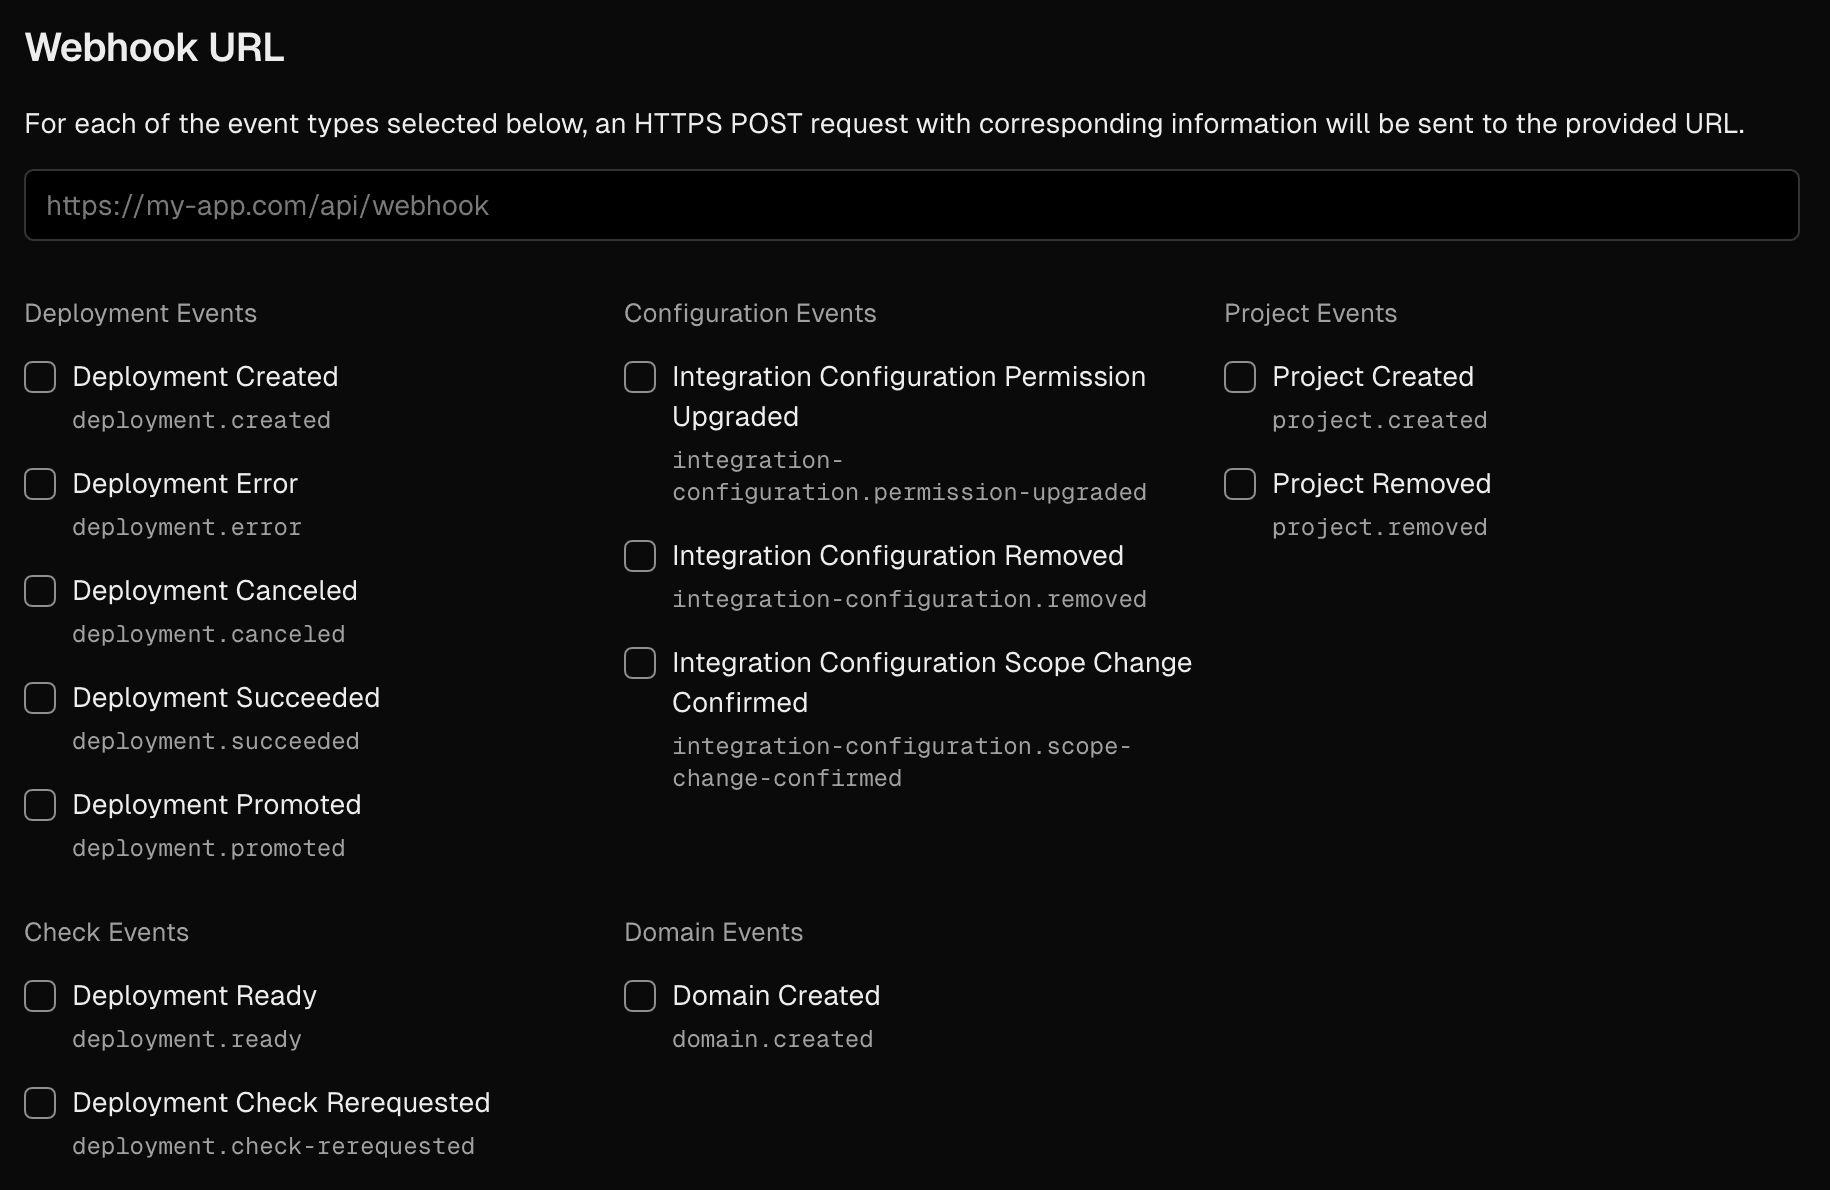
For native integrations, you can also receive billing-related webhook events such as invoice creation, payment, and refunds. Learn more about working with billing events through webhooks.
The webhook URL receives an HTTP POST request with a JSON payload for each event. All the events have the following format:
  "id": <eventId>,
  "type": <event-type>,
  "createdAt": <javascript-timestamp>,
  "payload": <payload for the event>,
  "region": <RegionId>,
Here's a list of supported event types and their payload.
Was this helpful?

