Deploying Git Repositories with Vercel
Vercel allows for automatic deployments on every branch push and merges onto the production branch of your GitHub, GitLab, Bitbucket and Azure DevOps Pipelines projects.
Using Git with Vercel provides the following benefits:
- Preview deployments for every push.
- Production deployments for the most recent changes from the production branch.
- Instant rollbacks when reverting changes assigned to a custom domain.
When working with Git, have a branch that works as your production branch, often called main. After you create a pull request (PR) to that branch, Vercel creates a unique deployment you can use to preview any changes. Once you are happy with the changes, you can merge your PR into the main branch, and
Vercel will create a production deployment.
You can choose to use a different branch as the production branch.
- GitHub Free
- GitHub Team
- GitHub Enterprise Cloud
- GitLab Free
- GitLab Premium
- GitLab Ultimate
- GitLab Enterprise
- Bitbucket Free
- Bitbucket Standard
- Bitbucket Premium
- Azure DevOps Pipelines
If your provider is not listed here, you can also use the Vercel CLI to deploy with any git provider.
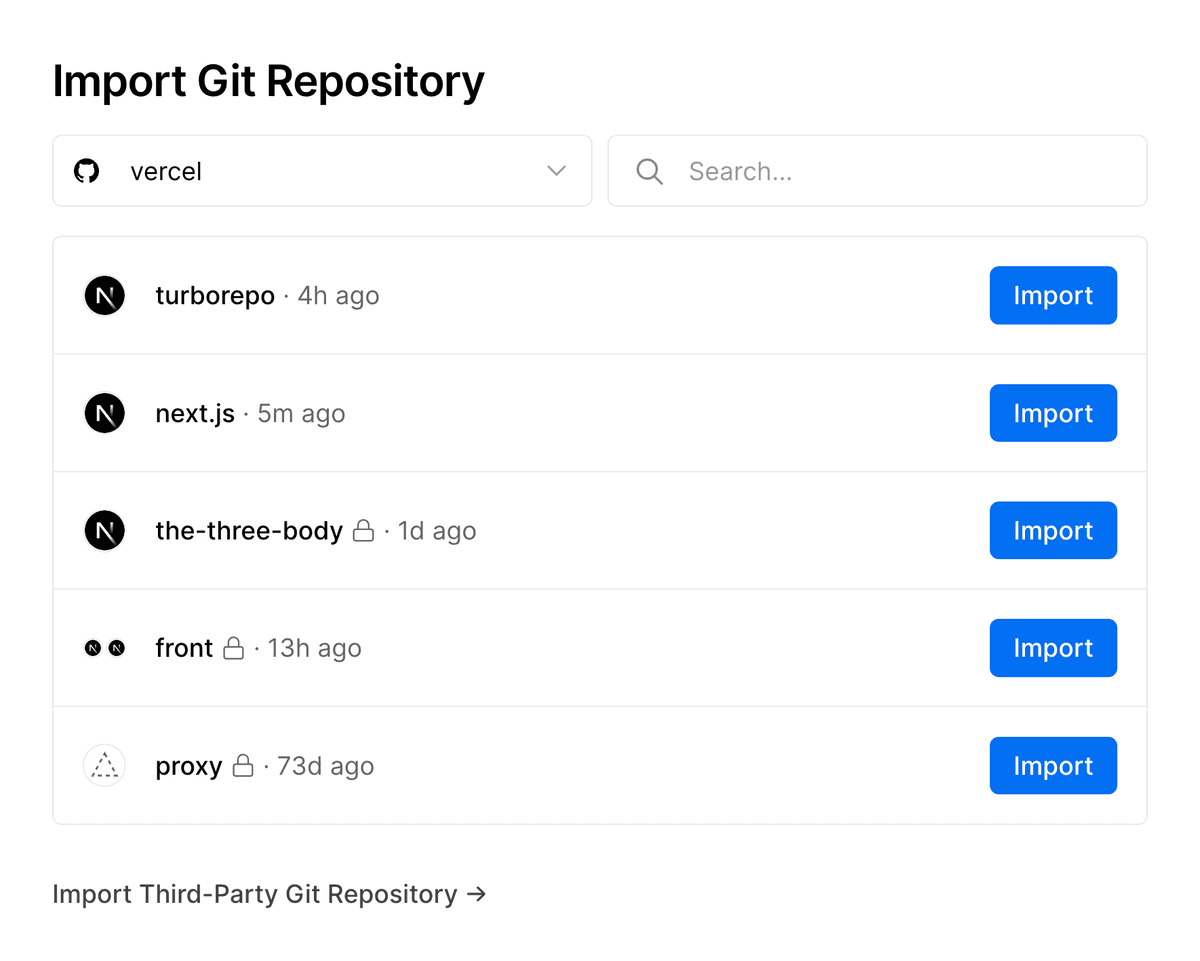
Setting up your GitHub, GitLab, or Bitbucket repository on Vercel is only a matter of clicking the "New Project" button on the top right of your dashboard and following the steps.
For Azure DevOps repositories, use the Vercel Deployment Extension
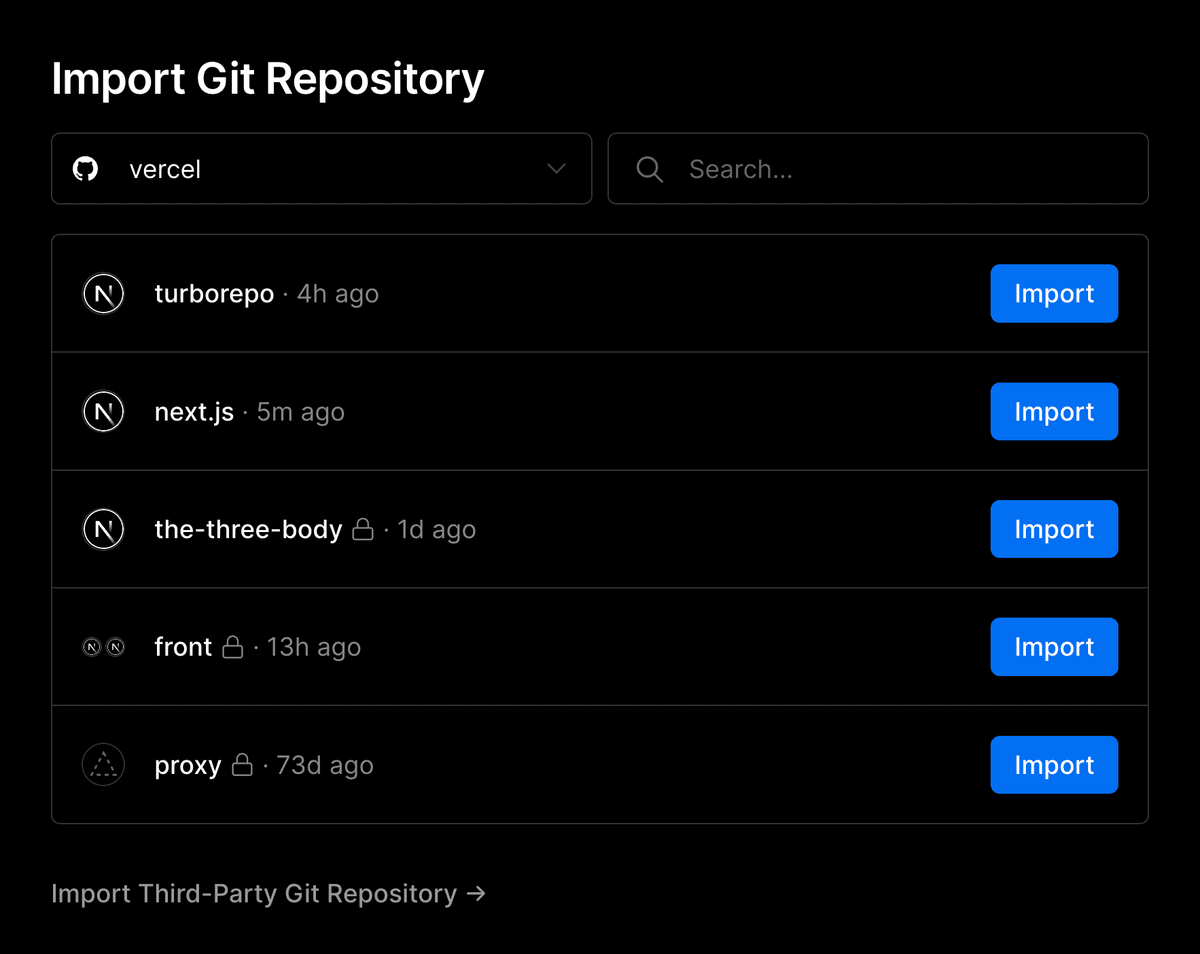
After clicking it, you'll be presented with a list of Git repositories that the Git account you've signed up with has write access to.
To select a different Git namespace or provider, you can use the dropdown list on the top left of the section.


You can also:
- Select a third-party Git repository by clicking on Import Third-Party Git Repository on the bottom of the section.
- Select a pre-built solution from the section on the right.
After you've selected the Git repository or template you want to use for your new project, you'll be taken to a page where you can configure your project before it's deployed.
You can:
- Customize the project's name
- Select a Framework Preset
- Select the root directory of your project
- Configure Build Output Settings
- Set Environment Variables
When your settings are correct, you can select the Deploy button to initiate a deployment.
You can initiate new deployments directly from the Vercel Dashboard using a Git reference. This approach is ideal when automatic deployments are interrupted or unavailable.
To create a deployment from a Git reference:
-
From your dashboard, select the project you'd like to create a deployment for
-
Select the Deployments tab. Once on the Deployments page, select the Create Deployment button
-
Depending on how you would like to deploy, enter the following:
- Targeted Deployments: Provide the unique ID (SHA) of a commit to build a deployment based on that specific commit
- Branch-Based Deployments: Provide the full name of a branch when you want to build the most recent changes from that specific branch (for example,
https://github.com/vercel/examples/tree/deploy)
-
Select Create Deployment. Vercel will build and deploy your commit or branch as usual
When the same commit appears in multiple branches, Vercel will prompt you to choose the appropriate branch configuration. This choice is crucial as it affects settings like environment variables linked to each branch.
As an additional security measure, commits on private Git repositories (and commits of forks that are targeting those Git repositories) will only be deployed if the commit author also has access to the respective project on Vercel.
Depending on whether the owner of the connected Vercel project is a Hobby or a Pro team, the behavior changes as mentioned in the sections below.
This only applies to commit authors on GitHub organizations, GitLab groups and non-personal Bitbucket workspaces. It does not apply to collaborators on personal Git accounts.
For public Git repositories, a different behavior applies.
To deploy commits under a Vercel Pro team, the commit author must be a member of the team containing the Vercel project connected to the Git repository.
Membership is verified by finding the Vercel user associated with the commit author through Login Connections. If a Vercel user is found, it checks if the account is a member of the Pro team.
If the commit author is not a member, the deployment will be prevented, and the commit author can request to join the team. The team owners will be notified and can accept or decline the membership request on the Members page in the team Settings.
If the request is declined, the commit will remain undeployed. If the commit author is accepted as a member of the Pro team, their most recent commit will automatically resume deployment to Vercel.
Commit authors are automatically considered part of the Pro team on Vercel if one of the existing members has connected their account on Vercel with the Git account that created the commit.
You cannot deploy to a Hobby team from a private repository in a GitHub organization, GitLab group, or Bitbucket workspace. Consider making the repository public or upgrading to Pro.
To deploy commits under a Hobby team, the commit author must be the owner of the Hobby team containing the Vercel project connected to the Git repository. This is verified by comparing the Login Connections Hobby team's owner with the commit author.
If the commit author is not the owner of the destination Hobby team, the deployment will be prevented, and a recommendation to transfer the project to a Pro team will be displayed on the Git provider.
After transferring the project to a Pro team, commit authors can be added as members of that team. The behavior mentioned in the section above will then apply to them whenever they commit.
When a public repository is forked, commits from it will usually deploy automatically. However, when you receive a pull request from a fork of your repository, Vercel will require authorization from you or a team member to deploy the pull request. This is a security measure that protects you from leaking sensitive project information. A link to authorize the deployment will be posted as a comment on the pull request.
The authorization step will be skipped if the commit author is already a team member on Vercel.
A Production deployment will be created each time you merge to the production branch.
When you create a new Project from a Git repository on Vercel, the Production Branch will be selected in the following order:
- The
mainbranch. - If not present, the
masterbranch (more details). - [Only for Bitbucket]: If not present, the "production branch" setting of your Git repository is used.
- If not present, the Git repository's default branch.
On the Environments page in the Project Settings, you can change your production branch:
- Click on the Production environment and go to Branch Tracking
- Change the name of the branch and click Save
Whenever a new commit is then pushed to the branch you configured here, a production deployment will be created for you.
While the production branch is a single Git branch that contains the code that is served to your visitors, all other branches are deployed as pre-production branches (either preview branches, or if you have configured them, custom environments branches).
For example, if your production branch is main, then by default all the Git branches that are not main are considered preview branches. That means there can be many preview branches, but only a single production branch.
To learn more about previews, see the Preview Deployments page.
By default, every preview branch automatically receives its own domain similar to the one shown below, whenever a commit is pushed to it. To learn more about generated URLs, see the Accessing Deployments through Generated URLs page.
For most use cases, the default preview behavior mentioned above is enough. If you'd like your changes to pass through multiple phases of preview branches instead of just one, you can accomplish it by assigning Domains and Environment Variables to specific Preview Branches.
For example, you could create a phase called "Staging" where you can accumulate Preview changes before merging them onto production by following these steps:
- Create a Git branch called "staging" in your Git repository.
- Add a domain of your choice (like
staging.example.com) on your Vercel project and assign it to the "staging" Git branch like this. - Add Environment Variables that you'd like to use for your new Staging phase on your Vercel project like this.
- Push to the "staging" Git branch to update your Staging phase and automatically receive the domain and environment variables you've defined.
- Once you're happy with your changes, you would then merge the respective Preview Branch into your production branch. However, unlike with the default Preview behavior, you'd then keep the branch around instead of deleting it, so that you can push to it again in the future.
Alternatively, teams on the Pro plan can use custom environments.
Custom environments allow you to create and define a pre-production environment. As part of creating a custom environment, you can match specific branches or branch names, including main, to automatically deploy to that environment. You can also attach a domain to the environment.
Was this helpful?

