Managing Edge Configs with the Dashboard
You can create, view and update your Edge Configs, and the data inside them, in your Vercel Dashboard at both the account level and the project level.
To add an Edge Config at the Hobby team or team level, follow these steps:
-
Make sure that you are in the right Hobby team or team
-
Click on the Storage tab
-
Click the Create Store button
-
Type a name for your Edge Config in the dialog and click Create. The name shouldn't exceed 32 characters and can only contain alphanumeric letters, "_", and "-".
-
On creation, you are taken to the
my_edge_config_idconfig page. By default, a key-value pair of"greeting": "hello world"is created. On the detail page of the newly created Edge Config you can:- View and manage stored items
- Connect projects to and disconnect projects from this Edge Config
- Generate, copy, and delete tokens associated with this Edge Config
Your Edge Config is now ready to be used. You can also create an Edge Config at the project level.
If you're creating a project at the account-level, we won't automatically create a token, connection string, and environment variable until a project has been connected.
-
Navigate to your project page and click on the Edge Config tab
-
Click Create Project Store and type a name slug for your Edge Config in the dialog that opens. The name shouldn't exceed 32 characters and can only contain alphanumeric letters, "_", and "-".
-
Click Create.
-
Once created, you can click on the Edge Config to manage it. The following items are automatically created:
- An environment variable
EDGE_CONFIGthat holds a connection string. If you go to your project's Settings > Environment Variables, you'll see the newly created environment variable. - A read access token. This token, along with your EDGE CONFIG ID is used to create a connection string. This connection string is saved as the value of your
EDGE_CONFIGenvironment variable. Using this enables you to use the SDK in your project to read the contents of the store.
- An environment variable
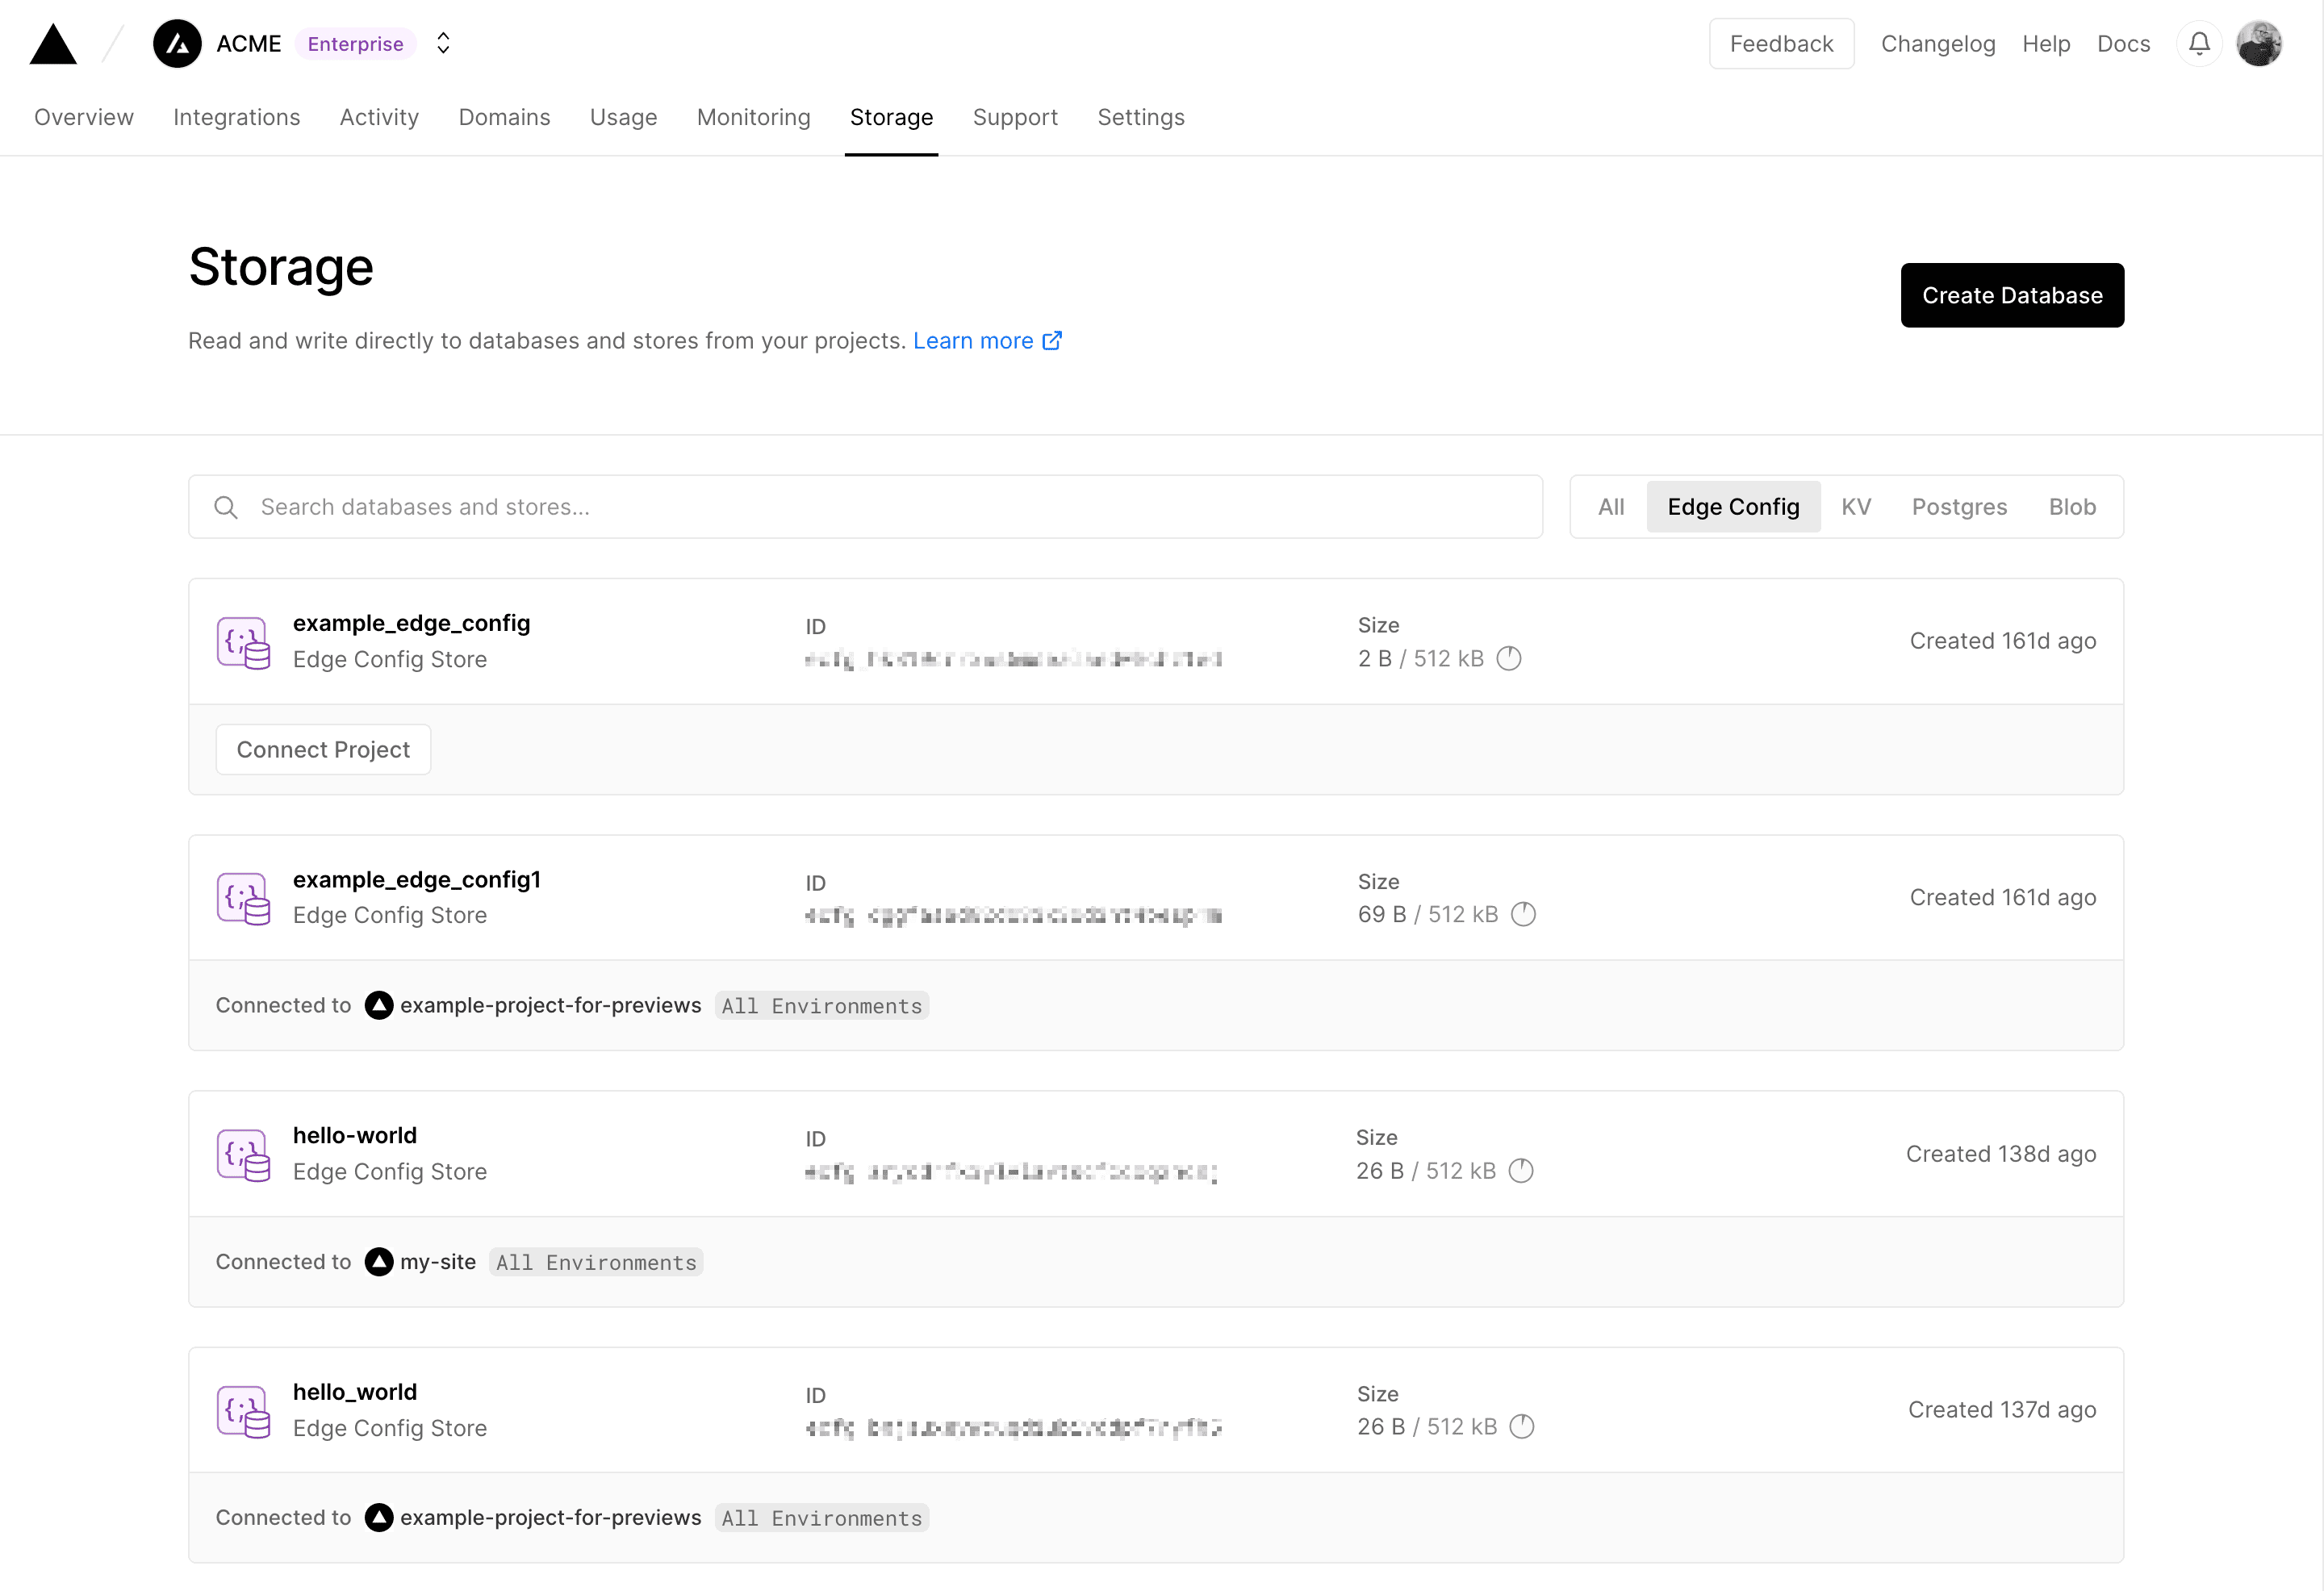
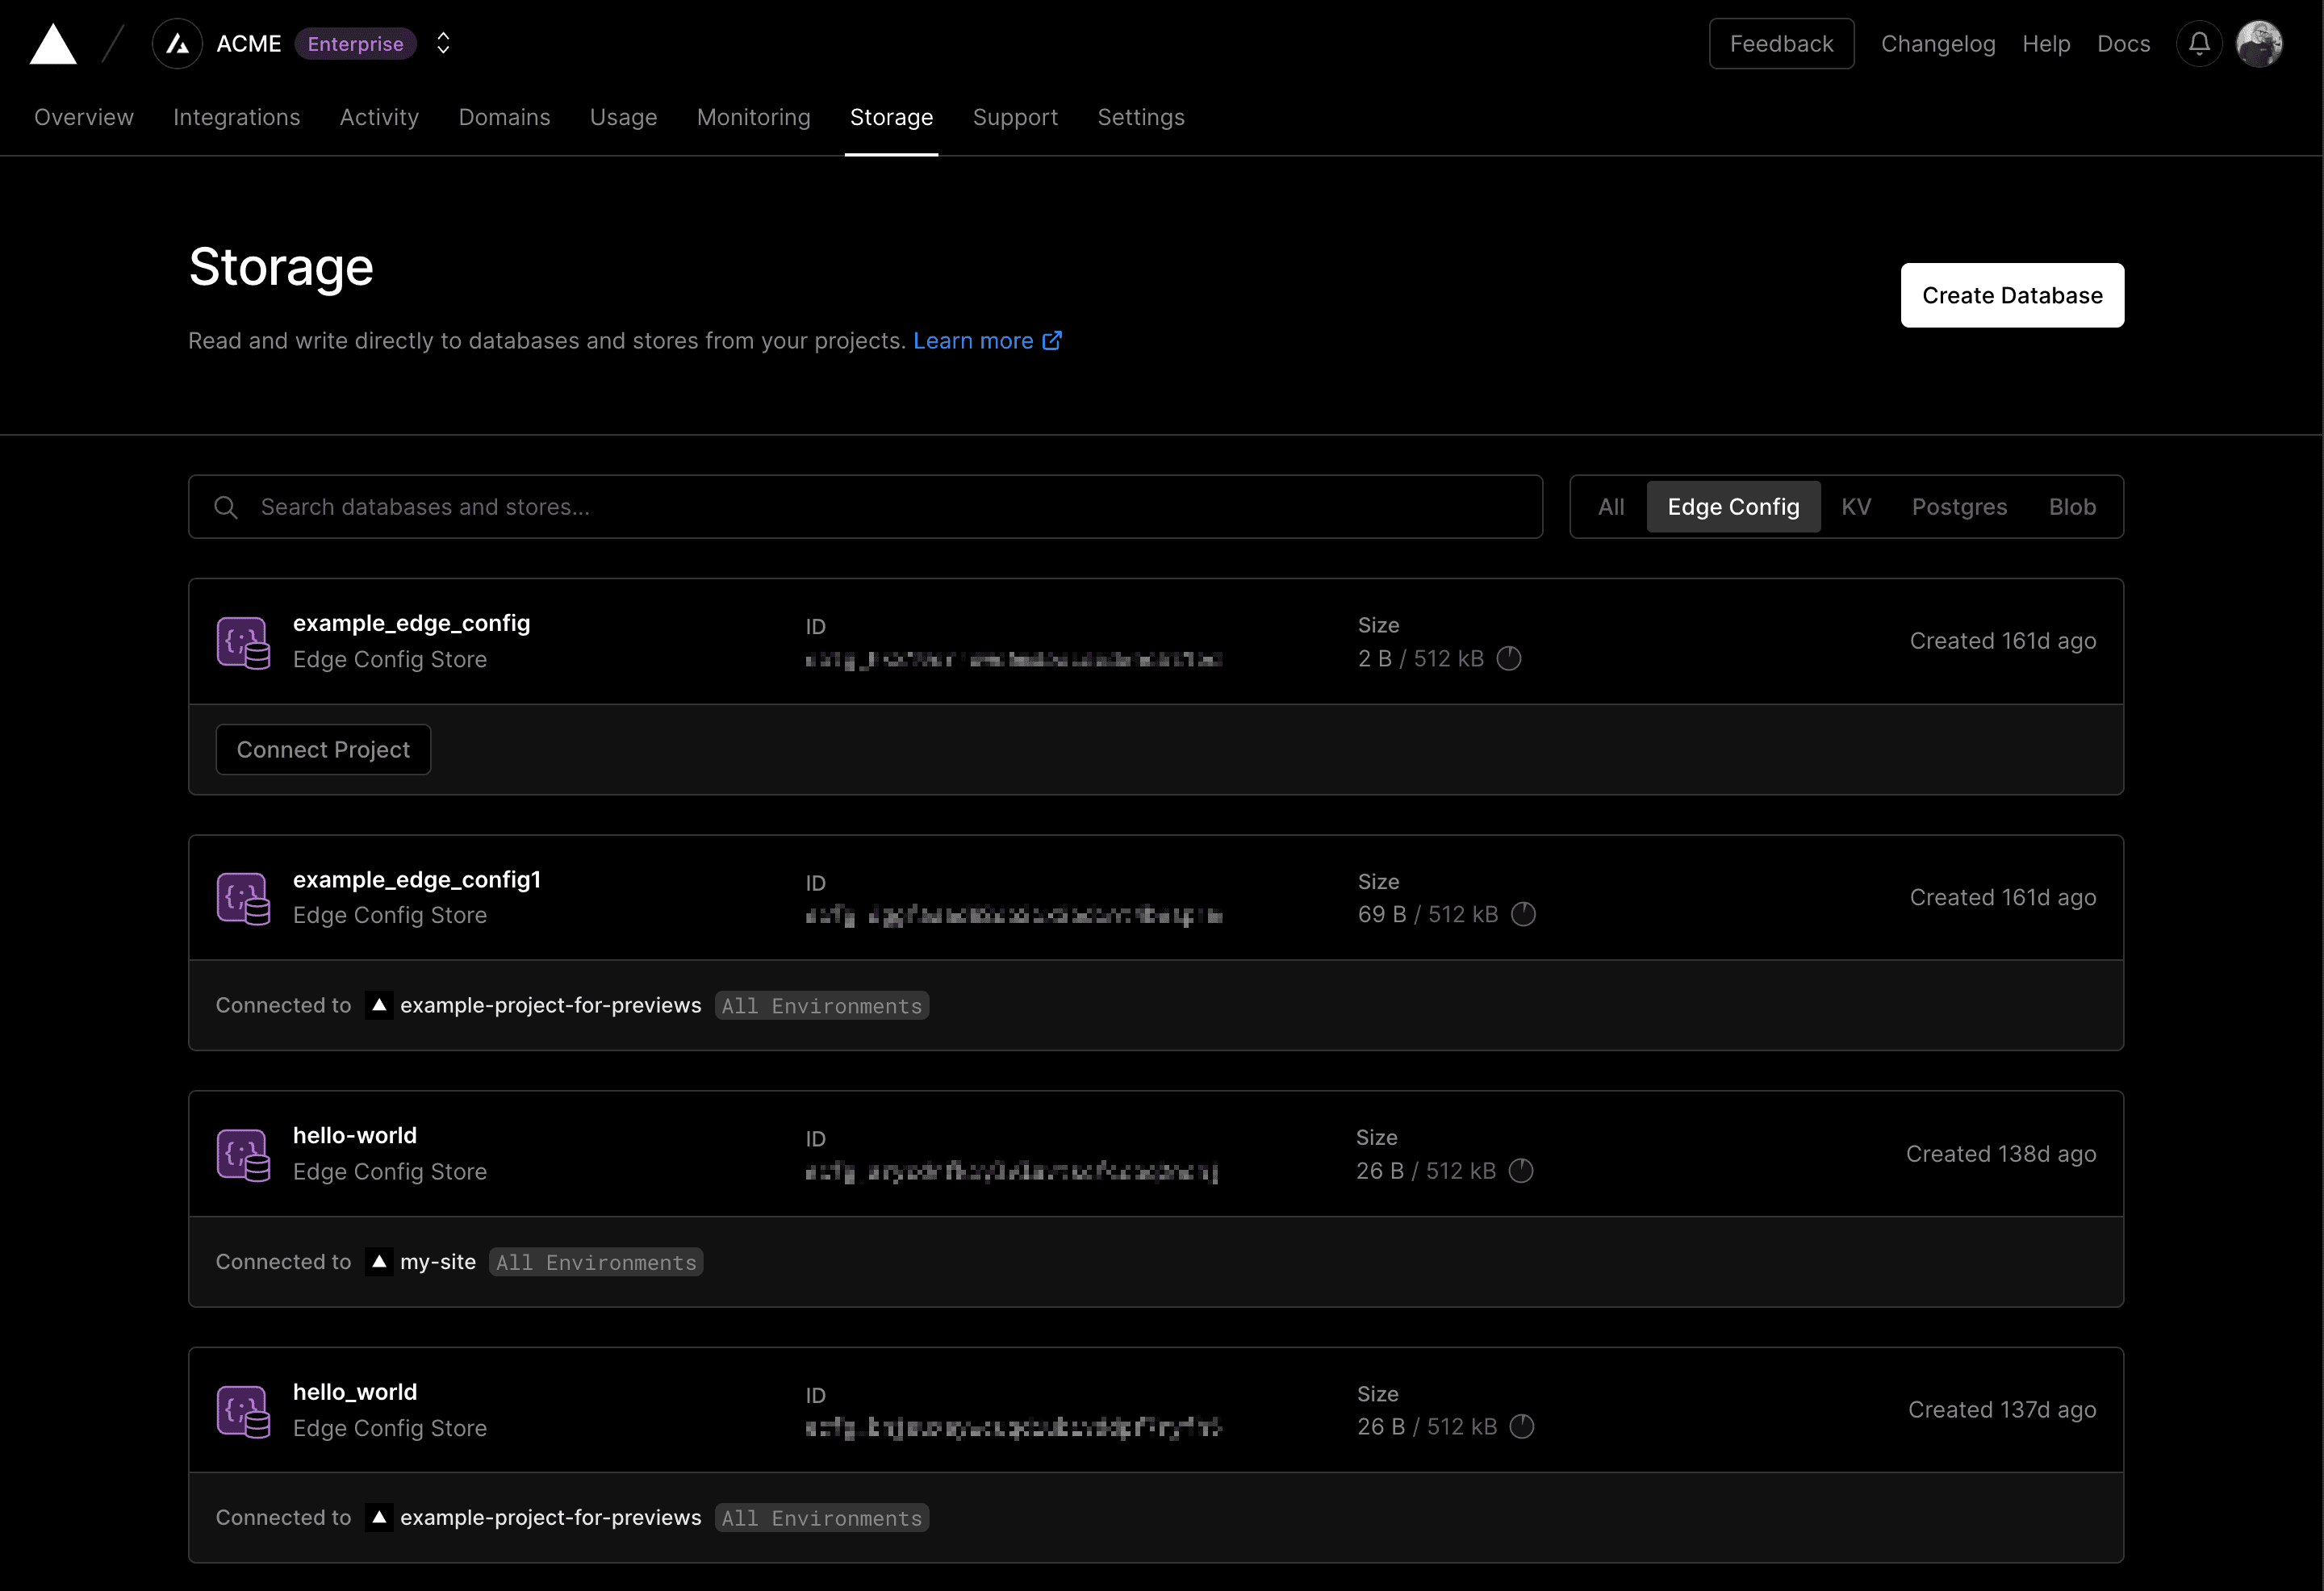
To view a list of all Edge Configs available in your Hobby team or team, go to Storage then select Edge Config from the drop-down after making sure that you are in the correct Hobby team or team.


In the Used by column, you can see in which project(s) the Edge Config is used. The right column shows the size of the data contained in the config. To manage the Edge Config, its store and tokens, click on the Edge Config's row to open the detail page.


To rename the Edge Config, select the Settings item in the sidebar, update the Edge Config Name, and select Save.
To delete the Edge Config, select the Settings item in the sidebar, then select Delete Edge Config.
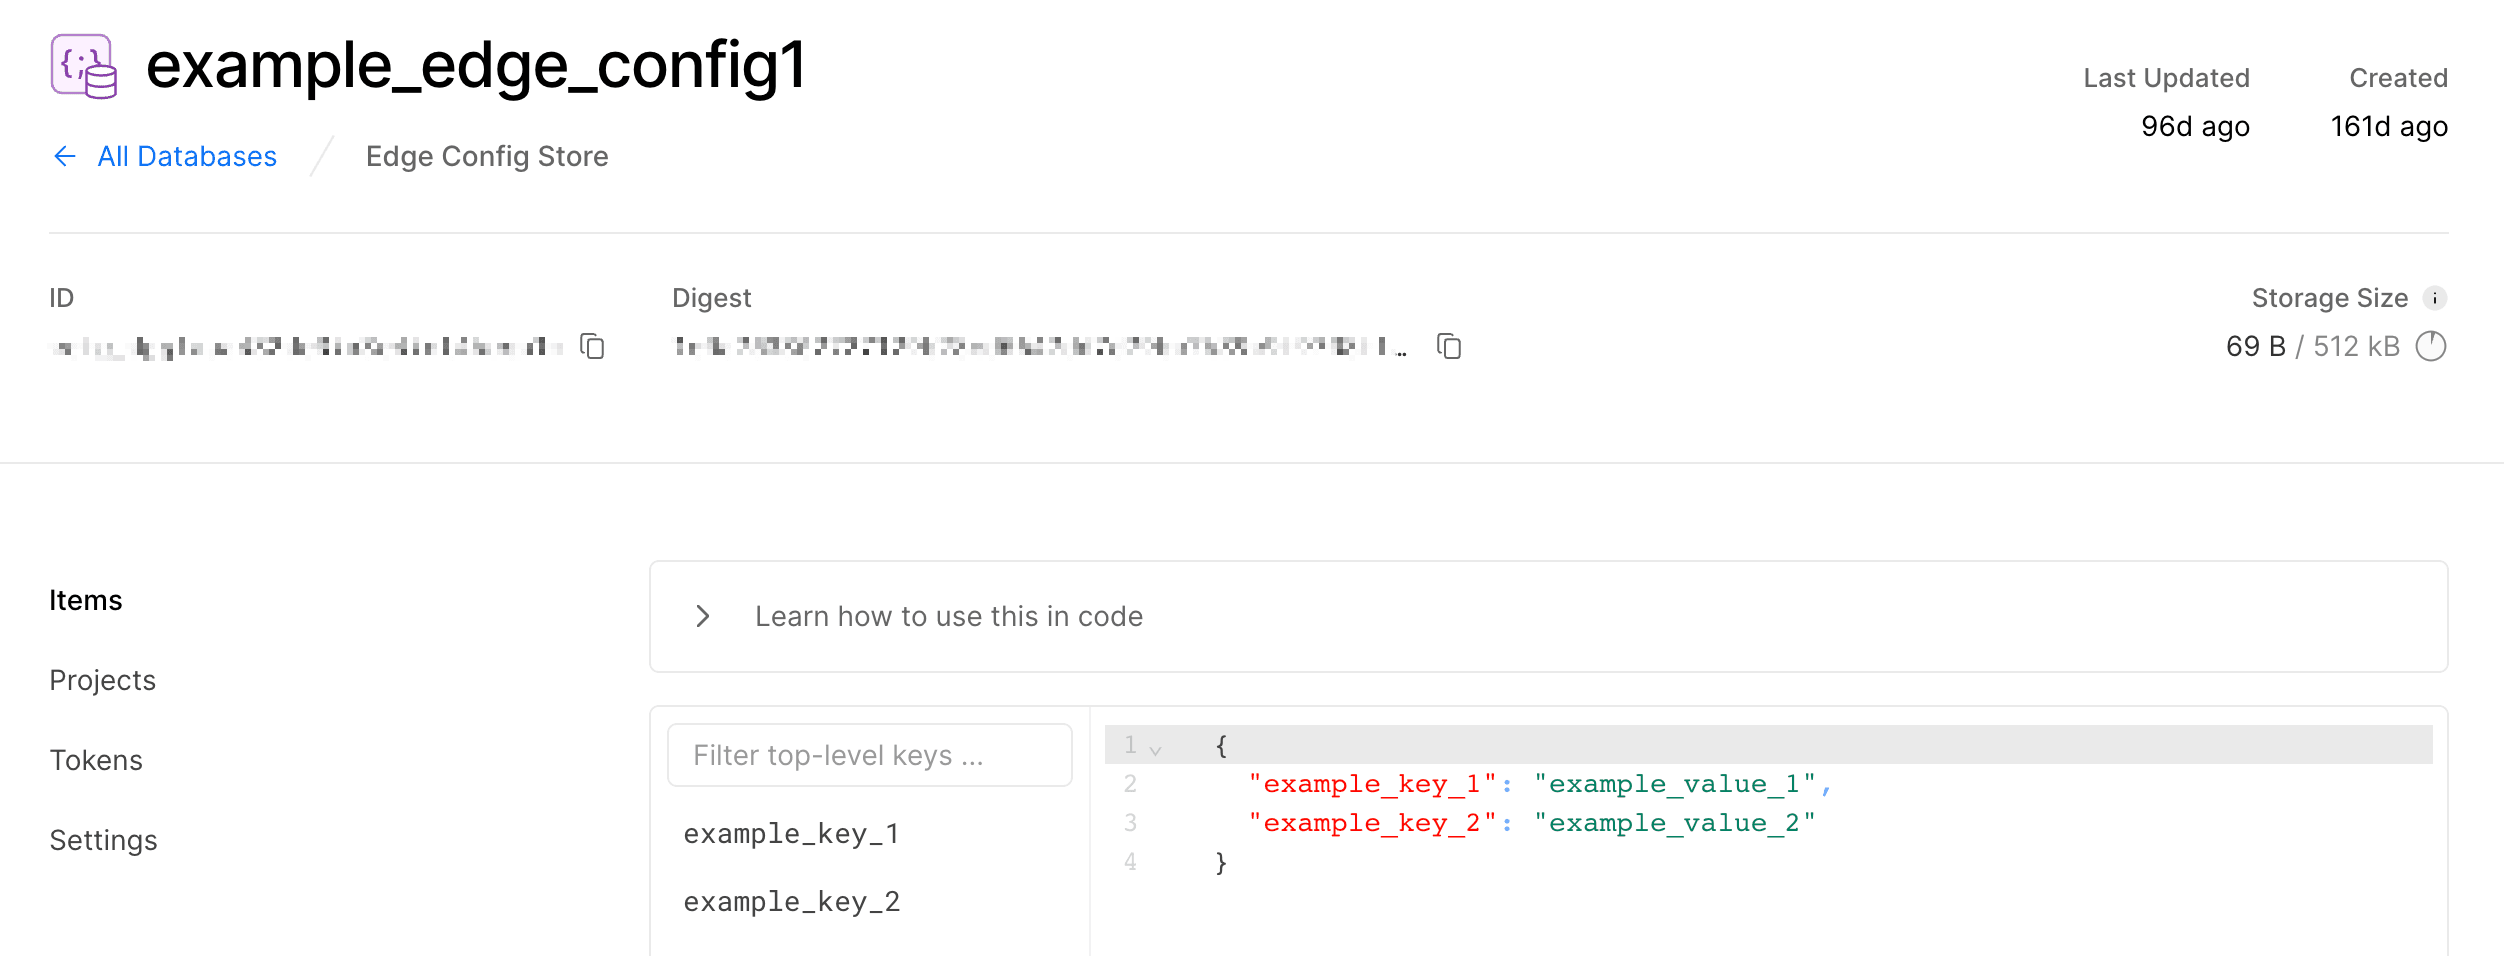
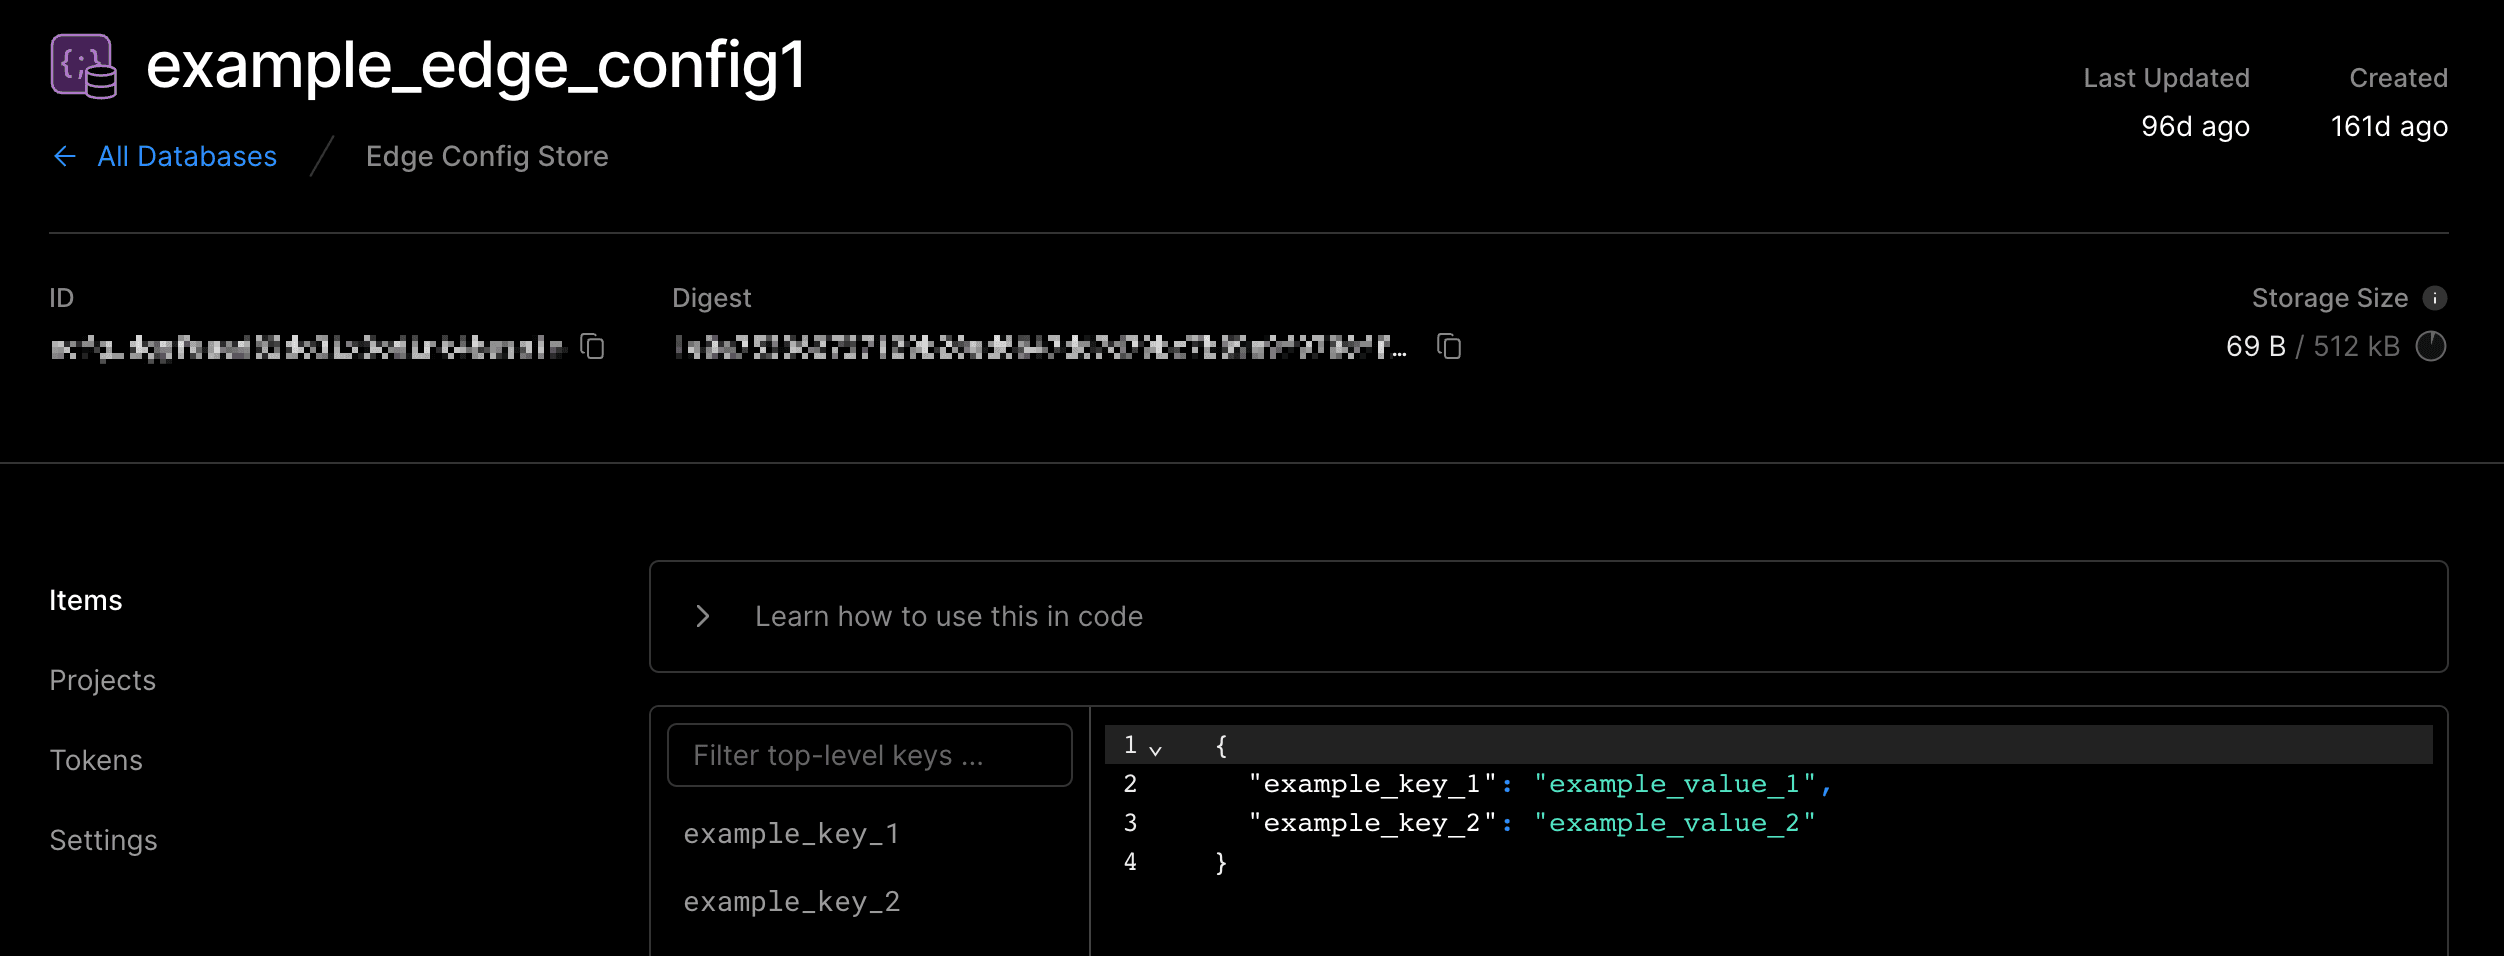
The default view of the Edge Config's detail page shows the list of all items in the store. You will see an open accordion titled Learn how to use this in code if the Edge Config is connected to at least one project. This accordion provides the steps with a code example on how to read your store items.
To add, edit or delete any item in your store, edit the json object in the right panel and click Save Items.
Backups of your Edge Config are automatically created when you make changes, and are stored for a length of time determined by your plan. To restore one:
- From your dashboard, select the Storage tab and then select your Edge Config
- From the left section, select the Backups tab
- From the list, select the backup that you would like to view. You'll be taken to the Items tab to view a comparison of the backup version and current version
- To restore the backup, select the Restore button and confirm the action
To learn more about backups, see Edge Config backups.
When protected by a JSON schema, the backup must pass schema validation to be restored.
You can protect your Edge Config by adding a JSON schema to it. Vercel uses this schema to validate the data that is added to the store and prevent updates that fail validation. To add a schema:
- From your dashboard, select the Storage tab and then select your Edge Config
- Toggle the Schema button to open the schema editing tab
- Enter your JSON schema into the editor. Vercel will use the schema to validate your data in real-time
- Click Save. This will save changes to both the schema and data
The following snippet is an example of a schema that allows you to set boolean flags and a list of redirects.
{
  "$schema": "http://json-schema.org/draft-07/schema",
  "type": "object",
  "additionalProperties": false,
  "required": ["flags", "redirects"],
  "properties": {
    "flags": {
      "type": "object",
      "patternProperties": {
        "^.*$": {
          "type": "boolean"
        }
      }
    },
    "redirects": {
      "type": "array",
      "items": {
        "type": "object",
        "properties": {
          "from": { "type": "string" },
          "to": { "type": "string" }
        }
      }
    }
  }
}

Click on Projects in the left panel of the Edge Config detail page to open a view that shows the projects connected with this Edge Config.
To delete a connection, click on the vertical ellipsis icon on the right hand side of the row and click Delete environment variable and confirm by clicking Delete connection in the dialog.
Deleting a connection does not delete the underlying token used by that Connection String. To learn how to delete tokens, review Managing read access tokens.
To connect the Edge Config with another project, click Connect Project, find the project from the drop-down in the dialog and click Connect. If you receive a warning that this project already has an EDGE_CONFIG environment variable, open the Advanced Options and change the environment variable name in the corresponding field to a name other than EDGE_CONFIG. The Connect button will be enabled once the new environment variable does not already exist in the project.


To delete a token, click on the vertical ellipsis icon on the right hand side of the token's row and click Delete Token and confirm by clicking Delete Token in the dialog.
You can copy the connection string to be used in your code by clicking on Copy Connection String from the same pop up from the vertical ellipsis icon.
You can generate a new token by clicking the Generate Token button, typing a name slug in the dialog that opens and clicking Create.
Was this helpful?

