Managing Nameservers
Nameservers are used to resolve domain names to IP addresses. For domains with Vercel as the registrar, nameservers can be viewed, edited, and reset by selecting the domain from the Domains tab of your team's dashboard.
Sometimes, however, you may need to delegate nameserver management to another host. For domains registered with Vercel, you can add custom nameservers to your Vercel-hosted domain, directly from the dashboard, allowing for delegation to other DNS providers. You can add up to four nameservers at once, and revert to your previous settings if necessary.
For domains that are not registered with Vercel, you can change the nameservers directly from the domain registrar's dashboard.
Nameserver changes can take up to 48 hours to complete due to DNS propagation.
-
Ensure your account or team is selected in the scope selector
-
Navigate to the Domains tab and select the domain
-
On your domain's settings page, under Nameservers, click the Edit button:


Nameservers section showing the Edit button. -
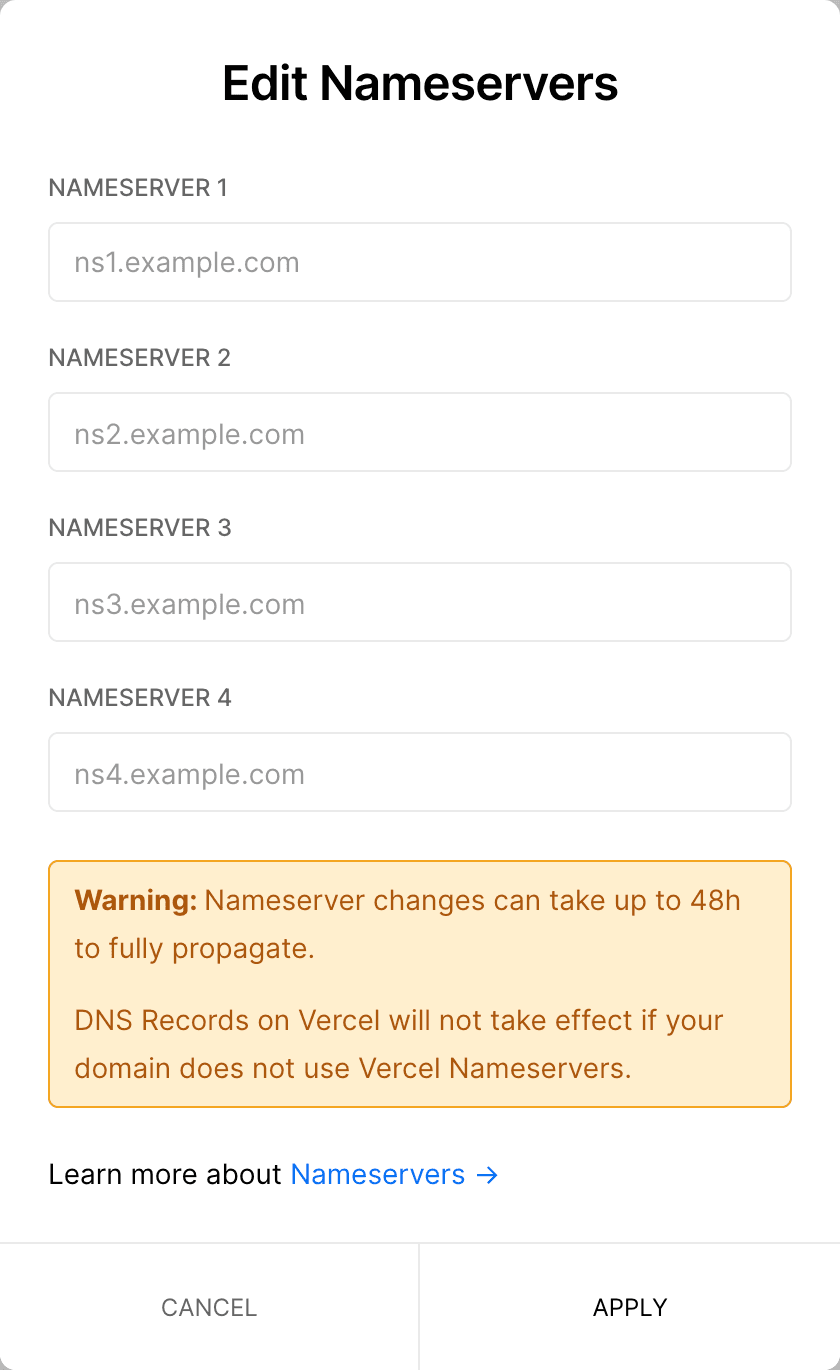
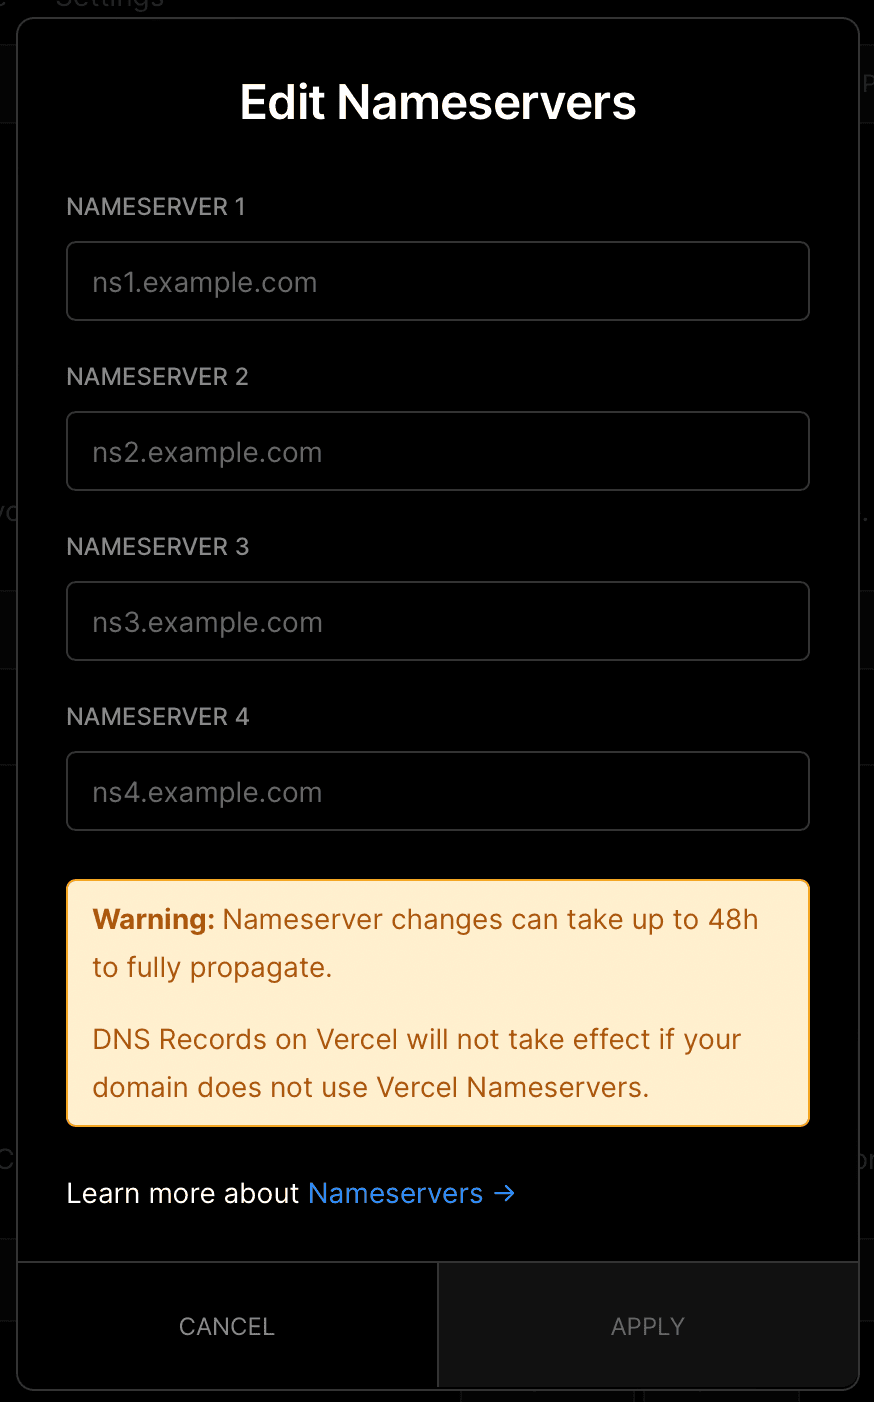
In the Edit Nameservers modal, add the new nameservers:


Adding custom nameservers on the Edit Nameservers modal.
Before using Vercel's nameservers, you should ensure that you own the domain.
- Ensure your account or team is selected in the scope selector
- Navigate to the Domains tab and select the domain
- On your domain's settings page, under DNS Records, click the Enable Vercel DNS button to opt in
- You then must configure the following nameservers from the domain registrar's dashboard
ns1.vercel-dns.comns2.vercel-dns.com
- Ensure your account or team is selected in the scope selector
- Navigate to the Domains tab and select the domain
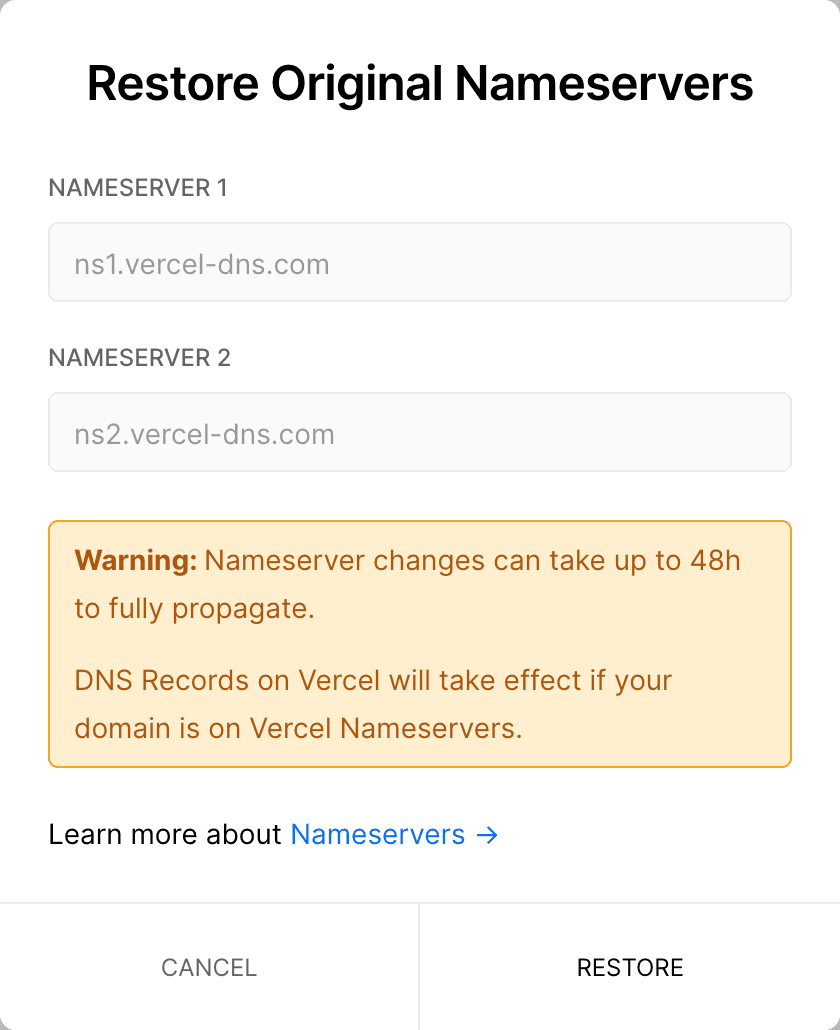
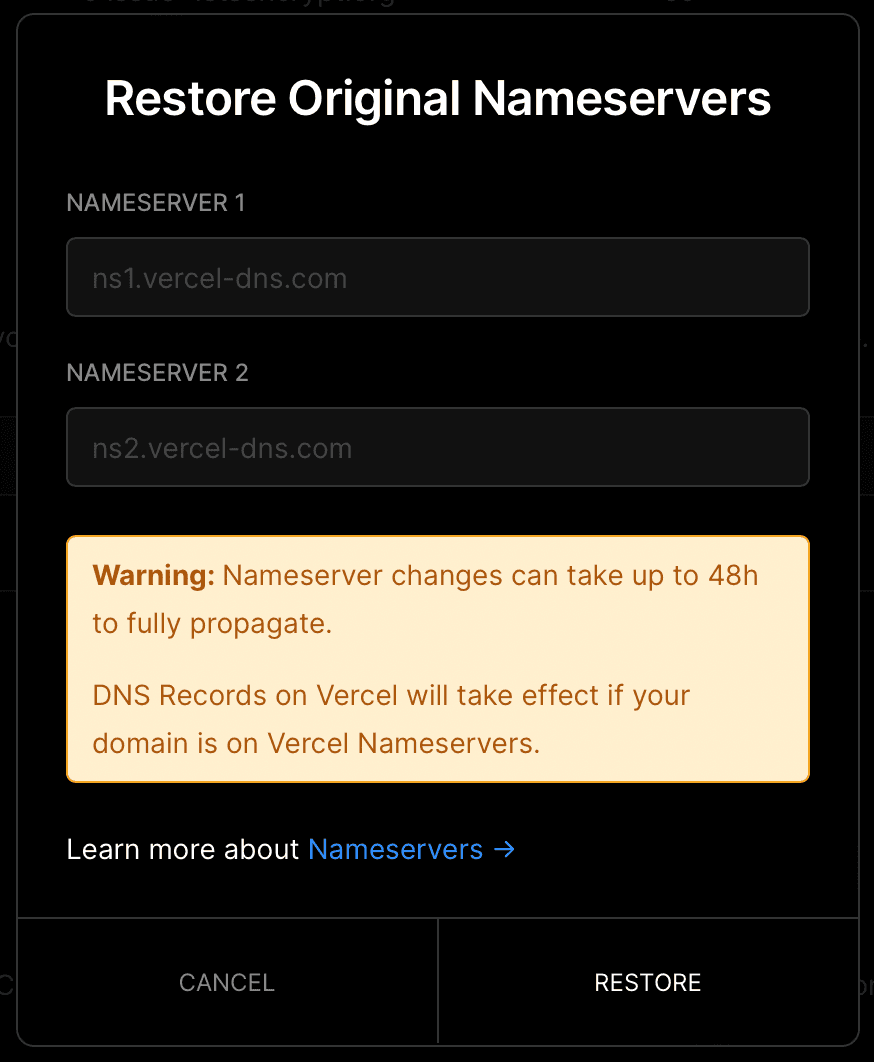
- Under Nameservers, select the Restore Original Nameservers button
- On the Restore Original Nameservers modal confirm the nameservers that will be present after the change
Vercel will present a message when you have successfully submitted the nameserver change.


Was this helpful?

