⚠️ This repository is now deprecated. Use the dtc-starter instead.
Medusa Next.js Starter Template
Combine Medusa's modules for your commerce backend with the newest Next.js 15 features for a performant storefront.
Prerequisites
To use the Next.js Starter Template, you should have a Medusa server running locally on port 9000. For a quick setup, run:
Check out create-medusa-app docs for more details and troubleshooting.
Overview
The Medusa Next.js Starter is built with:
Features include:
- Full ecommerce support:
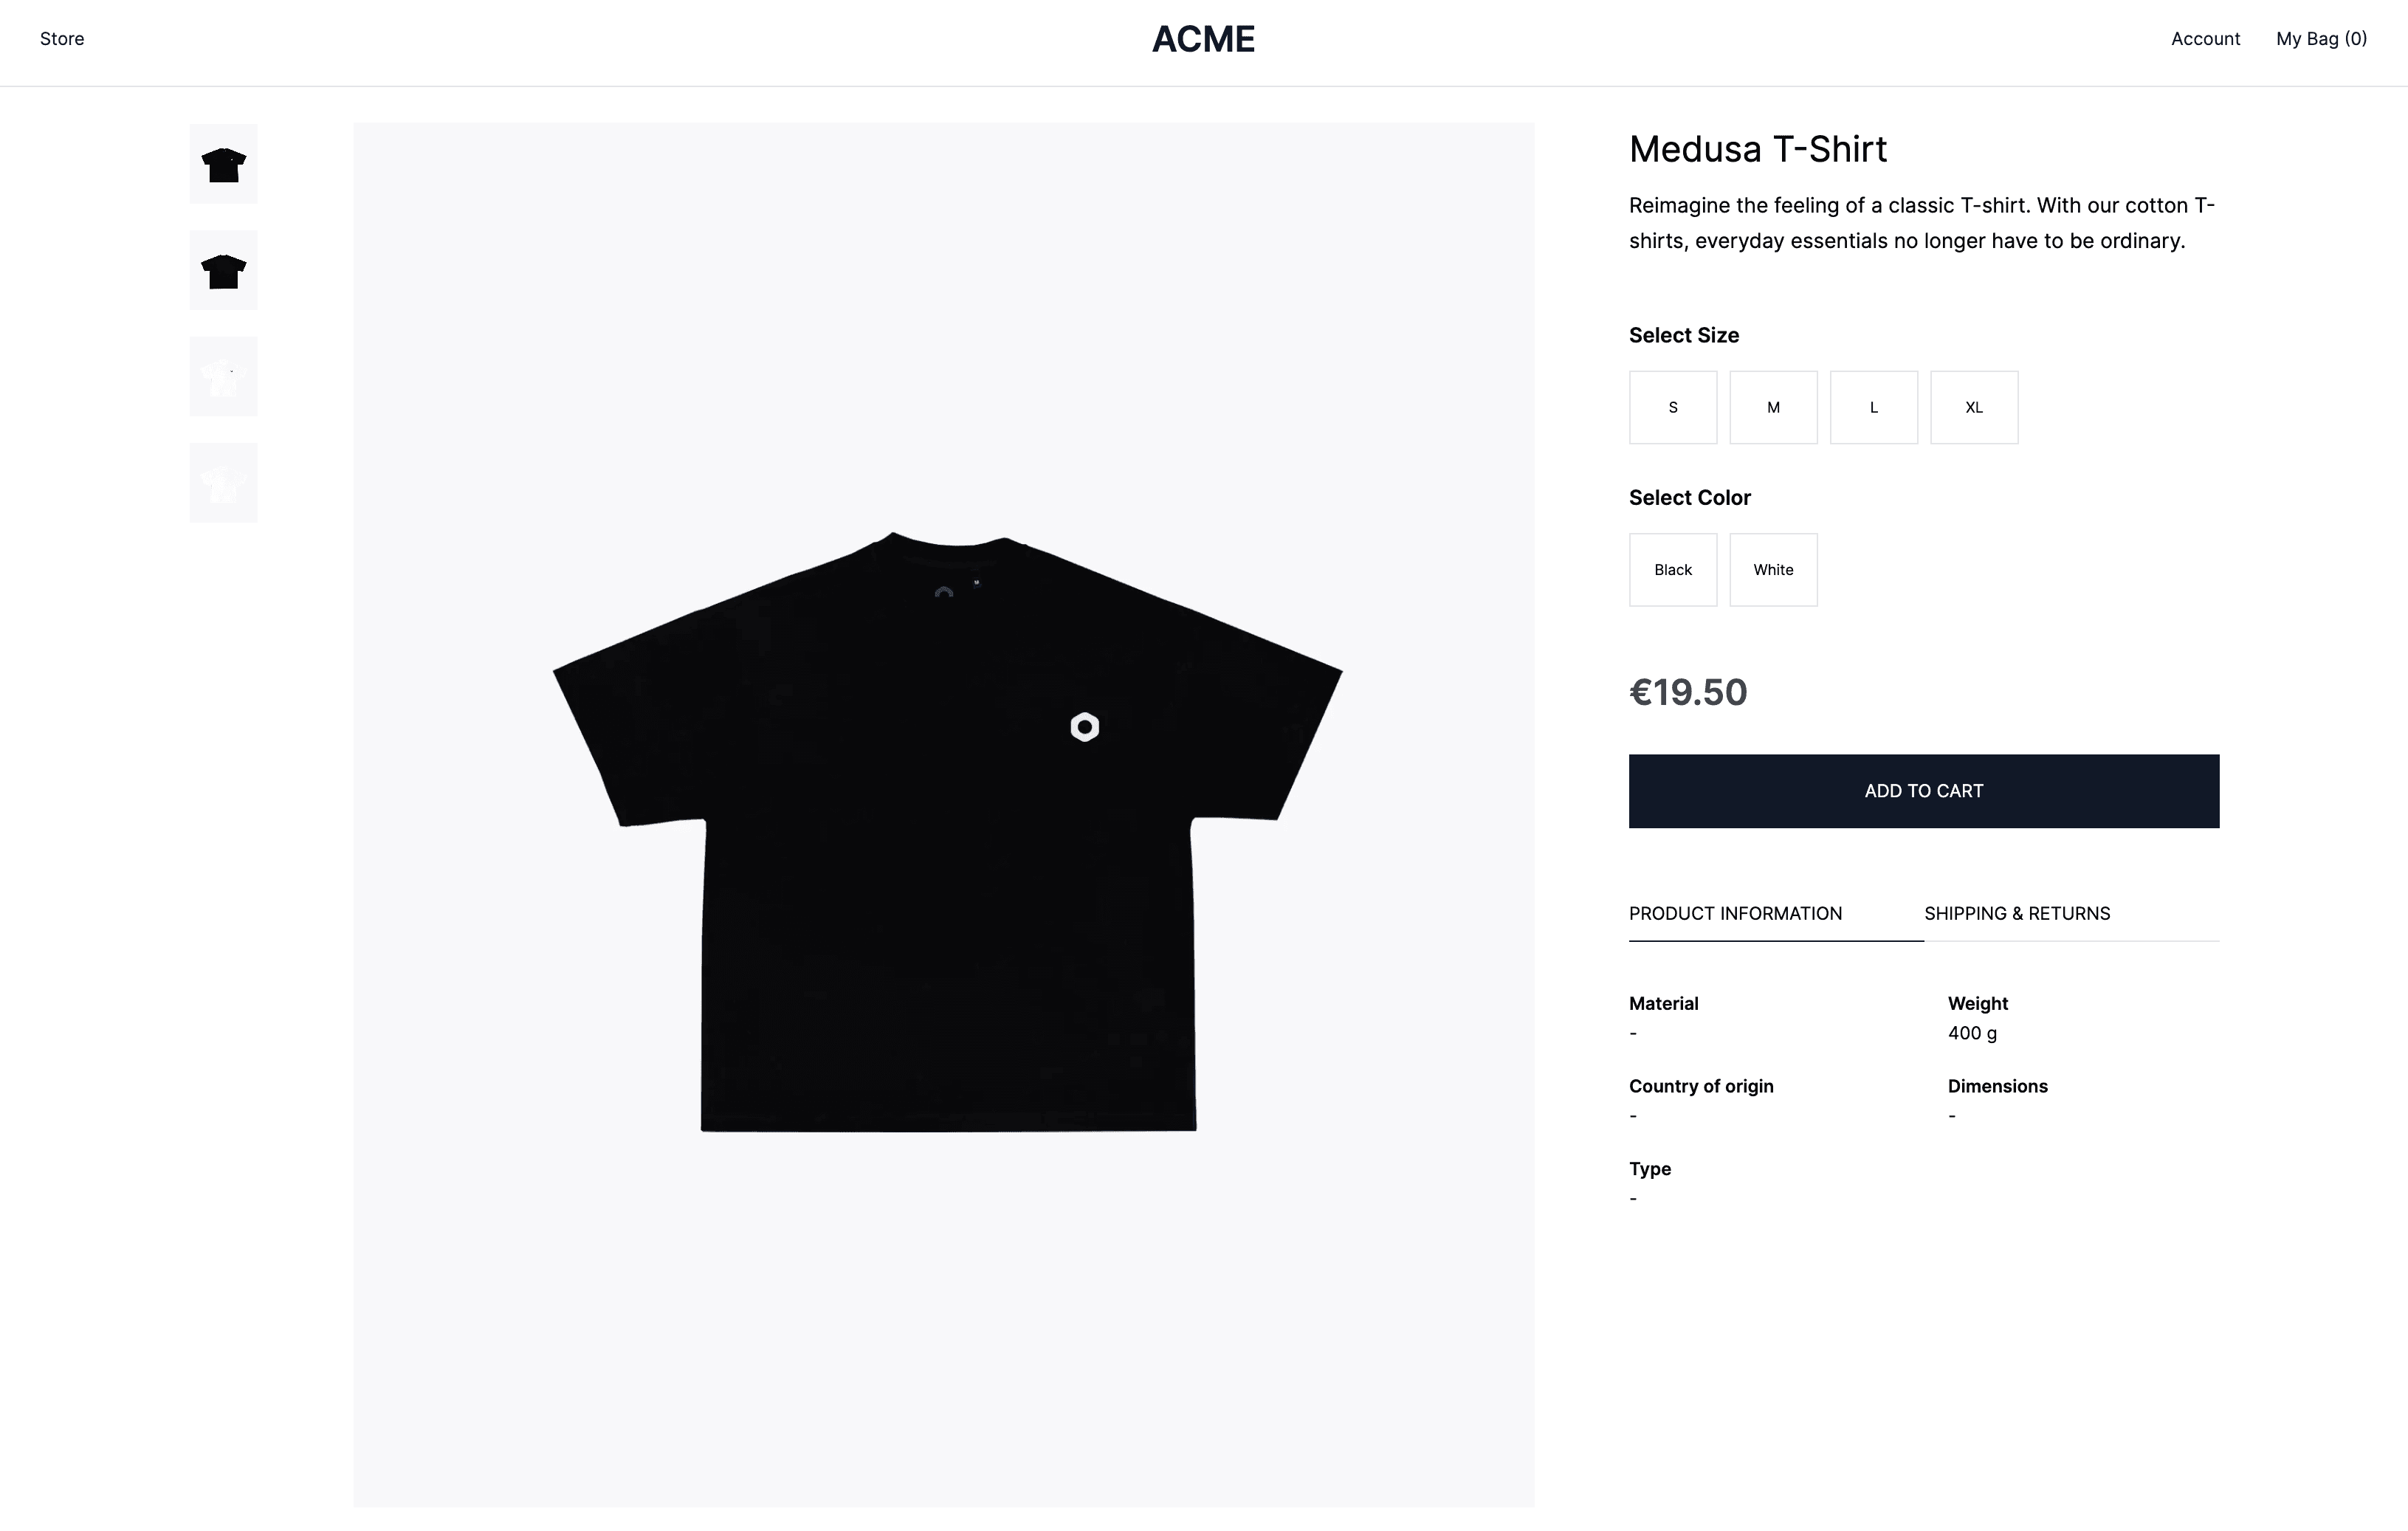
- Product Detail Page
- Product Overview Page
- Product Collections
- Cart
- Checkout with Stripe
- User Accounts
- Order Details
- Full Next.js 15 support:
- App Router
- Next fetching/caching
- Server Components
- Server Actions
- Streaming
- Static Pre-Rendering
Quickstart
Setting up the environment variables
Navigate into your projects directory and get your environment variables ready:
Install dependencies
Use Yarn to install all dependencies.
Start developing
You are now ready to start up your project.
Open the code and start customizing
Your site is now running at http://localhost:8000!
Payment integrations
By default this starter supports the following payment integrations
To enable the integrations you need to add the following to your .env.local file:
You'll also need to setup the integrations in your Medusa server. See the Medusa documentation for more information on how to configure Stripe.


