A Next.js 15 Blog using Server Components - Backed by Wisp CMS
Featured Links
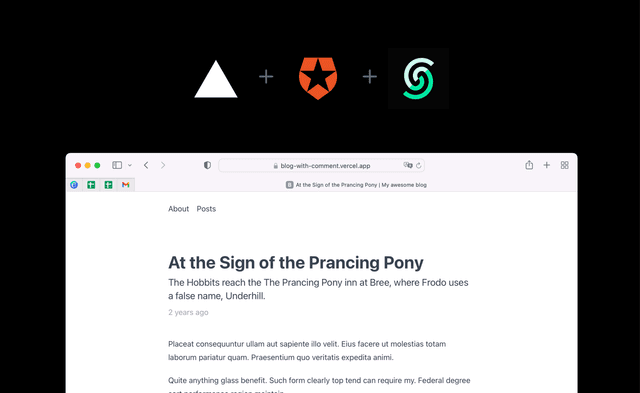
This is a Next.js, Tailwind CSS, Shadcn blogging starter template. This version is using Next.js 15 App Router with React Server Components and uses Wisp for publishing blog posts.
Probably the most feature-rich Next.js blog template out there that is easily configurable and customizable. It's perfect as an upgrade from blogs using Jekyll, Hugo, Gatsby, Contentlayer, or ContentCollections.
About Wisp
Wisp is a modern CMS for adding blogs to websites. It features an intuitive, medium-like editorial experience so that you can focus on writing instead of getting distracted by markdown.
Features
- Beautiful blog starter kit with server rendering using Next.js 15 Server Components
- Responsive layout for mobile devices
- Filter blog posts by tags
- About page
- Light & dark mode
- Automatic hierarchical sitemap generation
- Automatic Open Graph image generation
- Automatic Related Posts suggestions
- RSS Feed
Technologies
- Next.js 15 using App Router & TypeScript
- Wisp to manage blog posts
- Tailwind CSS for CSS framework
- Shadcn UI for UI components
- ESLint for static analysis
- TypeScript for type safety
- Font optimization with next/font
Step-by-step Video Tutorial
We've now included a 3-part video tutorial to help you run this blog on your computer:
- Part 1: Running the Next JS blog (15 min)
- Part 2: Personalizing Your Next.js Blog (15 min)
- Part 3: Deploying Your Next.js Blog (15 min)
Quick Start Guide
First, install the dependencies:
IMPORTANT: There's a dependency (next-themes) that's not upgraded to React 19 so you will need to add the --legacy-peer-deps into the install command. Make sure that Vercel's install command is set to use npm i --legacy-peer-deps too!
Then, copy the .env.example file to .env:
Note: You will need to populate the NEXT_PUBLIC_BLOG_ID variable with the Blog ID obtained from wisp after you've created an account.
Finally, run the development server:
Open http://localhost:3000 with your browser to see the result.
Getting Help
Full documentation on how to get started on wisp as well as this starter kit is available on wisp's documentation site
Other template
Like this template?
Check out our corporate blog template here.


