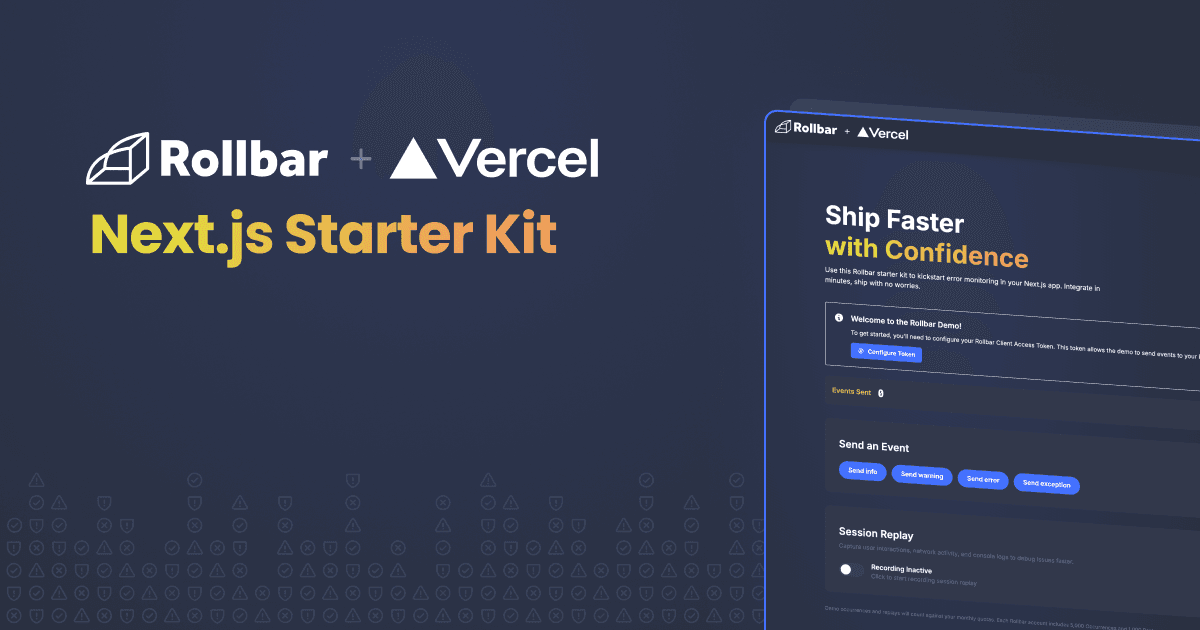
Rollbar Next.js Starter Kit
Ship faster with confidence — A complete starter kit for integrating Rollbar error monitoring into your Next.js App Router application. Kickstart your error monitoring in minutes and ship with no worries.
🌐 Public Demo: This app can be deployed as a public demo where users can configure their own Rollbar tokens via the UI (stored in localStorage). Perfect for live demos, workshops, or self-service trials!
What This Demonstrates
This demo app shows how to:
- Integrate Rollbar's browser SDK with Next.js App Router
- Send different types of events (info, warning, error, exception) to Rollbar
- Track sent events with item UUIDs, status, and timestamps
- Display event history in an interactive slideout panel
- Use client-side only event tracking (in-memory storage)
- Allow users to configure their own Rollbar tokens (for public demos)
Note: This app is designed to work as a public demo where users can configure their own Rollbar tokens without requiring environment variables or deployment configuration.
Prerequisites
- Node.js 18.x or higher
- npm or yarn package manager
- A Rollbar account with a client access token (post_client_item scope)
Local Setup
1. Install Dependencies
2. Configure Environment Variables
Copy the example environment file:
Edit .env.local and add your Rollbar client access token:
To get your Rollbar client token:
- Log in to Rollbar
- Navigate to Project Settings → Project Name -> Project Access Tokens
- Find or create a token with
post_client_itemscope - Copy the token value and add it to you .env file
3. Run the Development Server
Open http://localhost:3000 in your browser.
Deploy on Vercel
Quick Deploy
- Push this project to a Git repository (GitHub, GitLab, or Bitbucket)
- Visit Vercel and create a new project
- Import your repository
- Configure environment variables in Project Settings:
NEXT_PUBLIC_ROLLBAR_CLIENT_TOKEN- Your Rollbar client access tokenNEXT_PUBLIC_ROLLBAR_ENV- Set toproductionor your preferred environment name
- Deploy
Alternative: Vercel CLI
Follow the prompts and set environment variables when asked.
Source Maps for Better Stack Traces
By default, production builds in Next.js are minified and bundled, which results in unhelpful stack traces in Rollbar (showing webpack-internal paths). To get readable stack traces with actual file names and line numbers, you need to upload source maps to Rollbar.
Setup
This project is already configured with:
next.config.js- Enables production source mapsscripts/upload-sourcemaps.js- Uploads source maps to Rollbar after build
Local Production Build with Source Maps
- Get your server-side Rollbar token (different from client token):
-
Go to Project Settings → Project Name -> Project Access Tokens
-
Find or create a token with
post_server_itemscope -
Copy the token value
-
- Add to
.env.local:
- Build and upload source maps:
This will:
- Build your Next.js app with source maps enabled
- Upload all
.mapfiles to Rollbar - Map minified code back to your original source files
Vercel Deployment with Source Maps
Add these environment variables in Vercel Project Settings:
ROLLBAR_SERVER_TOKEN- Your server access tokenBASE_URL- Your Vercel deployment URL (e.g.,https://your-app.vercel.app)SOURCE_VERSION- (Optional) Version tag for tracking (e.g.,1.0.0or git commit SHA)
Update your Vercel build command to:
Verifying Source Maps Work
- Send an exception from your deployed app
- Open the error in Rollbar
- Check the stack trace - you should now see:
- ✅ Actual file paths like
components/EventControls.js:57 - ✅ Real function names
- ✅ Correct line numbers
- ❌ NOT webpack-internal paths
- ✅ Actual file paths like
Important Notes
- Source maps are only uploaded during production builds using
npm run build:production - Development builds (
npm run dev) don't need source maps - they already have readable stack traces - Source maps are not included in your deployed bundle (they're uploaded to Rollbar separately)
- Without
ROLLBAR_SERVER_TOKEN, the build will still succeed but skip source map uploads
Sending Events
The demo provides four types of events you can send to Rollbar:
- Send Log (Info) - Sends an informational log message
- Send Warning - Sends a warning-level message
- Send Error - Sends an error-level message
- Send Exception - Creates and sends a JavaScript Error object
Viewing Event History
- Click any of the event buttons to send an event to Rollbar
- Watch the counter at the top increment with each sent event
- Click the "View History" button to open the event slideout
- The slideout displays:
- Event level/type with color-coded badges
- Rollbar item UUID (unique identifier for each event)
- Network Status of request
- Timestamp of when the event was sent
Verifying in Rollbar
After sending events:
- Log in to your Rollbar dashboard
- Navigate to Items -> Select your project in the filter.
- You should see the events appear in real-time
- Click on any item to see full details
Important Notes
In-Memory Storage
Event history is stored only in browser memory. This means:
- Refreshing the page clears all event history
- The counter resets to zero on reload
- No data persists between sessions
- This is intentional for demo simplicity
Client-Side Only
This demo uses only Rollbar's browser SDK with a client access token. For production applications, consider:
- Using server-side tokens for sensitive operations
- Implementing proper error boundaries
- Adding server-side error tracking
- Storing event history in a database if needed
Project Structure
Available Scripts
npm run dev- Start development server on http://localhost:3000npm run build- Build production bundlenpm start- Start production servernpm run lint- Run ESLint (if configured)
Learn More
Rollbar Documentation
Next.js Resources
Troubleshooting
Events Not Appearing in Rollbar
- Verify your
NEXT_PUBLIC_ROLLBAR_CLIENT_TOKENis correct - Check browser console for errors
- Ensure the token has
post_client_itemscope - Check network tab for failed requests to Rollbar API. /items should have a 200 status
Build Errors
- Run
npm installto ensure all dependencies are installed - Delete
.nextfolder andnode_modules, then reinstall - Verify Node.js version is 18.x or higher
License
This is a demo project for educational purposes. Feel free to use and modify as needed.