
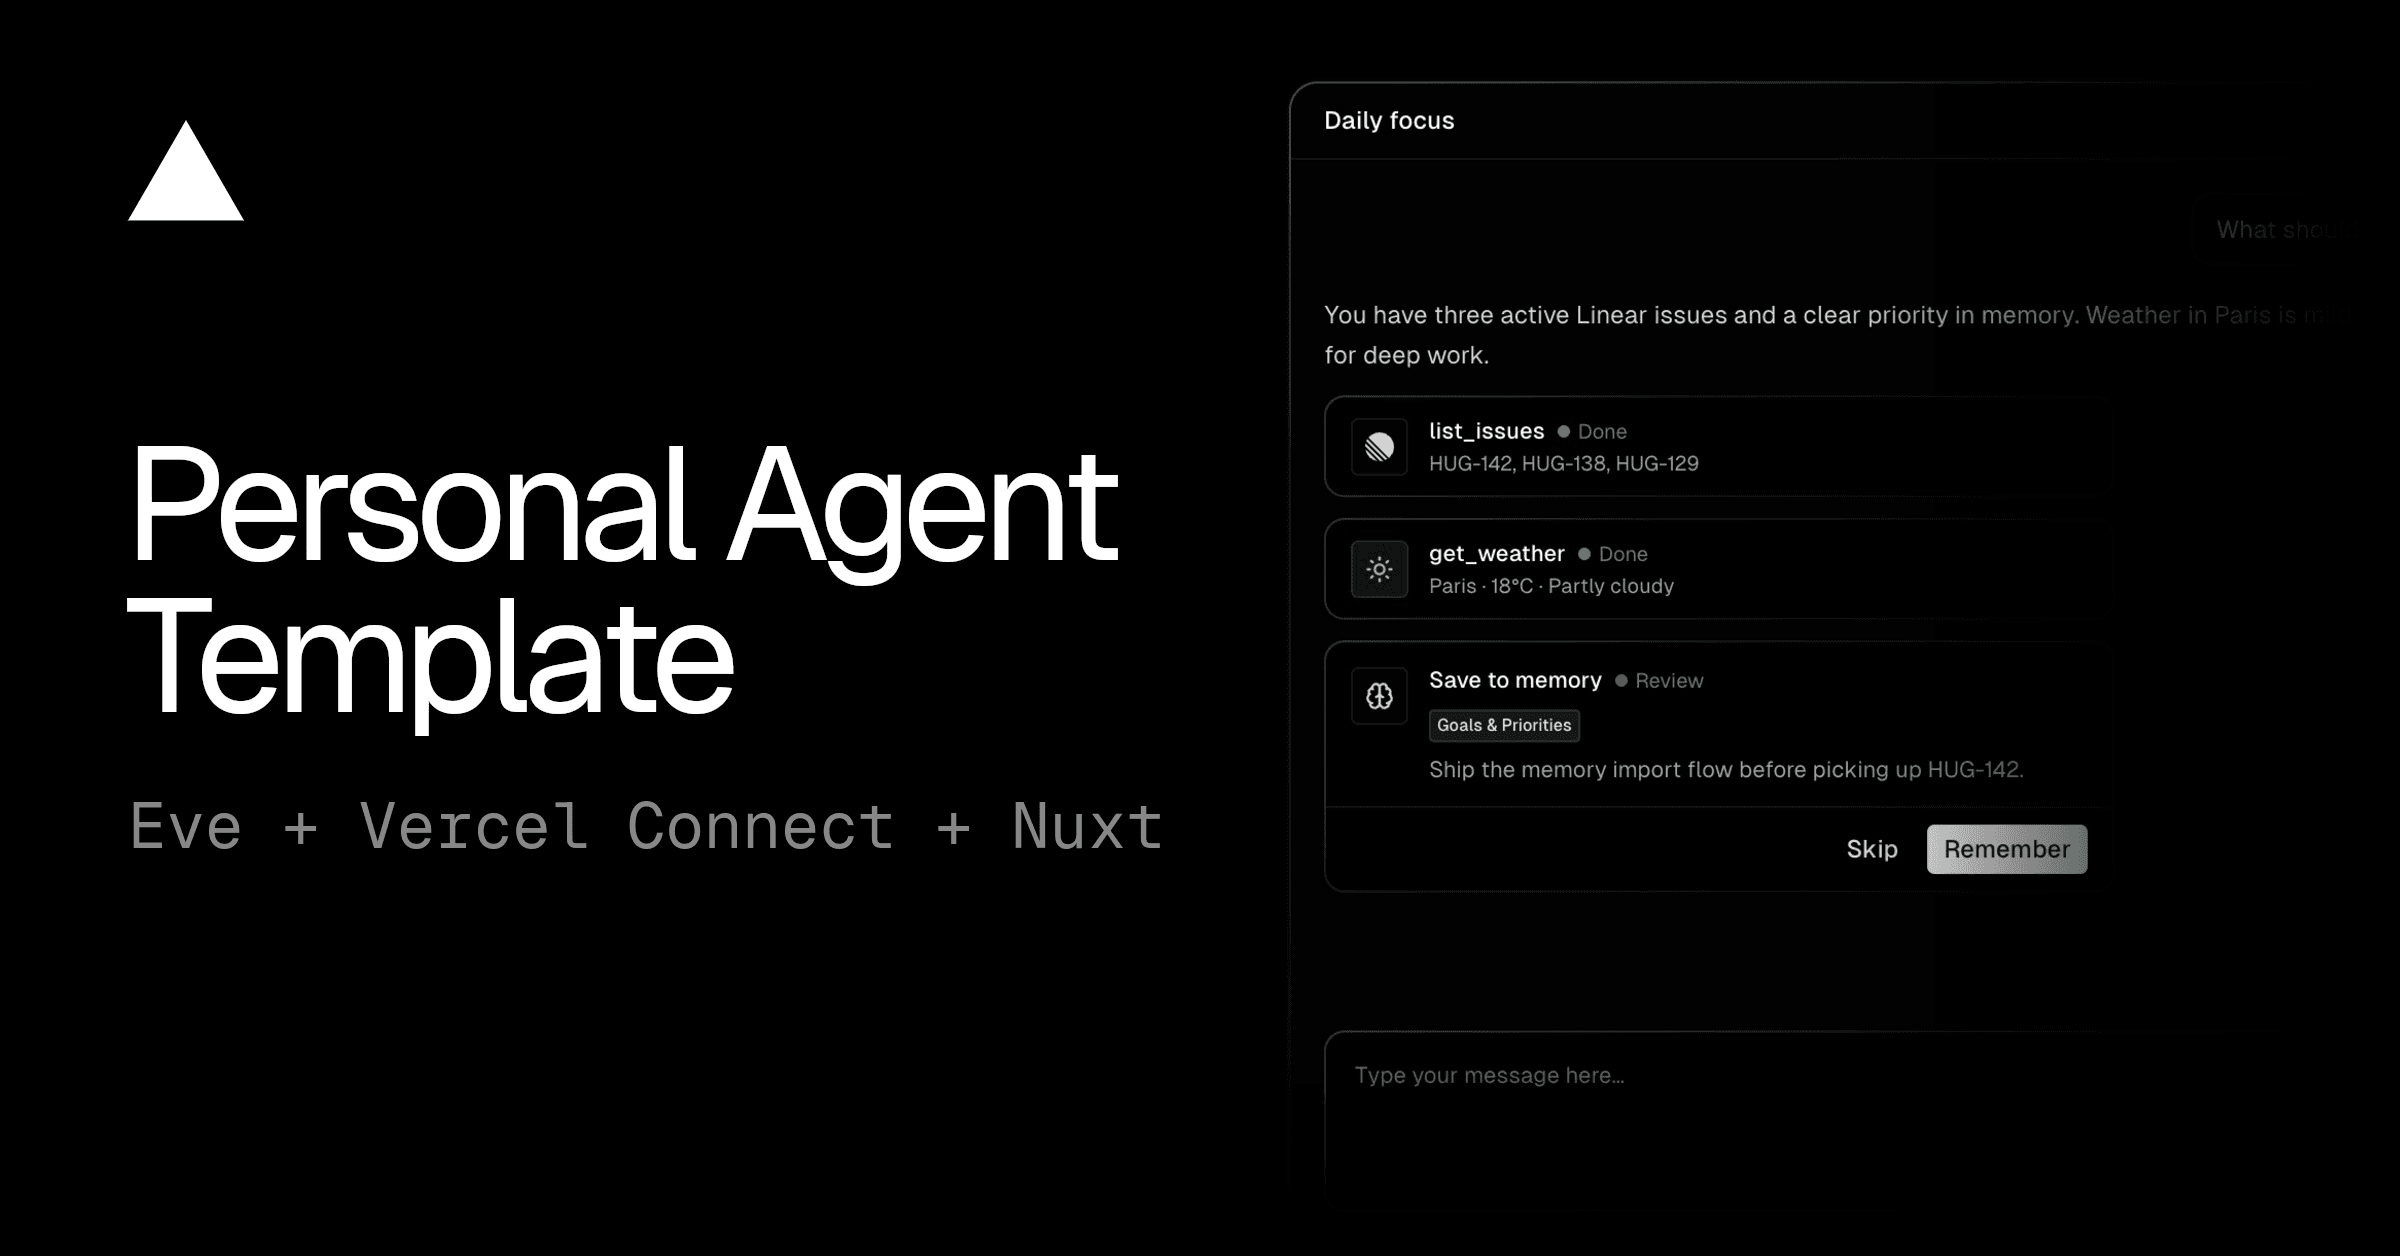
Kernel + Vercel Template
Next.js + Kernel template for running AI-powered browser automations with natural language on Vercel.
Overview
This template shows how to:
- Create serverless browsers with live view using the Kernel SDK
- Describe browser tasks in natural language
- Use an AI agent to execute browser automation code via AI SDK tools in Next.js API routes
- Display live browser view and automation results in a modern Next.js UI
Tech Stack
- Framework: Next.js 15 with App Router
- Styling: Tailwind CSS v4
- UI Components: shadcn/ui
- AI: Vercel AI SDK with OpenAI GPT-5.1
- Browser Automation: Kernel SDK + Kernel AI SDK (
@onkernel/ai-sdk) - Package Manager: Bun
- Deployment: Vercel
Getting Started
Prerequisites
- Node.js 18+
- Bun (package manager)
- A Kernel account and API key
- An OpenAI API key
- Vercel account (optional, for deployment)
Installation
-
Clone the repository:
git clone <your-repo-url>cd nextjs-kernel-template -
Install dependencies:
bun install -
Set up Kernel:
Get your Kernel API key from one of these sources:
- Option 1 (Recommended): Install the Kernel integration from the Vercel Marketplace
- Option 2: Get your API key from https://dashboard.onkernel.com
-
Configure environment variables:
Create a
.envfile:touch .env.localAdd your API keys:
KERNEL_API_KEY=your_kernel_api_key_hereOPENAI_API_KEY=your_openai_api_key_here -
Run the development server:
bun dev -
Open http://localhost:3000 in your browser
How It Works
- Create Browser: Click "Create Browser" to provision a serverless Kernel browser with live view capabilities
- Describe Your Task: Enter what you want the browser to do in natural language (e.g., "Go to Hacker News and get the top article title")
- Watch AI Execute: The AI agent interprets your task and uses Kernel's AI SDK-compatible browser automation tool to execute it in real-time
- View Results: See the agent's response, step count, and click "View Steps" to inspect the generated code and execution details
Code Structure
Key Code Example
Step 1: Create Browser (app/api/create-browser/route.ts)
Step 2: Run AI Agent (app/api/agent/route.ts)
Deployment
Deploy to Vercel
-
Push to GitHub
-
Connect to Vercel:
- Go to vercel.com
- Import your GitHub repository
- Add your environment variables (
KERNEL_API_KEYandOPENAI_API_KEY) - Deploy!
-
Using Vercel Marketplace Integration:
- Install Kernel from Vercel Marketplace
- The integration will automatically add the Kernel API key to your project
- Add your
OPENAI_API_KEYmanually - Deploy your project
Environment Variables
Make sure to add these environment variables in your Vercel project settings:
KERNEL_API_KEY- Your Kernel API keyOPENAI_API_KEY- Your OpenAI API key
Learn More
Built with Kernel, Vercel AI SDK, and Vercel
