You can use the following code sample to explore using parameters and
different content types with
next/og.
To learn more about OG Image Generation, see Open Graph Image
Generation.
This is the directory structure for these files:
import { ImageResponse } from 'next/og';
// App router includes @vercel/og.
// No need to install it.

const key = crypto.subtle.importKey(
  'raw',
  new TextEncoder().encode('my_secret'),
  { name: 'HMAC', hash: { name: 'SHA-256' } },
  false,
  ['sign'],
);

function toHex(arrayBuffer: ArrayBuffer) {
  return Array.prototype.map
    .call(new Uint8Array(arrayBuffer), (n) => n.toString(16).padStart(2, '0'))
    .join('');
}

export async function GET(request: Request) {
  const { searchParams } = new URL(request.url);

  const id = searchParams.get('id');
  const token = searchParams.get('token');

  const verifyToken = toHex(
    await crypto.subtle.sign(
      'HMAC',
      await key,
      new TextEncoder().encode(JSON.stringify({ id })),
    ),
  );

  if (token !== verifyToken) {
    return new Response('Invalid token.', { status: 401 });
  }

  return new ImageResponse(
    (
      <div
        style={{
          display: 'flex',
          fontSize: 40,
          color: 'black',
          background: 'white',
          width: '100%',
          height: '100%',
          padding: '50px 200px',
          textAlign: 'center',
          justifyContent: 'center',
          alignItems: 'center',
        }}
      >
        <h1>Card generated, id={id}.</h1>
      </div>
    ),
    {
      width: 1200,
      height: 630,
    },
  );
}If you're not using a framework, you must either add
"type": "module" to your
package.json or change your JavaScript Functions'
file extensions from .js to
.mjs
Then, you need to create a frontend component that can take an id query parameter, which will be passed to the API route you created above.
Create the dynamic route [id]/page under /app/encrypted and paste the following code:
// This page generates the token to prevent generating OG images with random parameters (`id`).
import { createHmac } from 'node:crypto';

function getToken(id: string): string {
  const hmac = createHmac('sha256', 'my_secret');
  hmac.update(JSON.stringify({ id: id }));
  const token = hmac.digest('hex');
  return token;
}

interface PageParams {
  params: {
    id: string;
  };
}

export default function Page({ params }: PageParams) {
  console.log(params);
  const { id } = params;
  const token = getToken(id);

  return (
    <div>
      <h1>Encrypted Open Graph Image.</h1>
      <p>Only /a, /b, /c with correct tokens are accessible:</p>
      <a
        href={`/api/encrypted?id=${id}&token=${token}`}
        target="_blank"
        rel="noreferrer"
      >
        <code>
          /api/encrypted?id={id}&token={token}
        </code>
      </a>
    </div>
  );
}If you're not using a framework, you must either add
"type": "module" to your
package.json or change your JavaScript Functions'
file extensions from .js to
.mjs
Run your project locally and browse to http://localhost/encrypted/a(b or c will also work).
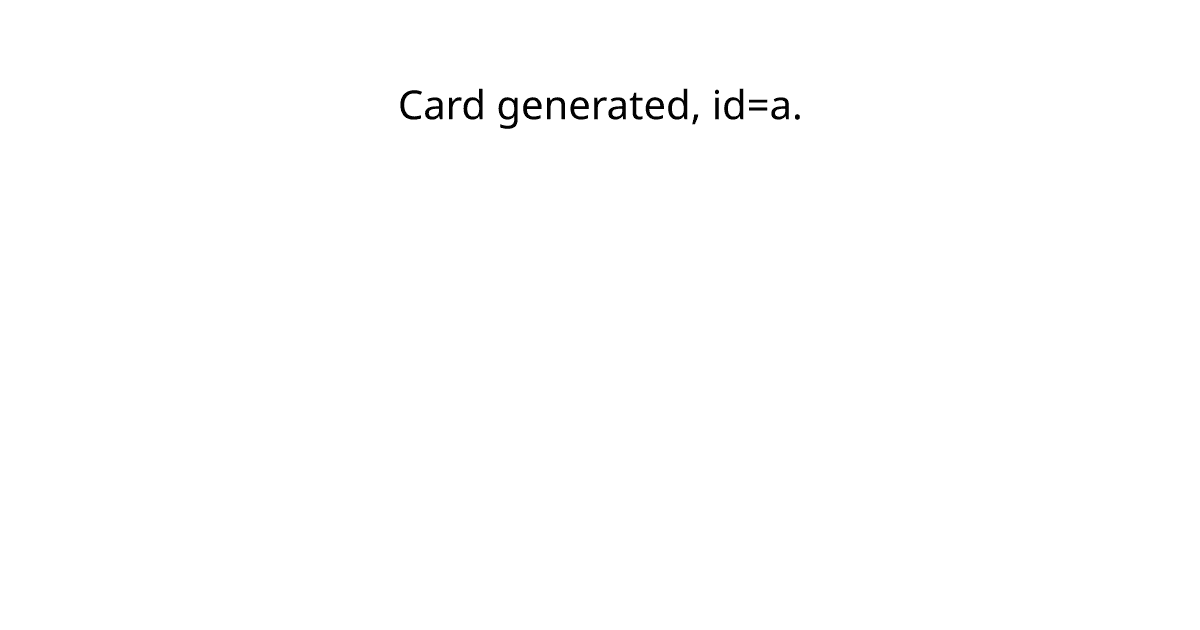
Click on the generated link to be directed to the generated image.

Image generated using
/api/encrypted?id=a&token=634dd7e46ec814fb105074b73e26755b0d9966c031dca05d7e7cc65a1619058e
In your actual implementation, you will use the code in /app/encrypted/[id]/page.tsx with a page to create your post html that will look like this.