You can use the following code sample to explore using parameters and different content types with next/og. To learn more about OG Image Generation, see Open Graph Image Generation.
This is the directory structure for these files:
app├── api│ └── encrypted│ └── route.tsx└── encrypted └── [id] └── page.tsximport { ImageResponse } from 'next/og';// App router includes @vercel/og.// No need to install it.
const key = crypto.subtle.importKey( 'raw', new TextEncoder().encode('my_secret'), { name: 'HMAC', hash: { name: 'SHA-256' } }, false, ['sign'],);
function toHex(arrayBuffer: ArrayBuffer) { return Array.prototype.map .call(new Uint8Array(arrayBuffer), (n) => n.toString(16).padStart(2, '0')) .join('');}
export async function GET(request: Request) { const { searchParams } = new URL(request.url);
const id = searchParams.get('id'); const token = searchParams.get('token');
const verifyToken = toHex( await crypto.subtle.sign( 'HMAC', await key, new TextEncoder().encode(JSON.stringify({ id })), ), );
if (token !== verifyToken) { return new Response('Invalid token.', { status: 401 }); }
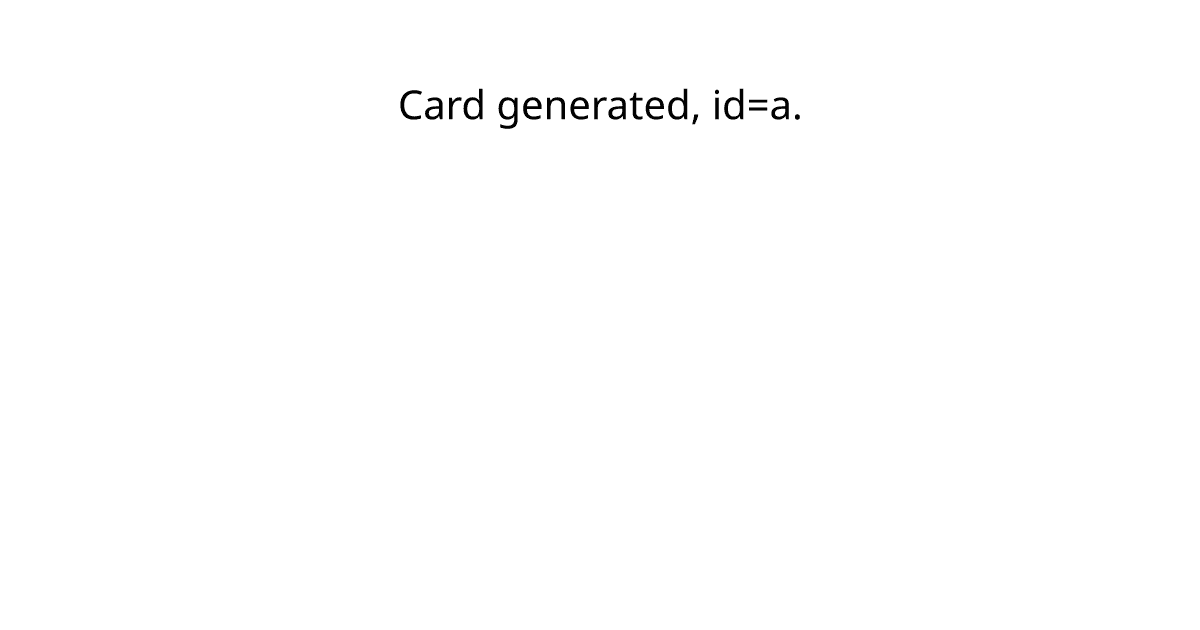
return new ImageResponse( ( <div style={{ display: 'flex', fontSize: 40, color: 'black', background: 'white', width: '100%', height: '100%', padding: '50px 200px', textAlign: 'center', justifyContent: 'center', alignItems: 'center', }} > <h1>Card generated, id={id}.</h1> </div> ), { width: 1200, height: 630, }, );}import { ImageResponse } from 'next/og';// App router includes @vercel/og.// No need to install it.
const key = crypto.subtle.importKey( 'raw', new TextEncoder().encode('my_secret'), { name: 'HMAC', hash: { name: 'SHA-256' } }, false, ['sign'],);
function toHex(arrayBuffer) { return Array.prototype.map .call(new Uint8Array(arrayBuffer), (n) => n.toString(16).padStart(2, '0')) .join('');}
export async function GET(request) { const { searchParams } = new URL(request.url);
const id = searchParams.get('id'); const token = searchParams.get('token');
const verifyToken = toHex( await crypto.subtle.sign( 'HMAC', await key, new TextEncoder().encode(JSON.stringify({ id })), ), );
if (token !== verifyToken) { return new Response('Invalid token.', { status: 401 }); }
return new ImageResponse( ( <div style={{ display: 'flex', fontSize: 40, color: 'black', background: 'white', width: '100%', height: '100%', padding: '50px 200px', textAlign: 'center', justifyContent: 'center', alignItems: 'center', }} > <h1>Card generated, id={id}.</h1> </div> ), { width: 1200, height: 630, }, );}If you're not using a framework, you must either add "type": "module" to your package.json or change your JavaScript Functions' file extensions from .js to .mjs
Then, you need to create a frontend component that can take an id query parameter, which will be passed to the API route you created above.
Create the dynamic route [id]/page under /app/encrypted and paste the following code:
// This page generates the token to prevent generating OG images with random parameters (`id`).import { createHmac } from 'node:crypto';
function getToken(id: string): string { const hmac = createHmac('sha256', 'my_secret'); hmac.update(JSON.stringify({ id: id })); const token = hmac.digest('hex'); return token;}
interface PageParams { params: { id: string; };}
export default function Page({ params }: PageParams) { console.log(params); const { id } = params; const token = getToken(id);
return ( <div> <h1>Encrypted Open Graph Image.</h1> <p>Only /a, /b, /c with correct tokens are accessible:</p> <a href={`/api/encrypted?id=${id}&token=${token}`} target="_blank" rel="noreferrer" > <code> /api/encrypted?id={id}&token={token} </code> </a> </div> );}// This page generates the token to prevent generating OG images with random parameters (`id`).import { createHmac } from 'node:crypto';
function getToken(id) { const hmac = createHmac('sha256', 'my_secret'); hmac.update(JSON.stringify({ id: id })); const token = hmac.digest('hex'); return token;}
export default function Page({ params }) { console.log(params); const { id } = params; const token = getToken(id);
return ( <div> <h1>Encrypted Open Graph Image.</h1> <p>Only /a, /b, /c with correct tokens are accessible:</p> <a href={`/api/encrypted?id=${id}&token=${token}`} target="_blank" rel="noreferrer" > <code> /api/encrypted?id={id}&token={token} </code> </a> </div> );}If you're not using a framework, you must either add "type": "module" to your package.json or change your JavaScript Functions' file extensions from .js to .mjs
Run your project locally and browse to http://localhost/encrypted/a(b or c will also work).
Click on the generated link to be directed to the generated image.

In your actual implementation, you will use the code in /app/encrypted/[id]/page.tsx with a page to create your post html that will look like this.

