Skip to content
Avatar of shopwareshopware/frontends

Shopware Ecommerce Store with Nuxt

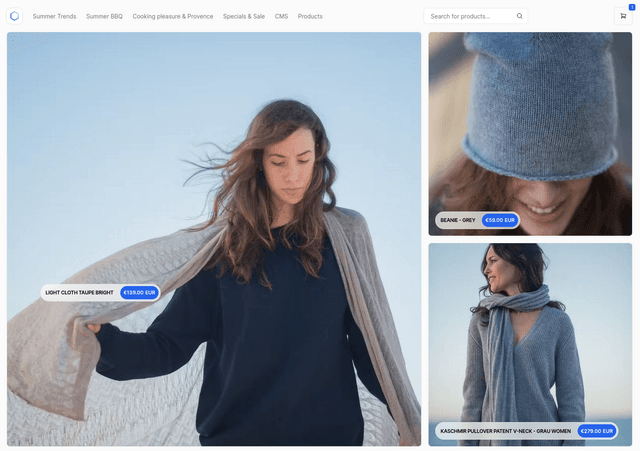
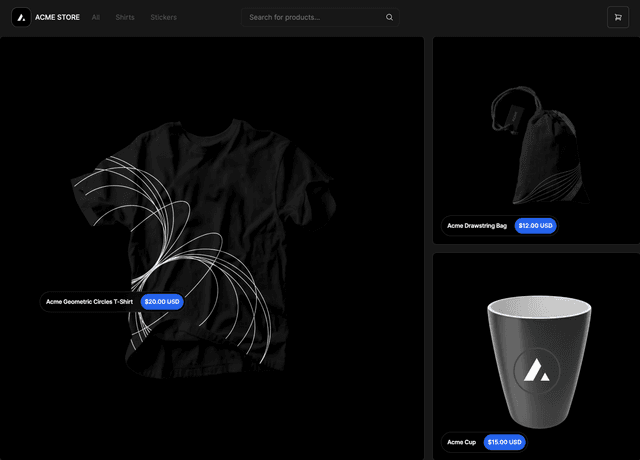
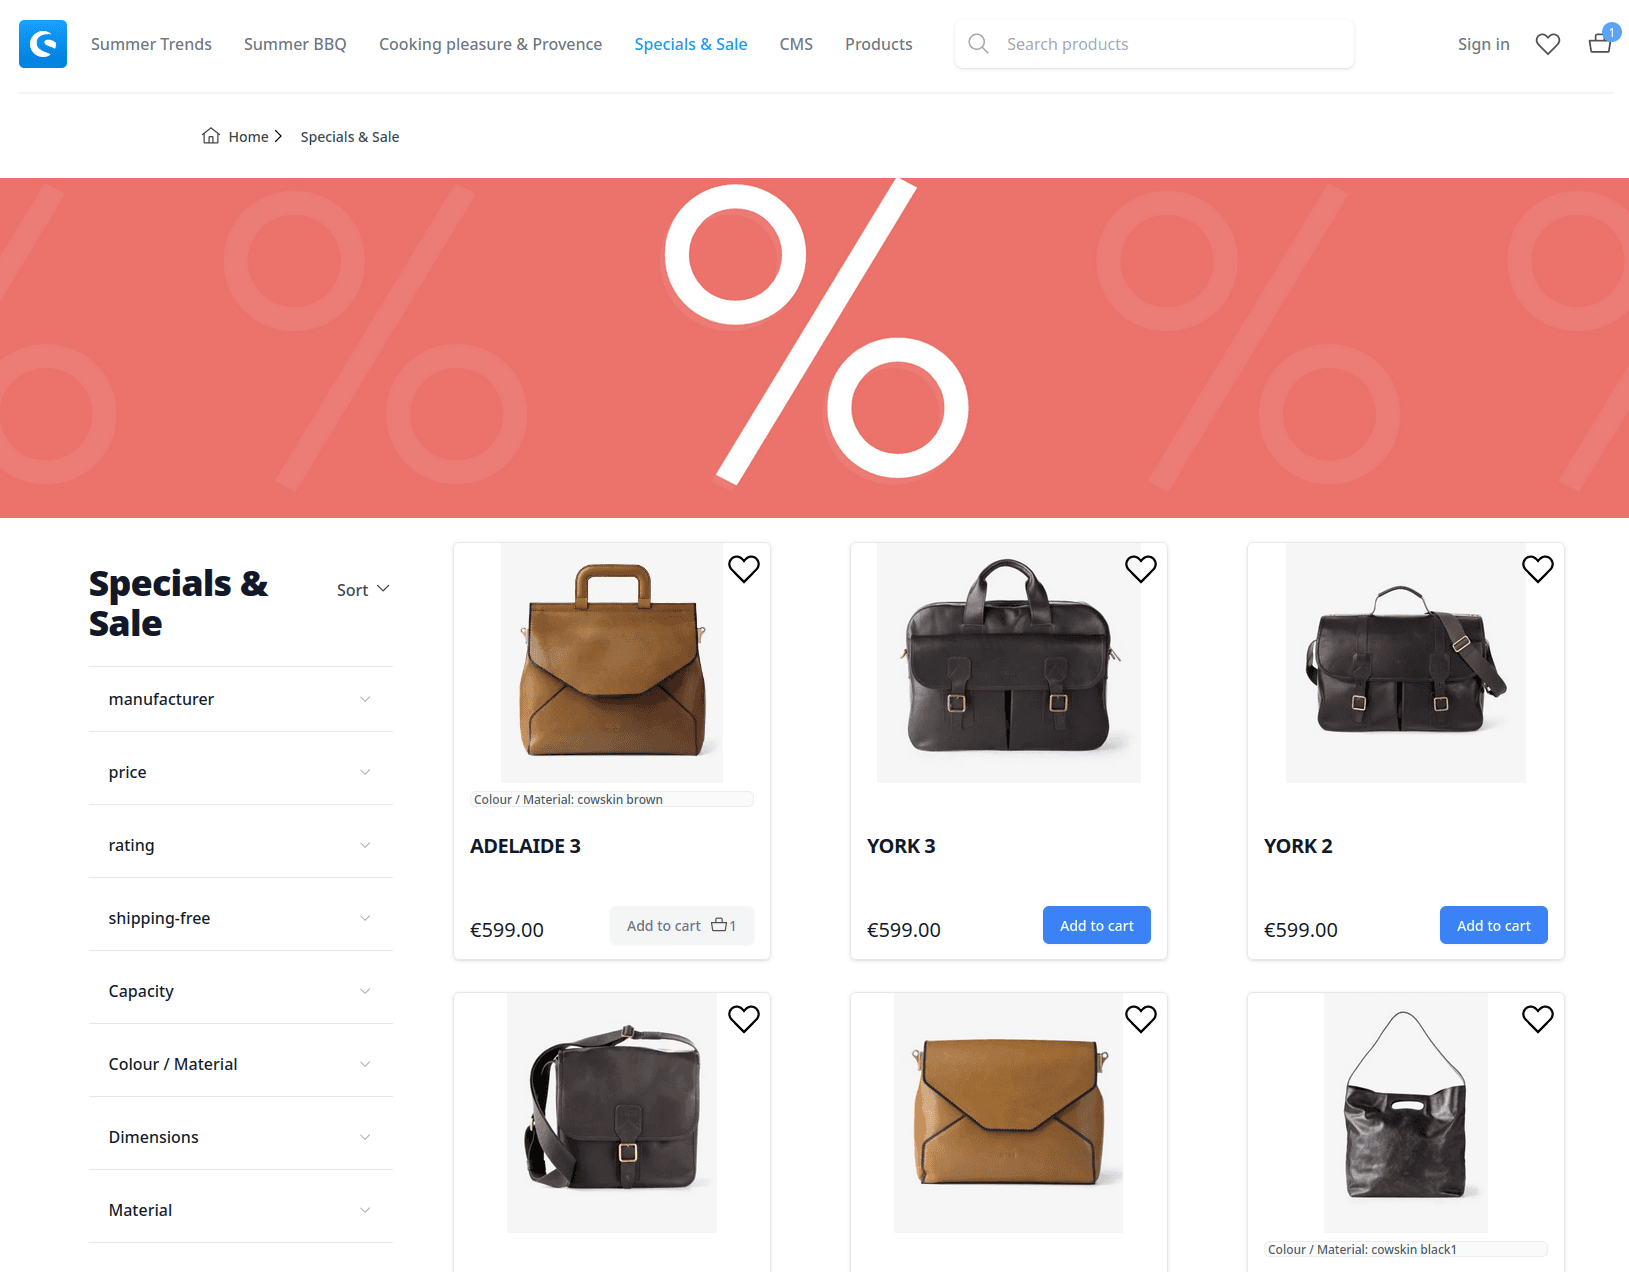
A reference ecommerce store implementation using Shopware, Nuxt 3, and Tailwind CSS.

Framework
Use Case
Shopware Ecommerce Nuxt Thumbnail

Demo template (Nuxt)

This repository is an example demo application built with Shopware Frontends Framework and Nuxt 3.

What's inside

  • Nuxt 3 application
  • Required libraries (API client, CMS components, composables, Nuxt 3 module)
  • Pre-configured demo Shopware 6 API

Requirements

Go to Documentation > Requirements to see the details.

Set up your Shopware 6 instance

To connect to a different API, adjust the API credentials in the nuxt.config.ts file:

Shopware:{endpoint and accessToken}.

Install & Run

  1. pnpm i to install dependencies
  2. pnpm dev to run the project with the development server

Generate your own API types

By default API types are delivered from our demo instance. To generate your own types use @shopware/api-gen CLI.

  1. update .env file with your Shopware API information
  2. load JSON schema from your instance pnpx @shopware/api-gen loadSchema --apiType=store --filename=storeApiSchema.json
  3. generate types pnpx @shopware/api-gen generateTypes --filename=storeApiSchema.json

[!NOTE] Do not edit your storeApiSchema.d.ts file. It will be overwritten on the next schema generation. Instead use your shopware.d.ts file to extend types.

Production

Refer to to the Shopware documentation for best practices on deploying a production JavaScript application with Shopware: Best Practices > Deployment

Running the application with Node.js

Execute the build script to build the application:

pnpm build

# or npm run build
# or yarn build

Execute the start script to run the application:

pnpm start

# or npm run start
# or yarn start

Running the application with Docker

The Dockerfile file in this template performs the following:

  1. ARG NODE_VERSION=18-alpine: Sets a default value for the NODE_VERSION argument, which is used in the Docker build process.
  2. FROM node:${NODE_VERSION}: Tells Docker to use the Node.js image specified by NODE_VERSION as the base image for the build.
  3. ENV NODE_ENV production: Sets the NODE_ENV environment variable to production within the Docker container.
  4. RUN mkdir /app: Creates a directory named /app in the root of the Docker container's file system.
  5. COPY --chown=node:node ./ /app: Copies all files from the current directory (where the Dockerfile is located) into the /app directory inside the container. The --chown=node:node option sets the ownership of the copied files to the node user and group.
  6. WORKDIR /app: Sets the working directory for any RUN, CMD, ENTRYPOINT, COPY, and ADD instructions that follow in the Dockerfile to /app.
  7. USER node: Switches the user context to node.
  8. EXPOSE 3000: Informs Docker that the container listens on port 3000 at runtime.
  9. CMD npm run start: Specifies the command to run when the container starts.

Prepare the Docker image:

# run in a main template directory
docker build -t vue-demo-store .

Run a container from the image:

# the application is exposed on the 3000 port and mapped to 3000 port on host
docker run -p3000:3000 vue-demo-store

Nitro presets

More information on generating different outputs can be found here. Our recommendation is to use .env file for changing platform presets

Shopware Ecommerce Nuxt Thumbnail
Avatar of shopwareshopware/frontends

Shopware Ecommerce Store with Nuxt

A reference ecommerce store implementation using Shopware, Nuxt 3, and Tailwind CSS.

Framework
Use Case

Demo template (Nuxt)

This repository is an example demo application built with Shopware Frontends Framework and Nuxt 3.

What's inside

  • Nuxt 3 application
  • Required libraries (API client, CMS components, composables, Nuxt 3 module)
  • Pre-configured demo Shopware 6 API

Requirements

Go to Documentation > Requirements to see the details.

Set up your Shopware 6 instance

To connect to a different API, adjust the API credentials in the nuxt.config.ts file:

Shopware:{endpoint and accessToken}.

Install & Run

  1. pnpm i to install dependencies
  2. pnpm dev to run the project with the development server

Generate your own API types

By default API types are delivered from our demo instance. To generate your own types use @shopware/api-gen CLI.

  1. update .env file with your Shopware API information
  2. load JSON schema from your instance pnpx @shopware/api-gen loadSchema --apiType=store --filename=storeApiSchema.json
  3. generate types pnpx @shopware/api-gen generateTypes --filename=storeApiSchema.json

[!NOTE] Do not edit your storeApiSchema.d.ts file. It will be overwritten on the next schema generation. Instead use your shopware.d.ts file to extend types.

Production

Refer to to the Shopware documentation for best practices on deploying a production JavaScript application with Shopware: Best Practices > Deployment

Running the application with Node.js

Execute the build script to build the application:

pnpm build

# or npm run build
# or yarn build

Execute the start script to run the application:

pnpm start

# or npm run start
# or yarn start

Running the application with Docker

The Dockerfile file in this template performs the following:

  1. ARG NODE_VERSION=18-alpine: Sets a default value for the NODE_VERSION argument, which is used in the Docker build process.
  2. FROM node:${NODE_VERSION}: Tells Docker to use the Node.js image specified by NODE_VERSION as the base image for the build.
  3. ENV NODE_ENV production: Sets the NODE_ENV environment variable to production within the Docker container.
  4. RUN mkdir /app: Creates a directory named /app in the root of the Docker container's file system.
  5. COPY --chown=node:node ./ /app: Copies all files from the current directory (where the Dockerfile is located) into the /app directory inside the container. The --chown=node:node option sets the ownership of the copied files to the node user and group.
  6. WORKDIR /app: Sets the working directory for any RUN, CMD, ENTRYPOINT, COPY, and ADD instructions that follow in the Dockerfile to /app.
  7. USER node: Switches the user context to node.
  8. EXPOSE 3000: Informs Docker that the container listens on port 3000 at runtime.
  9. CMD npm run start: Specifies the command to run when the container starts.

Prepare the Docker image:

# run in a main template directory
docker build -t vue-demo-store .

Run a container from the image:

# the application is exposed on the 3000 port and mapped to 3000 port on host
docker run -p3000:3000 vue-demo-store

Nitro presets

More information on generating different outputs can be found here. Our recommendation is to use .env file for changing platform presets

Unleash New Possibilities

Deploy your app on Vercel and unlock its full potential