
DegreeGuru
Build a RAG Chatbot using Vercel AI SDK, Langchain, Upstash Vector and OpenAI
[!NOTE]
This project is a Community Project.The project is maintained and supported by the community. Upstash may contribute but does not officially support or assume responsibility for it.
DegreeGuru is a project designed to teach you making your own AI RAG chatbot on any custom data. Some of our favorite features:
- 🕷️ Built-in crawler that scrapes the website you point it to, automatically making this data available for the AI
- ⚡ Fast answers using Upstash Vector and real-time data streaming
- 🛡️ Includes rate limiting to prevent API abuse
This chatbot is trained on data from Stanford University as an example, but is totally domain agnostic. We've created this project so you can turn it into a chatbot with your very own data by simply modifying the crawler.yaml file.
Overview
Stack
- Crawler: scrapy
- Chatbot App: Next.js
- Vector DB: Upstash
- LLM Orchestration: Langchain.js
- Generative Model: OpenAI, gpt-3.5-turbo-1106
- Embedding Model: OpenAI, text-embedding-ada-002
- Text Streaming: Vercel AI
- Rate Limiting: Upstash
Quickstart
For local development, we recommend forking this project and cloning the forked repository to your local machine by running the following command:
This project contains two primary components: the crawler and the chatbot. First, we'll take a look at how the crawler extracts information from any website you point it to. This data is automatically stored in an Upstash Vector database. If you already have a vector database available, the crawling stage can be skipped.
Step 1: Crawler
The crawler is developed using Python, by initializing a Scrapy project and implementing a custom spider. The spider is equipped with the parse_page function, invoked each time the spider visits a webpage. This callback function splits the text on the webpage into chunks, generates vector embeddings for each chunk, and upserts those vectors into your Upstash Vector Database. Each vector stored in our database includes the original text and website URL as metadata.
To run the crawler, follow these steps:
[!TIP] If you have docker installed, you can skip the "Configure Environment Variables" and "Install Required Python Libraries" sections. Instead you can simply update the environment variables in docker-compose.yml and run
docker-compose up. This will create a container running our crawler. Don't forget to configure the crawler as explained in the following sections!
Configure Environment Variables
Before we can run our crawler, we need to configure environment variables. They let us securely store sensitive information, such as the API keys we need to communicate with OpenAI or Upstash Vector.If you don't already have an Upstash Vector Database, create one here and set 1536 as the vector dimensions. We set 1536 here because that is the amount needed by the embedding model we will use.
The following environment variables should be set:
Install Required Python Libraries
To install the libraries, we suggest setting up a virtual Python environment. Before starting the installation, navigate to the degreegurucrawler directory.
To setup a virtual environment, first install virtualenv package:
Then, create a new virtual environment and activate it:
Finally, use the requirements.txt to install the required libraries:
After setting these environment variables, we are almost ready to run the crawler. The subsequent step involves configuring the crawler itself, primarily accomplished through the crawler.yaml file located in the degreegurucrawler/utils directory. Additionally, it is imperative to address a crucial setting within the settings.py file.
Configuring the crawler in `crawler.yaml`
The crawler.yaml has two main sections: crawler and index:
In the crawler section, there are two subsections:
start_urls: the entrypoints our crawler will start searching fromlink_extractor: a dictionary passed as arguments toscrapy.linkextractors.LinkExtractor. Some important parameters are:allow: Only extracts links matching the given regex(s)allow_domains: Only extract links matching the given domain(s)deny: Deny links matching the given regex(s)
In the index section, there are two subsections:
openAI_embedding_model: The embedding model to usetest_splitter: a dictionary passed as arguments tolangchain.text_splitter.RecursiveCharacterTextSplitter
Configuring crawl depth via `settings.py`
settings.py file has an important setting called DEPTH_LIMIT which determines how many consecutive links our spider can crawl. A high value lets our crawler visit the deepest corners of a website, taking longer to finish with possibly diminishing returns. A low value could end the crawl before extracting relevant information.
If pages are skipped due to the DEPTH_LIMIT, Scrapy logs those skipped URLs for us. Because this usually causes a lot of logs, we've disabled this option in our project. If you'd like to keep it enabled, remove the "scrapy.spidermiddlewares.depth" from the disable_loggers in degreegurucrawler/spider/configurable.py file.
That's it! 🎉 We've configured our crawler and are ready to run it using the following command:
Note that running this might take time. You can monitor the progress by looking at the log file degreegurucrawl.log or the metrics of your Upstash Vector Database dashboard as shown below.
[!TIP] If you want to do a dry run (without creating embeddings or a vector database), simply comment out the line where we pass the
callbackparameter to theRuleobject inConfigurableSpider
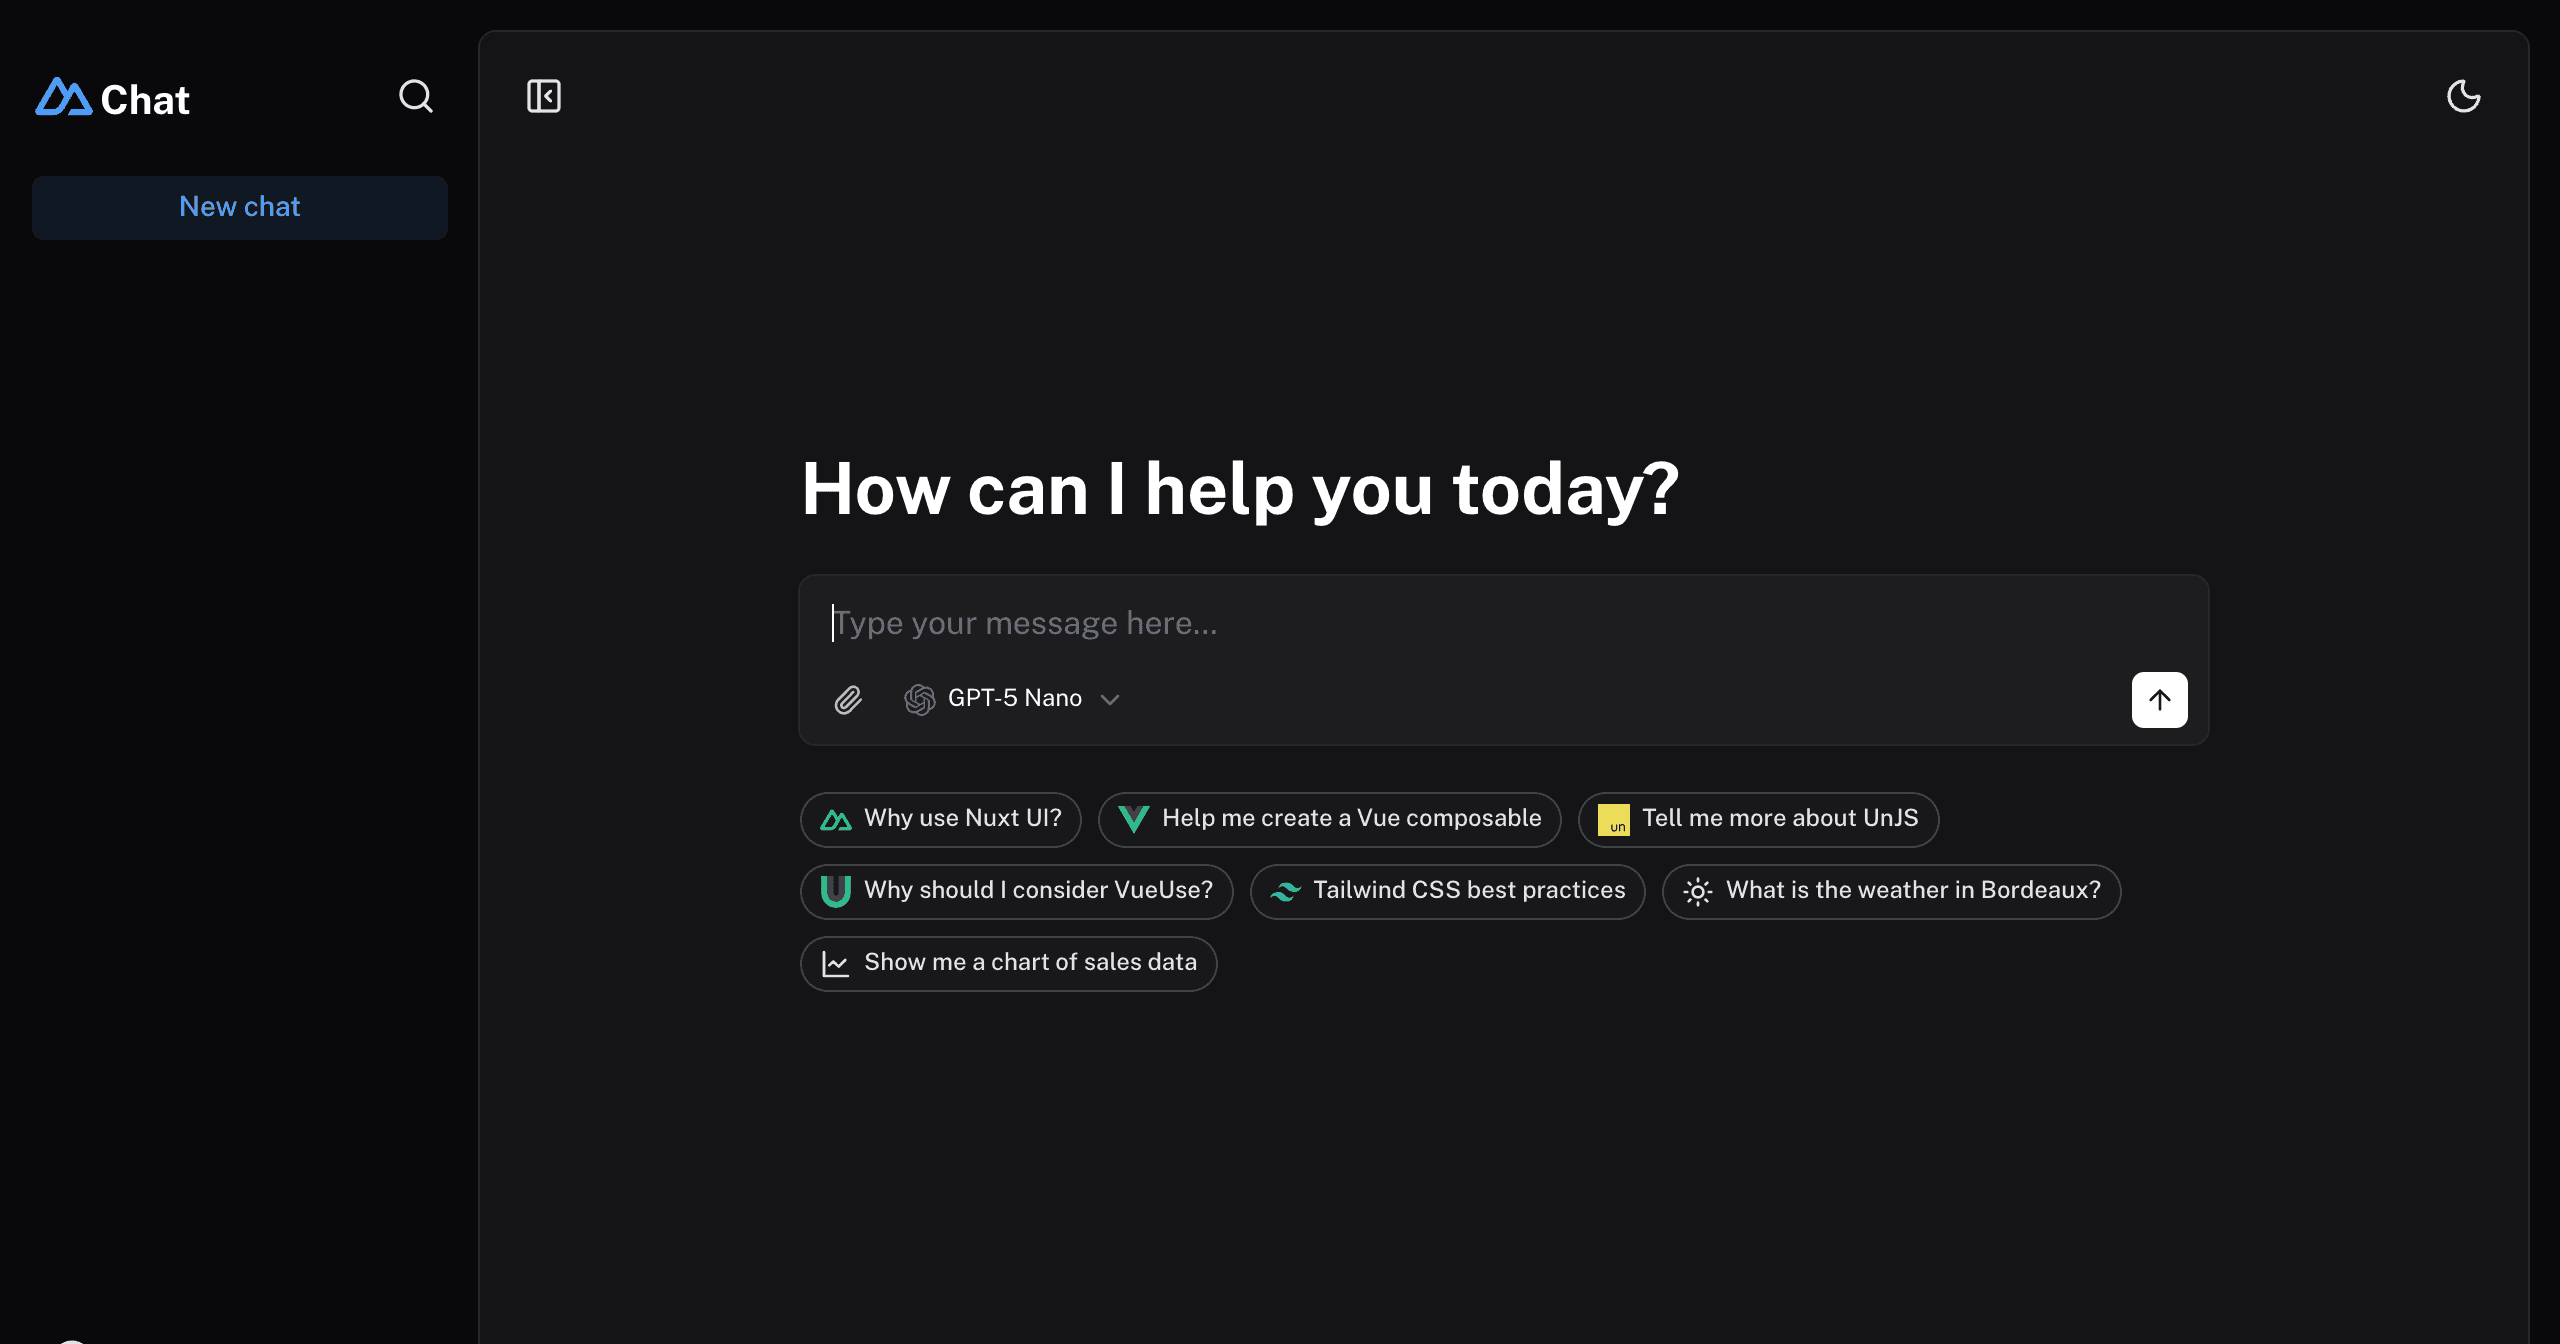
Step 2: Chatbot
In this section, we'll explore how to chat with the data we've just crawled and stored in our vector database. Here's an overview of what this will look like architecturally:
Before we can run the chatbot locally, we need to set the environment variables as shown in the .env.local.example file. Rename this file and remove the .example ending, leaving us with .env.local.
Your .env.local file should look like this:
The first four variables are provided by Upstash, you can visit the commented links for the place to retrieve these tokens. You can find the vector database tokens here:
The UPSTASH_REDIS_REST_URL and UPSTASH_REDIS_REST_TOKEN are needed for rate-limiting based on IP address. In order to get these secrets, go to Upstash dashboard and create a Redis database.
Finally, set the OPENAI_API_KEY environment variable you can get here which allows us to vectorize user queries and generate responses.
That's the setup done! 🎉 We've configured our crawler, set up all neccessary environment variables are after running npm install to install all local packages needed to run the app, we can start our chatbot using the command:
Visit http://localhost:3000 to see your chatbot live in action!
Step 3: Optional tweaking
You can use this chatbot in two different modes:
- Streaming Mode: model responses are streamed to the web application in real-time as the model generates them. Interaction with the app is more fluid.
- Non-Streaming Mode: Model responses are shown to the user once entirely generated. In this mode, DegreeGuru can explicitly provide the URLs of the web pages it uses as context.
Changing streaming mode
To turn streaming on/off, navigate to src/app/route/guru and open the route.tsx file. Setting returnIntermediateSteps to true disables streaming, setting it to false enables streaming.
To customize the chatbot further, you can update the AGENT_SYSTEM_TEMPLATE in your route.tsx file to better match your specific use case.
Conclusion
Congratulations on setting up your own AI chatbot! We hope you learned a lot by following along and seeing how the different parts of this app, namely the crawler, vector database, and LLM, play together. A major focus in developing this project was on its user-friendly design and adaptable settings to make this project perfect for your use case.
Limitations
The above implementation works great for a variety of use cases. There are a few limitations I'd like to mention:
- Because the Upstash LangChain integration is a work-in-progress, the
UpstashVectorStoreused with LangChain currently only implements thesimilaritySearchVectorWithScoremethod needed for our agent. Once we're done developing our native LangChain integration, we'll update this project accordingly. - When the non-streaming mode is enabled, the message history can cause an error after the user enters another query.
- Our sources are available as URLs in the Upstash Vector Database, but we cannot show the sources explicitly when streaming. Instead, we provide the links to the chatbot as context and expect the bot to include the links in the response.

