Next.js Shopware Starter
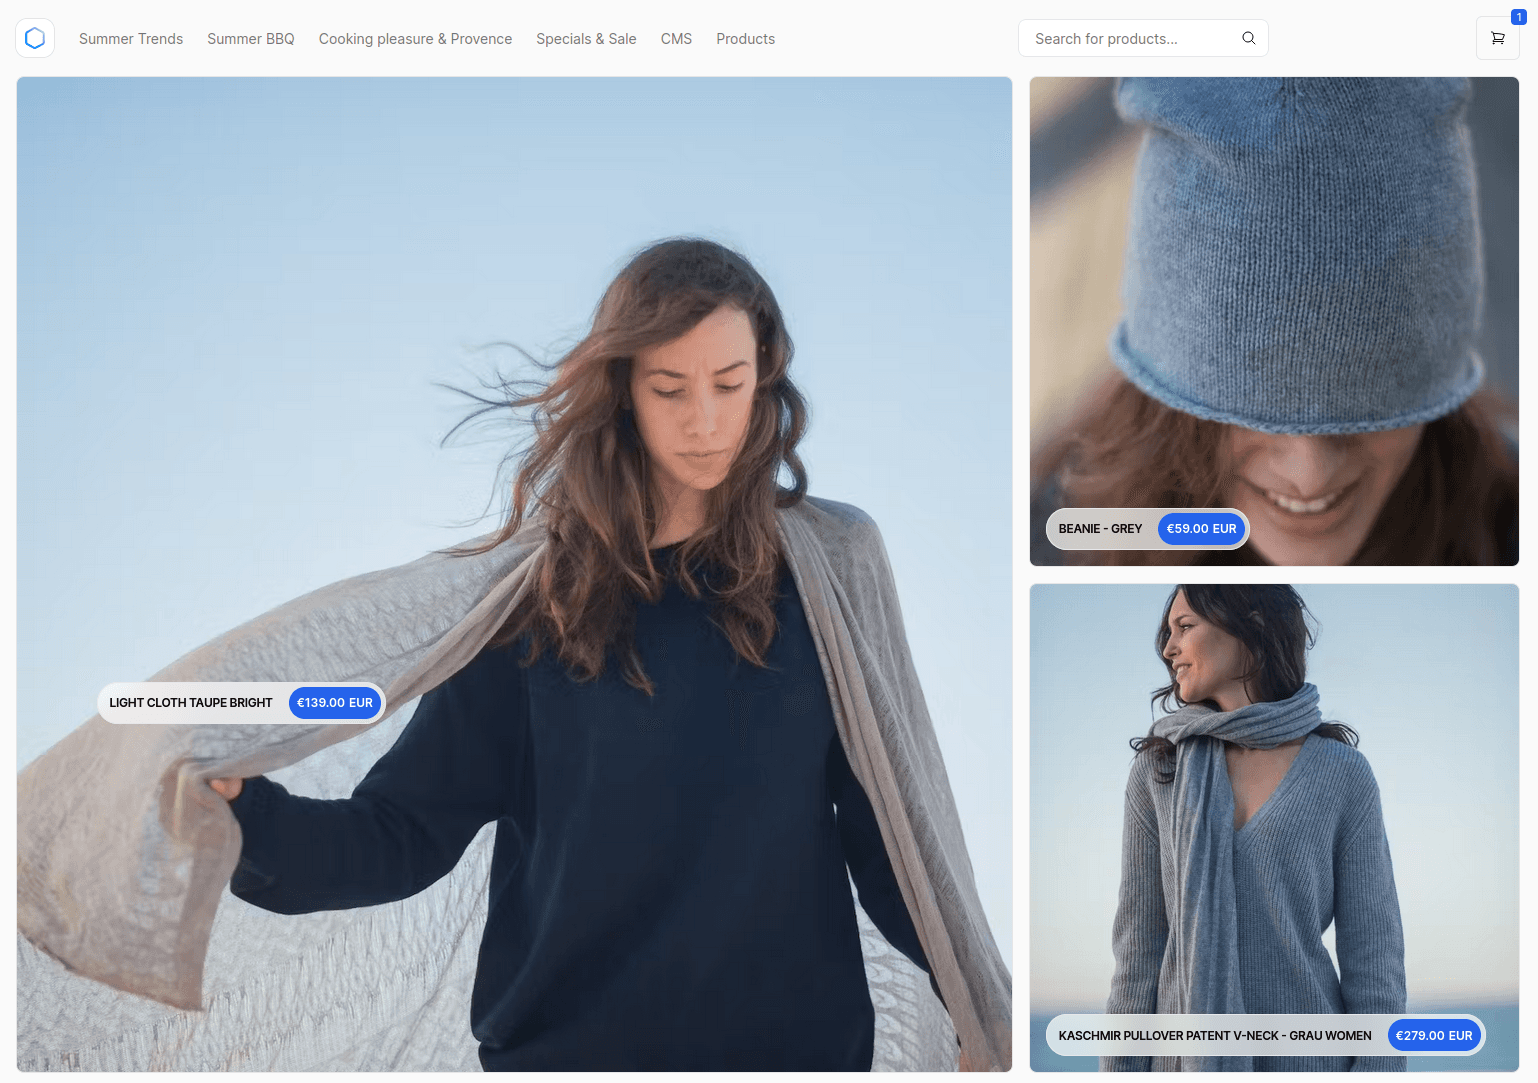
Headless Shopware Starter Template for commerce built with React and Next.js.

Next.js Shopware Starter
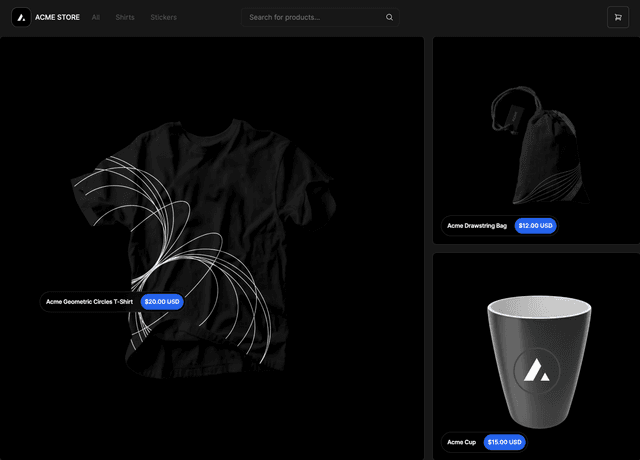
A high-performance, server-rendered Next.js App Router ecommerce application.
- Next.js App Router
- Optimized for SEO using Next.js's Metadata
- React Server Components (RSCs) and Suspense
- Server Actions for mutations
- Edge Runtime
- New fetching and caching paradigms
- Dynamic OG images
- Styling with Tailwind CSS
- Automatic light/dark mode based on system settings
Prerequisites
Next.js Shopware Starter requires a running Shopware 6 Instance (Installation Guide).
To get started, use this README and the example environment variable comments.
Running locally
You will need to use the environment variables defined in .env.example to run Next.js Shopware Starter. It's recommended you use Vercel Environment Variables for this, but a .env file is all that is necessary.
Note: You should not commit your
.envfile or it will expose secrets that will allow others to control your Shopware store.
- Install Vercel CLI:
npm i -g vercel - Link local instance with Vercel and GitHub accounts (creates
.verceldirectory):vercel link - Download your environment variables:
vercel env pull
Your app should now be running on localhost:3000.
How to configure your Shopware store for Next.js Shopware Starter
You can find the SHOPWARE_ACCESS_TOKEN in the Admin at your SalesChannel configuration.
Add Shopware domain to an environment variable
Copy .env.example file to .env and change the environment variables like descibed below.
Create a SHOPWARE_STORE_DOMAIN environment variable and use your Shopware domain as the the value (ie. demo-frontends.shopware.store).
Note: Do not include the
https://.
Accessing the Shopware store API
Next.js Shopware Starter utilizes Shopware's store API to create unique customer experiences. The API offers a full range of commerce options making it possible for customers to control products, collections, menus, pages, cart, checkout, and more.
In order to use the Shopware's store API, you need at least one (Storefront) SalesChannel (for speaking URL's) in your Shopware instance.
Once installed, you'll need to create a SHOPWARE_ACCESS_TOKEN environment variable and use the public access token as the value
Activate SEO URLs for your StoreNote: We using an api Client package that helps you with types, endpoints, params and returns.
If you want to use your Store with SEO URLs you should set this Envoirment variable
SHOPWARE_USE_SEO_URLS="true"
Checkout functionality
The template is provided as-is without an integrated checkout. For projects there are two options - redirect to a native checkout, provided by Shopware or implement a headless checkout flow using our API endpoints for preparing and placing orders.
Community
Any questions, issues or feature requests? Feel free to join the community.


