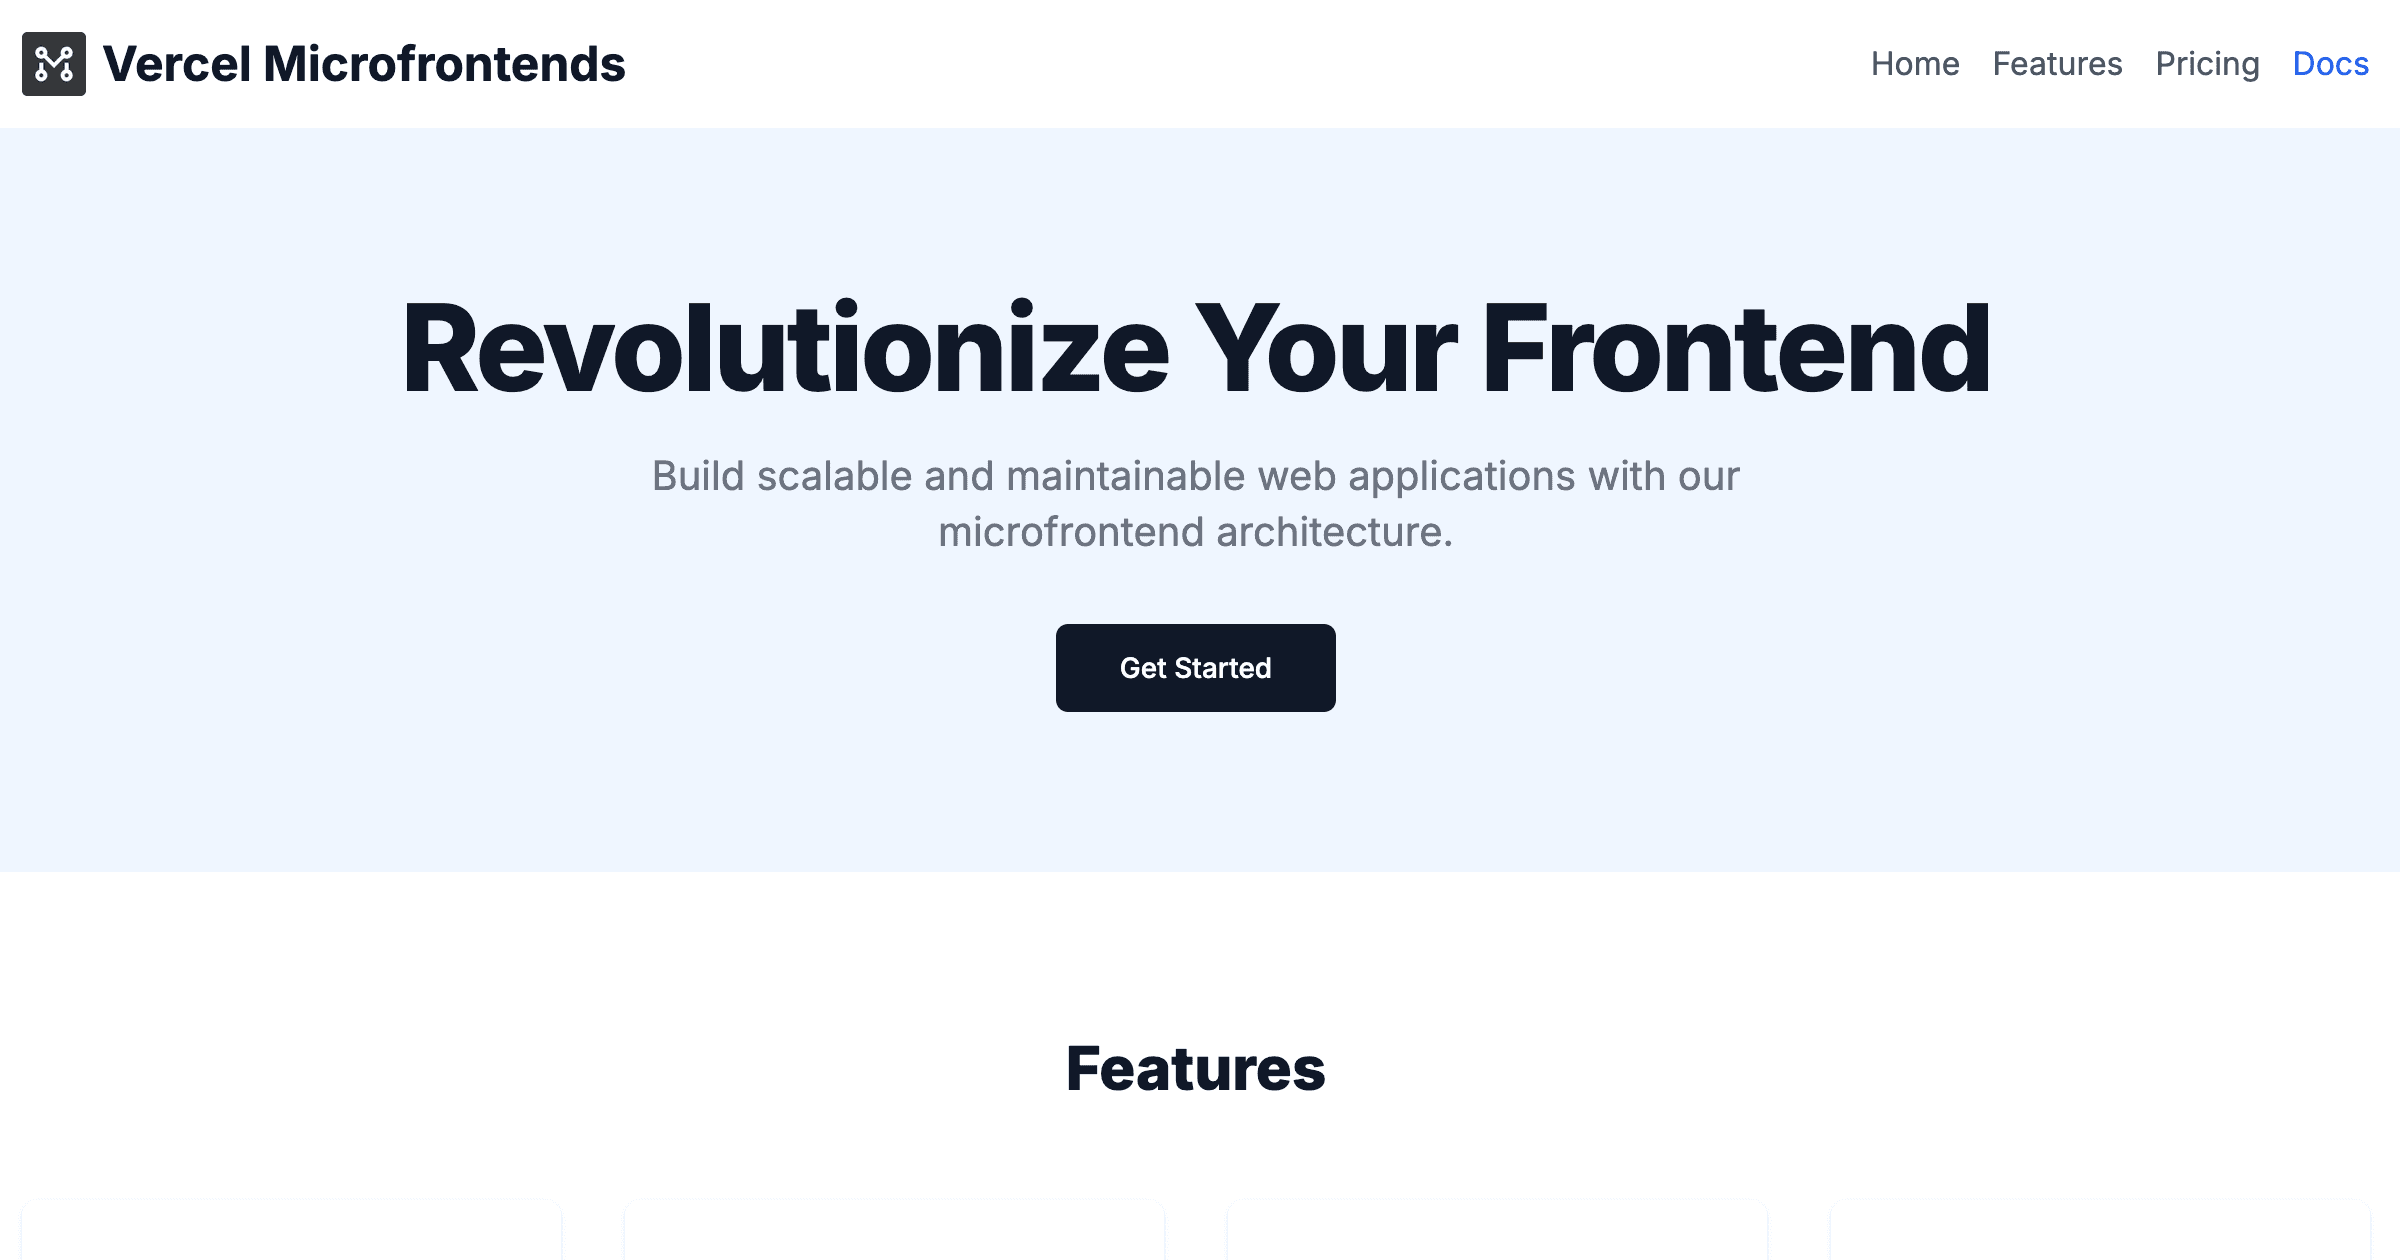
Vercel Microfrontends - Next.js Multi-Zones example
This example showcases how to build and deploy a Next.js Multi-Zones microfrontends application using Vercel Microfrontends with Next.js App Router. Learn how to architect independent, deployable frontend applications that work together seamlessly while maintaining team autonomy and deployment independence.
Demo URL: https://vercel-microfrontends-multi-zones.vercel.app/
🚀 Deploy to Vercel
This example consists of two separate microfrontends that can be deployed independently:
| Application | Description | Deploy |
|---|---|---|
| Marketing | Main application handling homepage, pricing, and marketing content | |
| Documentation | Dedicated docs microfrontend handling all /docs routes |
Getting Started
Prerequisites
Ensure you have the following installed:
- Node.js 20.x or later
- pnpm 9.4.0 (recommended package manager)
- Git for version control
Local Development Setup
-
Clone the repository:
git clone https://github.com/vercel/examplescd microfrontends/nextjs-multi-zones -
Install dependencies:
pnpm install -
Start the development environment:
pnpm dev
This command starts both applications simultaneously:
- Marketing app: http://localhost:3000
- Documentation app: http://localhost:3001 (automatically proxied through marketing app)
- Access the application: Open http://localhost:3024 in your browser and navigate between different sections to see the microfrontend routing in action.
Why Multi-Zones?
Multi-Zones, or splitting a single domain into multiple applications, allows you to build and iterate on different parts of an application independently. The benefits include:
- Independent Deployments: Deploy each microfrontend without affecting others
- Team Autonomy: Enable teams to work independently while maintaining consistency
- Technology Flexibility: Each microfrontend can use different technologies or versions
- Fault Isolation: Issues in one microfrontend don't affect others
- Incremental Upgrades: Modernize parts of your application gradually
Architecture Overview
This example implements a multi-zones architecture where:
Key Components
-
Marketing Application (
apps/marketing/)- Primary application handling the main website
- Contains homepage, pricing, and general marketing content
- Acts as the shell application orchestrating other microfrontends
-
Documentation Application (
apps/docs/)- Dedicated documentation microfrontend
- Handles all
/docsroutes - Can be developed and deployed independently
-
Shared Packages (
packages/)- Common TypeScript configurations
- Shared ESLint rules and formatting standards
- Ensures consistency across all applications
Project Structure Deep Dive
microfrontends/nextjs-multi-zones/├── apps/│ ├── marketing/ # Main application (shell)│ │ ├── app/ # Next.js App Router pages│ │ ├── components/ # UI components│ │ ├── lib/ # Utilities and helpers│ │ ├── microfrontends.json # Routing configuration│ │ └── next.config.ts # Next.js configuration with MFE setup│ ││ └── docs/ # Documentation microfrontend│ ├── app/ # Documentation pages│ ├── components/ # Doc-specific components│ ├── lib/ # Documentation utilities│ └── next.config.ts # Standalone Next.js configuration│├── packages/│ ├── eslint-config-custom/ # Shared linting configuration│ └── ts-config/ # Shared TypeScript configuration│├── package.json # Root package.json with workspaces├── pnpm-workspace.yaml # PNPM workspace configuration└── turbo.json # Turborepo build pipelineConfiguration Files Explained
microfrontends.json
This file defines how microfrontends are discovered and routed:
- Applications mapping: Defines each microfrontend and its ports
- Routing rules: Specifies which URLs should be handled by which microfrontend
- Development settings: Local ports and fallback URLs for development
next.config.ts
Each application has its own Next.js configuration enhanced with:
withMicrofrontends(): Enables microfrontend capabilitieswithVercelToolbar(): Adds development debugging tools- Standard Next.js optimizations and settings
How Microfrontend Routing Works
The magic happens through the @vercel/microfrontends package:
1. Route Discovery
The marketing application (shell) reads the microfrontends.json configuration to understand which routes should be handled by which microfrontend.
2. Dynamic Proxying
When a user navigates to /docs, Vercel Microfrontends:
- Recognizes this route belongs to the documentation microfrontend
- Proxies the request to the documentation application
- Returns the response seamlessly to the user
All routing between microfrontends is handled dynamically by Vercel Microfrontends, allowing for a smooth user experience without page reloads.
3. Development Magic
During development, both applications run simultaneously, and the routing happens transparently, providing a seamless development experience.
4. Production Deployment
In production, each microfrontend is deployed independently to Vercel, and the routing configuration ensures requests are directed to the correct deployment.
Learn more in the routing documentation.
Development Workflow
Working with Individual Microfrontends
You can develop microfrontends in isolation using the microfrontends local development proxy:
# Work on the marketing application onlycd apps/marketingpnpm dev
# Work on the documentation application onlycd apps/docspnpm devBuilding and Testing
# Build all applicationspnpm build
# Run linting across all appspnpm lint
# Type check all applicationspnpm typecheck
# Run all quality checkspnpm checksAdding New Microfrontends
- Create a new application in the
apps/directory - Update
microfrontends.jsonto include routing rules - Add the new app to the workspace configuration
- Configure deployment settings for the new microfrontend
Learn more in the Managing Microfrontends documentation.
Configuration and Components
Next.js Configuration in This Project
Both applications use withMicrofrontends to enable cross-zone routing:
// apps/marketing/next.config.ts & apps/docs/next.config.tsimport { withMicrofrontends } from '@vercel/microfrontends/next/config';import { withVercelToolbar } from '@vercel/toolbar/plugins/next';
export default withVercelToolbar()( withMicrofrontends(nextConfig, { debug: true }),);Routing Configuration
The marketing app defines how to route to the docs microfrontend:
// apps/marketing/microfrontends.json{ "applications": { "microfrontends-marketing": { "development": { "local": 3000, "fallback": "microfrontends-marketing.vercel.app", }, }, "microfrontends-docs": { "development": { "local": 3001 }, "routing": [{ "group": "docs", "paths": ["/docs", "/docs/:path*"] }], }, },}Optimizing Cross-Microfrontend Navigation
The @vercel/microfrontends package can be used to prefetch and prerender links to other microfrontends.
First, embed the PrefetchCrossZoneLinksProvider element in the root layout.tsx of your application.
Then, use the enhanced Link component for seamless optimized navigation between zones:
// In marketing app - navigating to docsimport { Link } from '@vercel/microfrontends/next/client';
<Link href="/docs">View Documentation</Link><Link href="/docs/getting-started">Getting Started Guide</Link>This setup enables the marketing app to seamlessly route /docs requests to the documentation microfrontend while maintaining a unified user experience.
Learn more in the Optimizing Hard Navigations documentation.