Back to Templates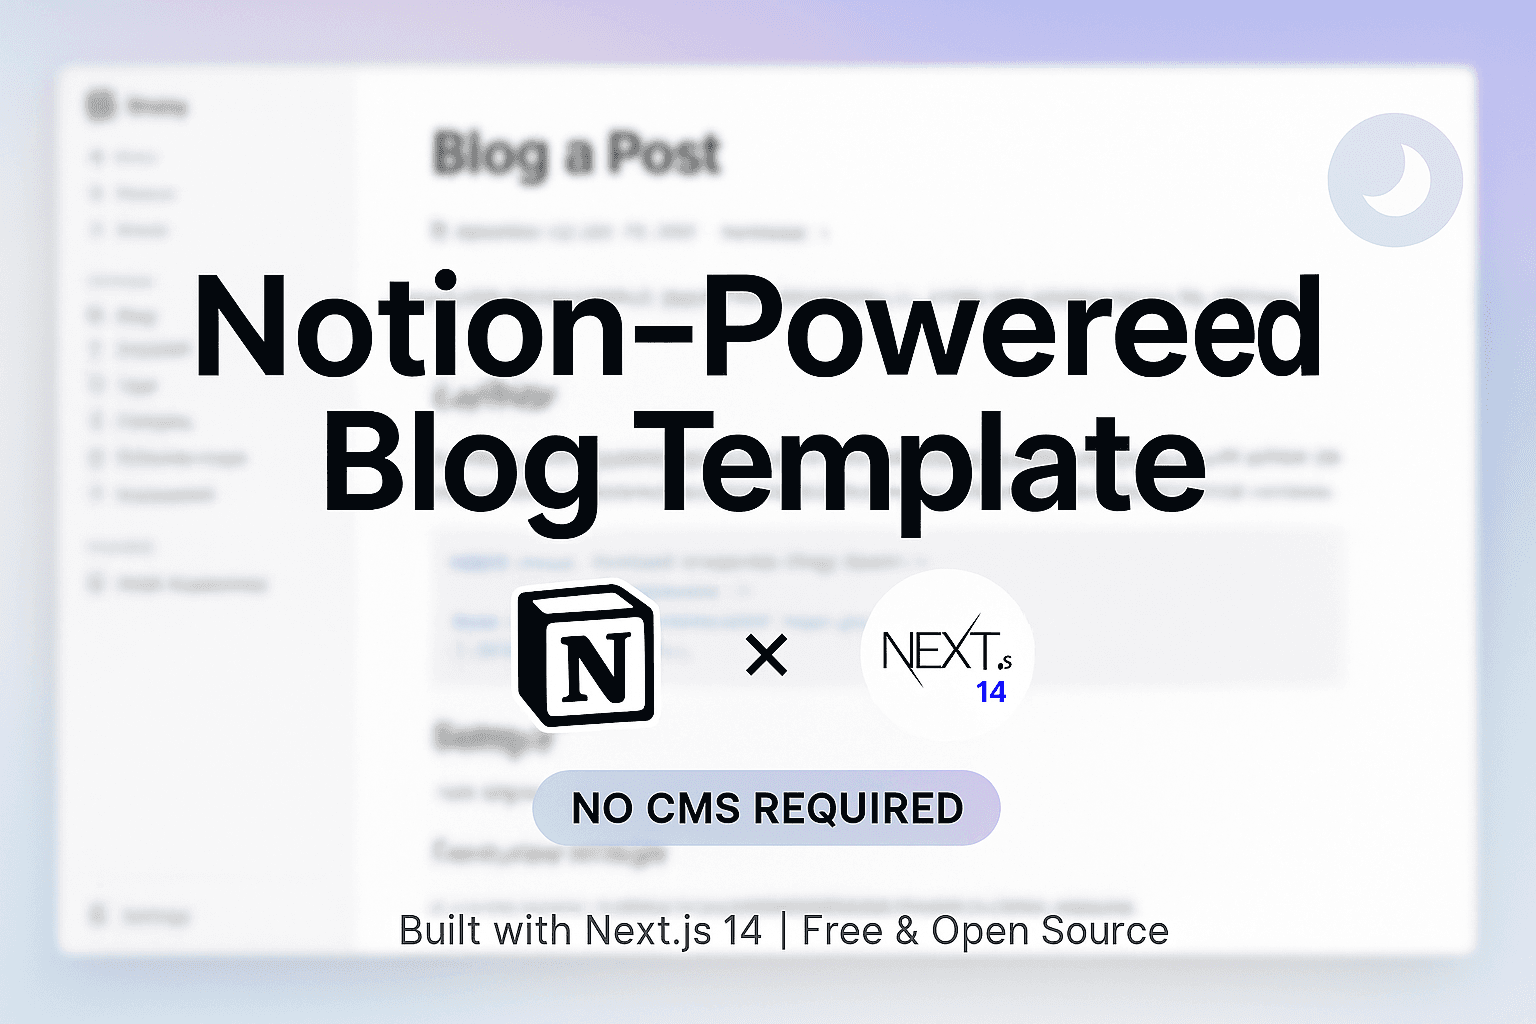
Notion-Powered Next.js Blog Template
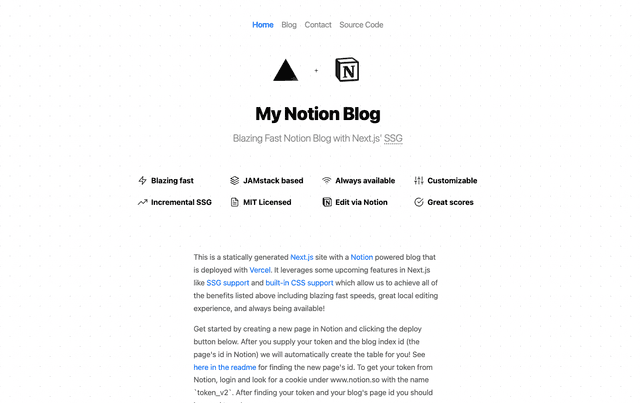
A modern, fast, and customizable blog template powered by Notion as a CMS and Next.js. This template allows you to use Notion as your content management system while serving your blog with Next.js.
Features
- 🚀 Built with Next.js 14+ and App Router
- 📝 Use Notion as a CMS
- 🎨 Beautiful and responsive design
- ⚡ Fast page loads with static generation
- 🔍 SEO optimized
- 📱 Mobile-friendly
- 🌙 Dark mode support
- ✨ Syntax highlighting for code blocks
- 📊 Table support
- 🖼️ Image optimization
- 📅 Reading time and word count
Prerequisites
- Node.js 18.17.1 or later
- A Notion account
- Basic knowledge of Next.js and React
Getting Started
1. Clone the Template
- Visit this Notion template: Blog Template
- Click "Duplicate" to clone it to your workspace
- Clone this repository to your local machine
2. Set Up Notion Integration
- Go to Notion Developers
- Click "New integration"
- Fill in the integration details:
- Name: Choose a name for your integration
- Select the workspace where you cloned the blog template
- Choose "Internal integration"
- Under "Capabilities", select only "Read content" (uncheck Insert content and Update content)
- Copy the "Internal Integration Token" (this will be your
NOTION_TOKEN)
3. Connect Integration to Your Database
- Go to your cloned Notion blog page
- Click the "•••" (three dots) in the top right corner
- Go to "Connections" -> find your integration and click "Connect"
4. Get Your Database ID
- Open your Notion database in the browser
- Copy the ID from the URL. For example:
https://www.notion.so/20bf471a8ac78080a3d4dad6ed77ca17?v=...└───────── Database ID ─────────┘
5. Environment Setup
- Create a
.env.localfile in your project root:NOTION_TOKEN=your_integration_token_hereNOTION_DATABASE_ID=your_database_id_hereNEXT_PUBLIC_SITE_URL=your_site_url_here
6. Install and Run
npm installnpm run devVisit http://localhost:3000 to see your blog.
Customizing the Template
Adding New Properties
- In your Notion database, you can add new properties by clicking "+ Add a property"
- To use new properties in your blog, modify
src/lib/notion.ts:
export interface Post { // ... existing properties ... yourNewProperty?: string; // Add your new property}
export async function getPost(pageId: string): Promise<Post | null> { try { // ... existing code ... const post: Post = { // ... existing properties ... yourNewProperty: properties.YourNewProperty?.your_property_type?.value, }; // ... rest of the code ... }}Customizing the Layout
- Modify
src/app/posts/[slug]/page.tsxto change the blog post layout - Update
src/components/mdx-component.tsxto customize markdown rendering - Style components using Tailwind CSS classes
Managing Your Blog
-
Access your integration settings anytime:
- Go to Notion Settings -> Connections
- Find your integration
- Click "•••" -> "Manage in developer portal"
-
Create new blog posts:
- Add a new page to your Notion database
- Fill in the required properties
- Set status to "Published" when ready
Database Properties
The template uses these default properties:
Title- The post title (required)Status- Publication status (Published/Draft)Published Date- Post publication dateAuthor- Post authorTags- Post tags (multi-select)Category- Post category (select)Featured Image- Cover image URL
Contributing
Feel free to submit issues and enhancement requests!
License
MIT License - feel free to use this template for your own blog!