New Project
A clean Next.js template with a native authoring experience
This template includes a Next.js app with a Sanity Studio – an open-source React application that connects to your Sanity project’s hosted dataset. The Studio is configured locally and can then be deployed for content collaboration.
https://template-nextjs-clean.sanity.dev
Already deployed with Vercel? If you've already deployed using the Sanity + Vercel Integration or one-click Vercel button, please visit our Vercel deployment instructions to set up your local environment and deploy Sanity Studio.
Run the command in your Terminal to initialize this template on your local computer.
See the documentation if you are having issues with the CLI.
Navigate to the template directory using cd <your app name>, and start the development servers by running the following command
Open the Next.js app running locally in your browser on http://localhost:3000.
Open the Studio running locally in your browser on http://localhost:3333. You should now see a screen prompting you to log in to the Studio. Use the same service (Google, GitHub, or email) that you used when you logged in to the CLI.
The template comes pre-defined with a schema containing Page, Post, Person, and Settings document types.
From the Studio, click "+ Create" and select the Post document type. Go ahead and create and publish the document.
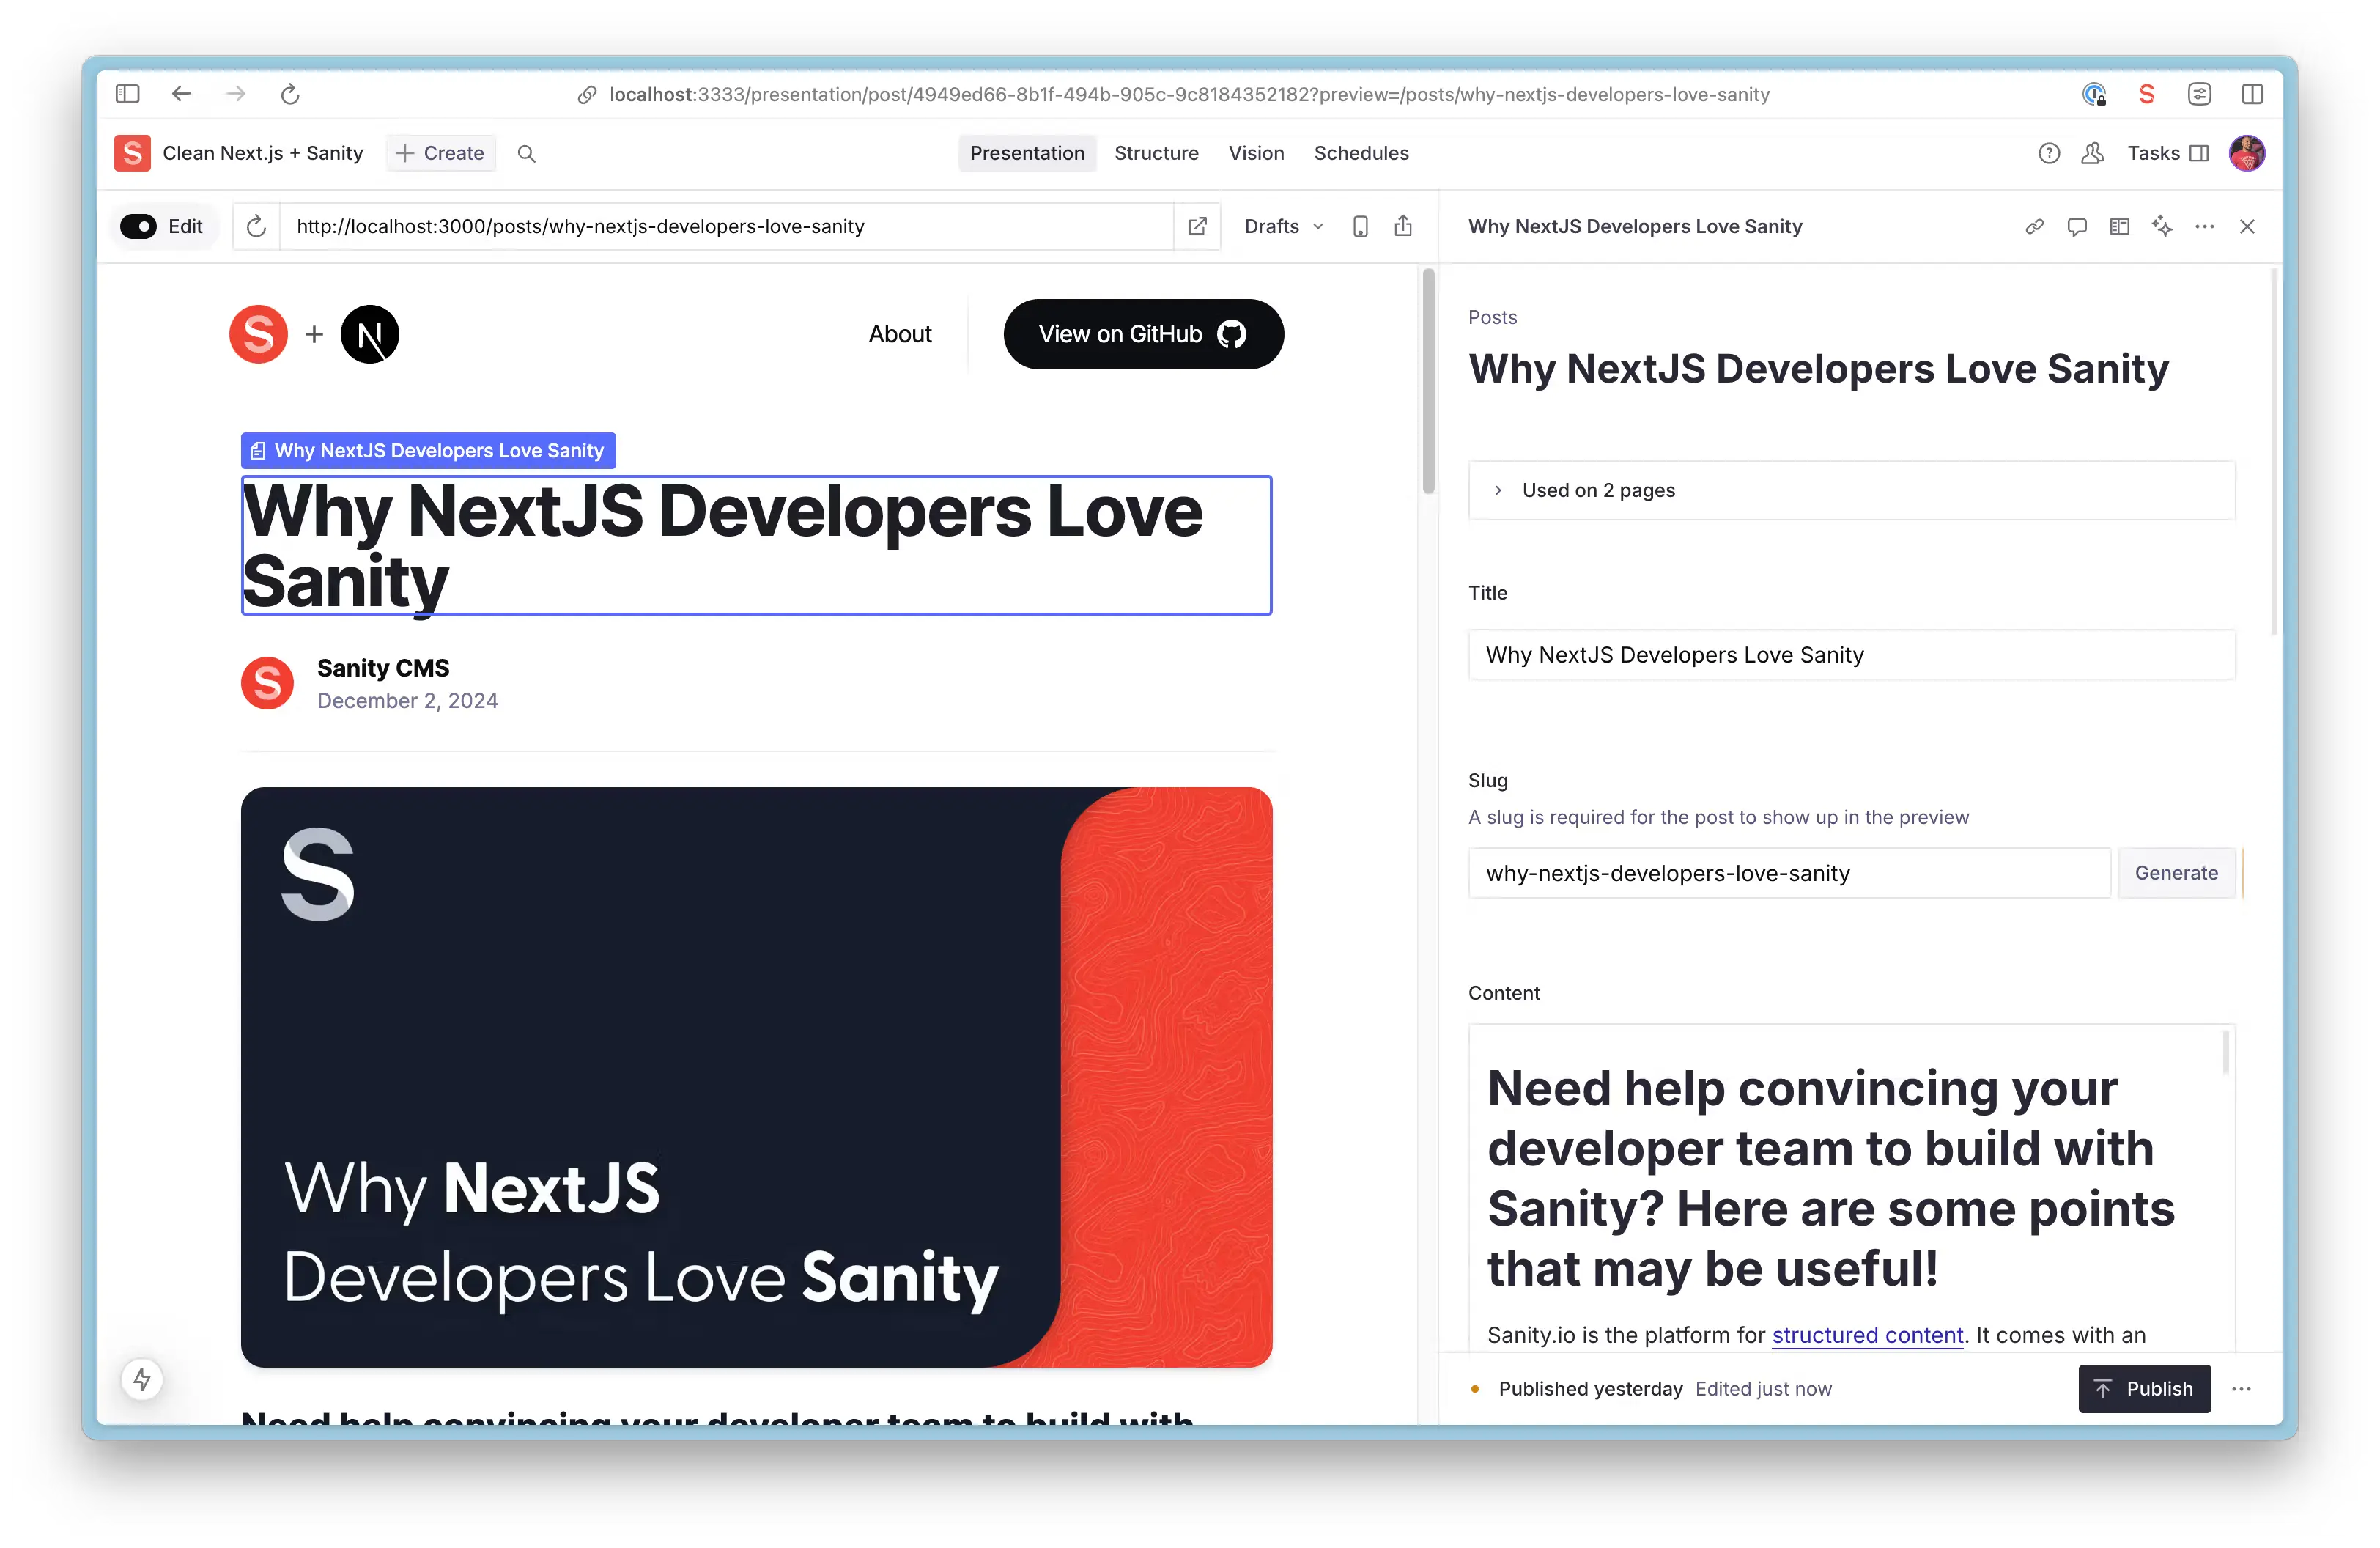
Your content should now appear in your Next.js app (http://localhost:3000) as well as in the Studio on the "Presentation" Tab
You may want to start with some sample content and we've got you covered. Run this command from the root of your project to import the provided dataset (sample-data.tar.gz) into your Sanity project. This step is optional but can be helpful for getting started quickly.
The schema for the Post document type is defined in the studio/src/schemaTypes/post.ts file. You can add more document types to the schema to suit your needs.
Your Next.js frontend (/frontend) and Sanity Studio (/studio) are still only running on your local computer. It's time to deploy and get it into the hands of other content editors.
Back in your Studio directory (/studio), run the following command to deploy your Sanity Studio.
You have the freedom to deploy your Next.js app to your hosting provider of choice. With Vercel and GitHub being a popular choice, we'll cover the basics of that approach.
Root Directory to your Next.js app.Now that you’ve deployed your Next.js application and Sanity Studio, you can optionally invite a collaborator to your Studio. Open up Manage, select your project and click "Invite project members"
They will be able to access the deployed Studio, where you can collaborate together on creating content.
