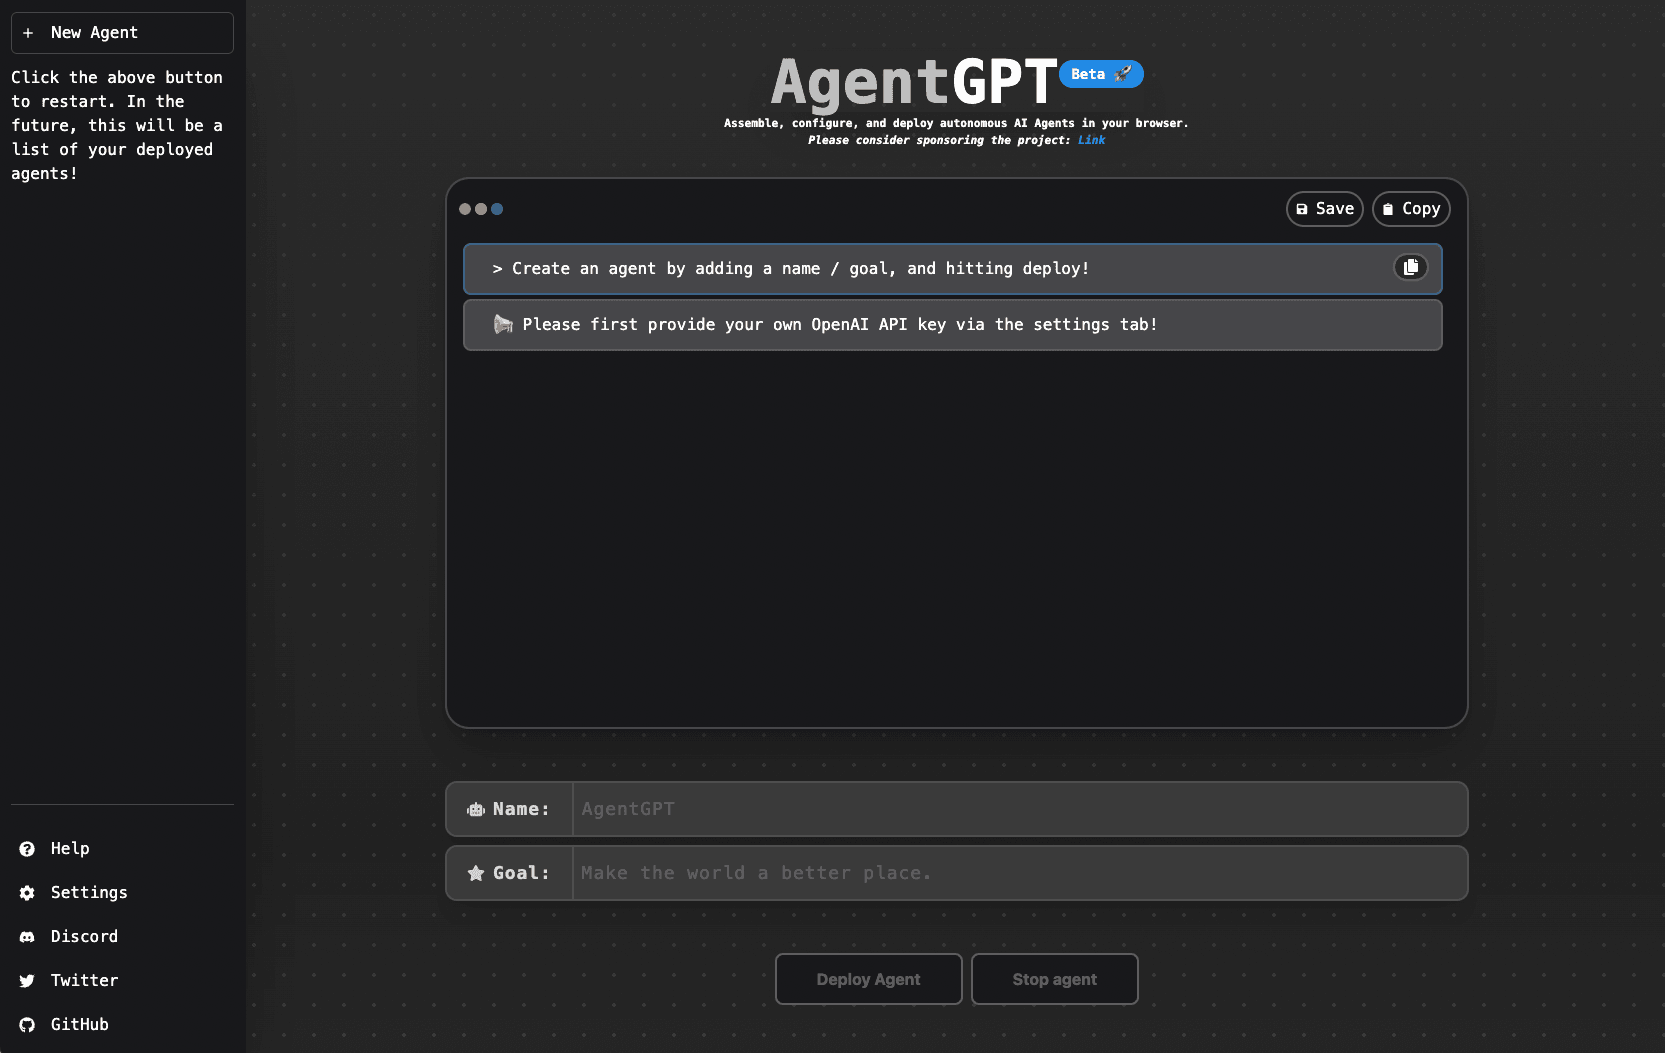
🤖 Assemble, configure, and deploy autonomous AI Agent(s) in your browser. 🤖
🔗 Short link • 📚 Docs • 🐦 Twitter • 📢 Discord
AgentGPT allows you to configure and deploy Autonomous AI agents. Name your own custom AI and have it embark on any goal imaginable. It will attempt to reach the goal by thinking of tasks to do, executing them, and learning from the results 🚀.
✨ Demo
For the best demo experience, try our site directly :)
👨🚀 Getting Started
The easiest way to get started with AgentGPT is automatic setup CLI bundled with the project. The cli sets up the following for AgentGPT:
- 🔐 Environment variables (and API Keys)
- 🗂️ Database (Mysql)
- 🤖 Backend (FastAPI)
- 🎨 Frontend (Nextjs)
Prerequisites :point_up:
Before you get started, please make sure you have the following installed:
- An editor of your choice. For example, Visual Studio Code (VS Code)
- Node.js
- Git
- Docker. After installation, please create an account, open up the Docker application, and sign in.
- An OpenAI API key
- A Serper API Key (optional)
- A Replicate API Token (optional)
Getting Started :rocket:
-
Open your editor
-
Open the Terminal - Typically, you can do this from a 'Terminal' tab or by using a shortcut (e.g.,
Ctrl + ~for Windows orControl + ~for Mac in VS Code). -
Clone the Repository and Navigate into the Directory - Once your terminal is open, you can clone the repository and move into the directory by running the commands below.
For Mac/Linux users :apple: :penguin:
git clone https://github.com/reworkd/AgentGPT.gitcd AgentGPT./setup.shFor Windows users :windows:
git clone https://github.com/reworkd/AgentGPT.gitcd AgentGPT./setup.bat -
Follow the setup instructions from the script - add the appropriate API keys, and once all of the services are running, travel to http://localhost:3000 on your web-browser.
Happy hacking! :tada:
🚀 Tech Stack
- ✅ Bootstrapping: create-t3-app + FastAPI-template.
- ✅ Framework: Nextjs 13 + Typescript + FastAPI
- ✅ Auth: Next-Auth.js
- ✅ ORM: Prisma & SQLModel.
- ✅ Database: Planetscale.
- ✅ Styling: TailwindCSS + HeadlessUI.
- ✅ Schema Validation: Zod + Pydantic.
- ✅ LLM Tooling: Langchain.
💝 Our GitHub sponsors 💝
Join us in fueling the development of AgentGPT, an open-source project pushing the boundaries of AI agents! Your sponsorship would drive progress by helping us scale up resources, enhance features and functionality, and continue to iterate on this exciting project! 🚀
💪 Contributors 💪
Our contributors have made this project possible. Thank you! 🙏
Related Templates
Extrapolate – AI Aging App

Next.js OpenAI Doc Search Starter

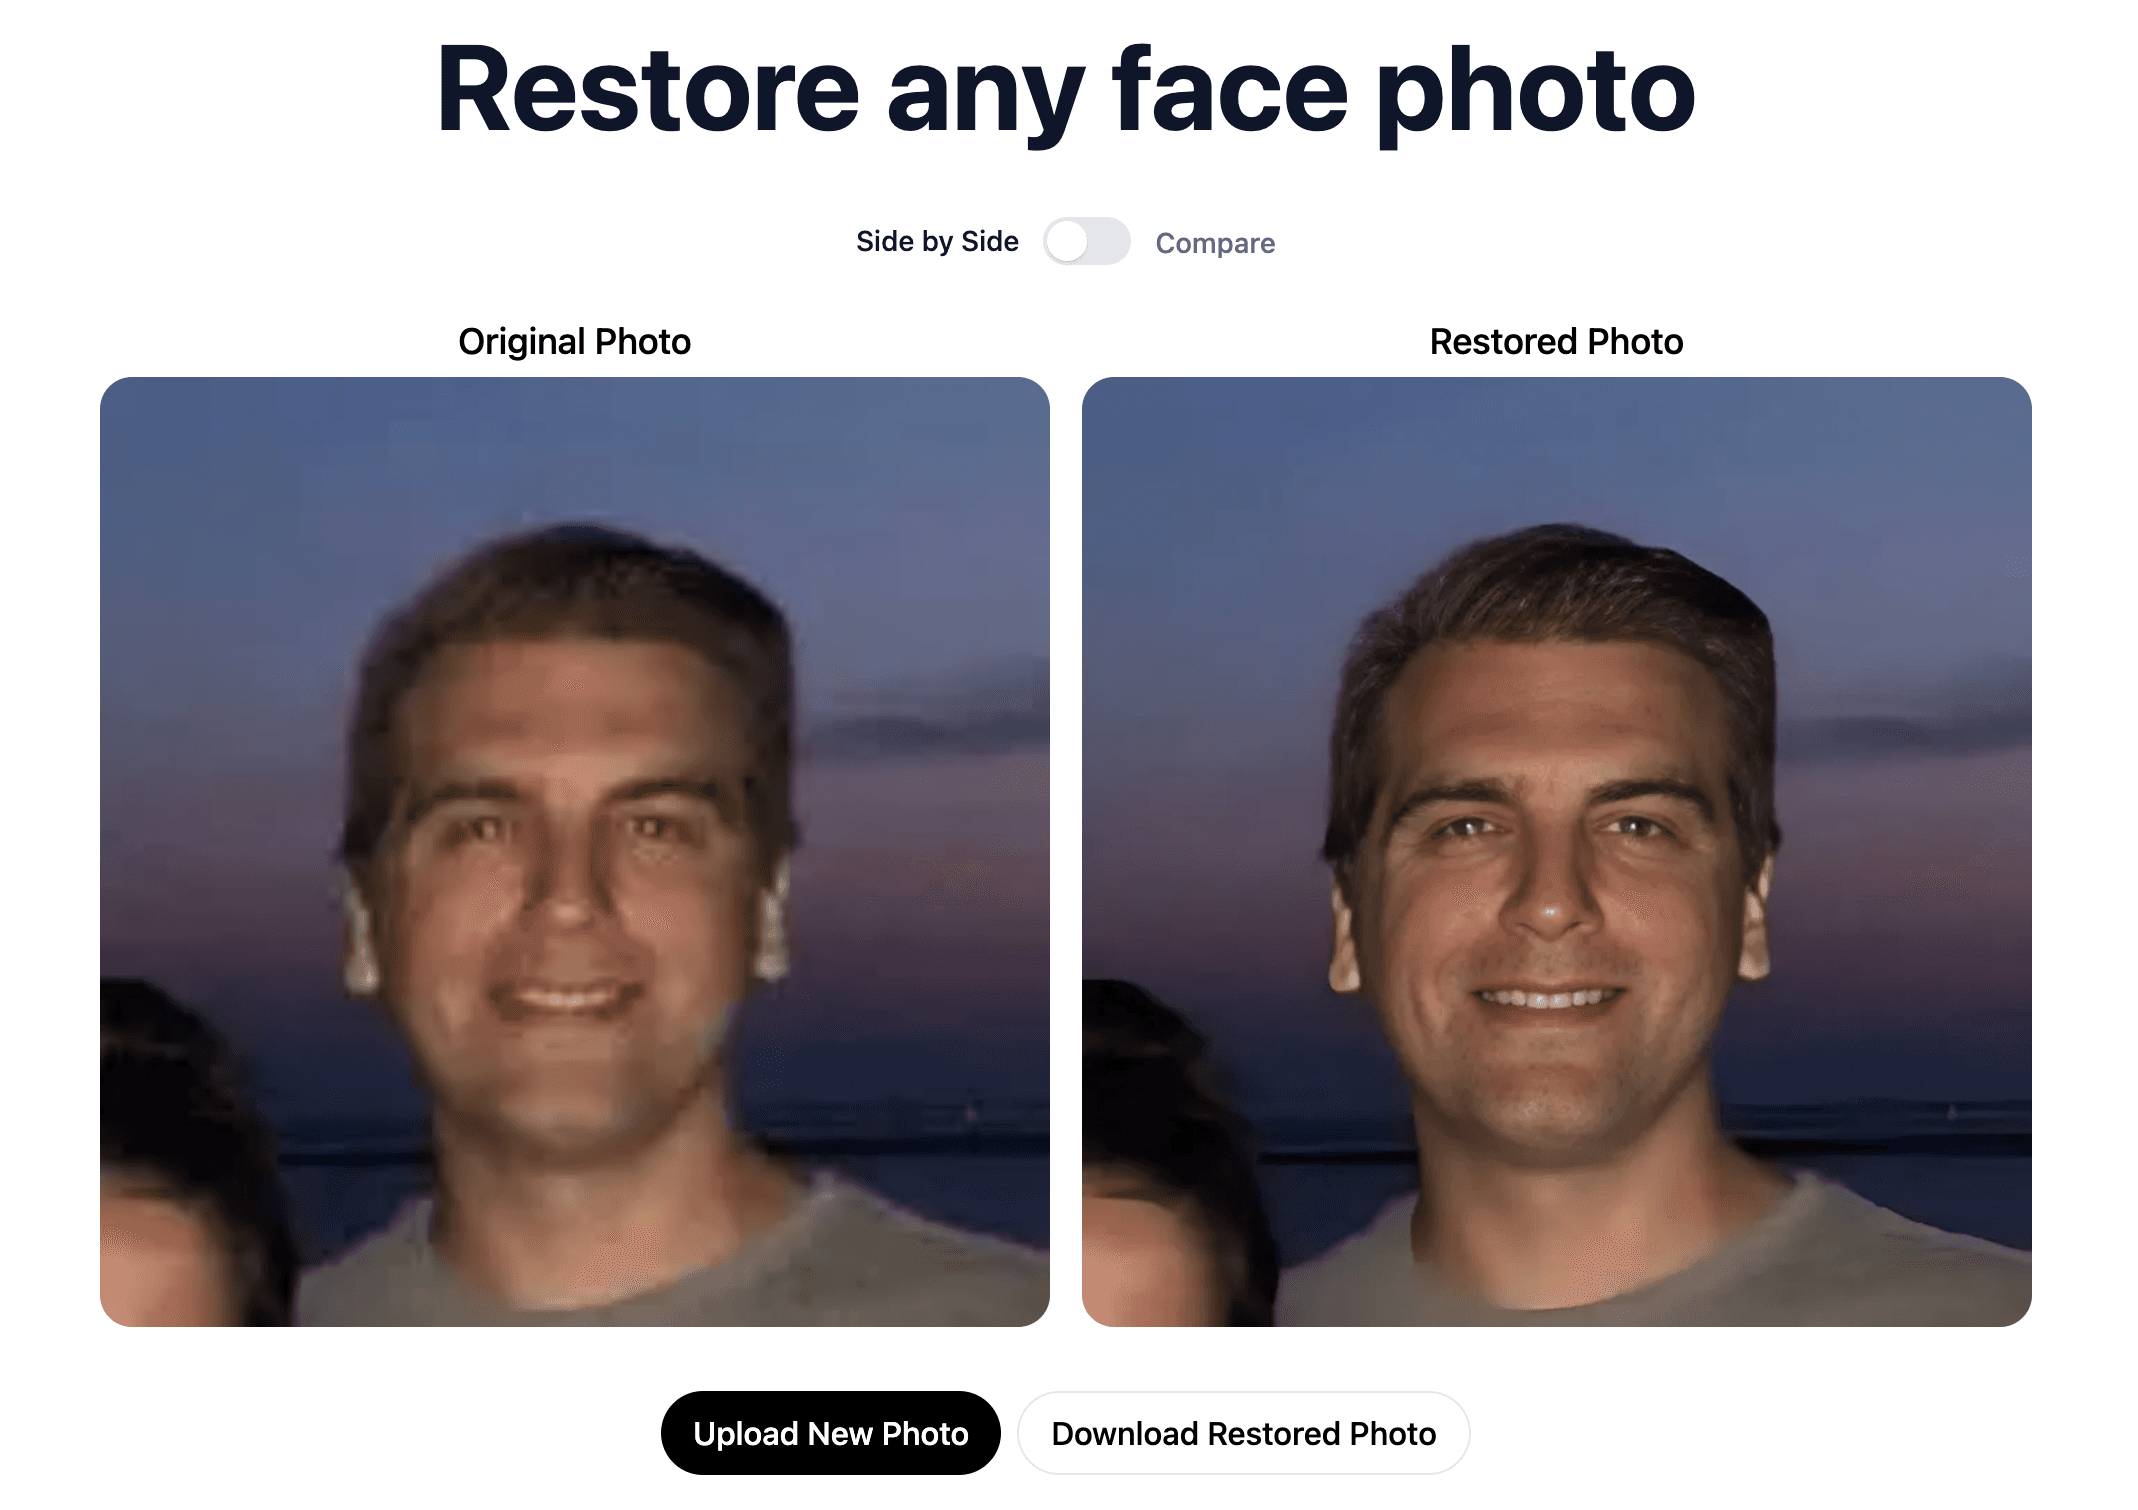
AI Photo Restorer