Mux Video Starter
A template for building video uploading & playback with Mux Video & Next.js.

Mux Video
This example uses Mux Video, an API-first platform for video. The example features video uploading and playback in a Next.js application.
Try it out
- https://with-mux-video.vercel.app/
- This project was used to create stream.new
Deploy your own
New to Mux
If you do not already have a Mux account, the easiest way to get started with Mux is through the native integration in the Vercel Marketplace. Vercel Marketplace users will get $20 of usage/month for $0. Learn more.
Existing Mux user
If you have an existing Mux account, you can still deploy easily with Vercel:
Once deployed, continue with step 3 below.
How to use
If you deployed with the native Mux integration, you're all set! However, if you have your own Mux account already, or want to set up things manually, you can follow the following steps.
Step 1. Create your Mux account
The easiest way to get started with Mux is through the native integration in the Vercel Marketplace. Vercel Marketplace users will get $20 of usage/month for $0. Learn more.
You can also get started by creating an account directly in Mux.
Step 2. Create a Next app with this example
Execute create-next-app with npm, Yarn, pnpm, or Bun to bootstrap the example:
Step 3. Set up environment variables
Copy the .env.local.example file in this directory to .env.local (which will be ignored by Git):
Then, go to the settings page in your Mux dashboard, get a new API Access Token. Use that token to set the variables in .env.local:
MUX_TOKEN_IDshould be theTOKEN IDof your new tokenMUX_TOKEN_SECRETshould beTOKEN SECRET
At this point, you're good to npm run dev or yarn dev or pnpm dev. However, if you want to deploy, read on:
Step 4. Deploy on Vercel
You can deploy this app to the cloud with Vercel (Documentation).
To deploy on Vercel, you need to set the MUX_TOKEN_ID and MUX_TOKEN_SECRET environment variables using either the Vercel Dashboard or the Vercel CLI
Then push the project to GitHub/GitLab/Bitbucket and import to Vercel to deploy.
Notes
Preparing for Production
Important: When creating uploads, this demo sets cors_origin: "*" in the app/(upload)/page.tsx file. For extra security, you should update this value to be something like cors_origin: 'https://your-app.com', to restrict uploads to only be allowed from your application.
How it works
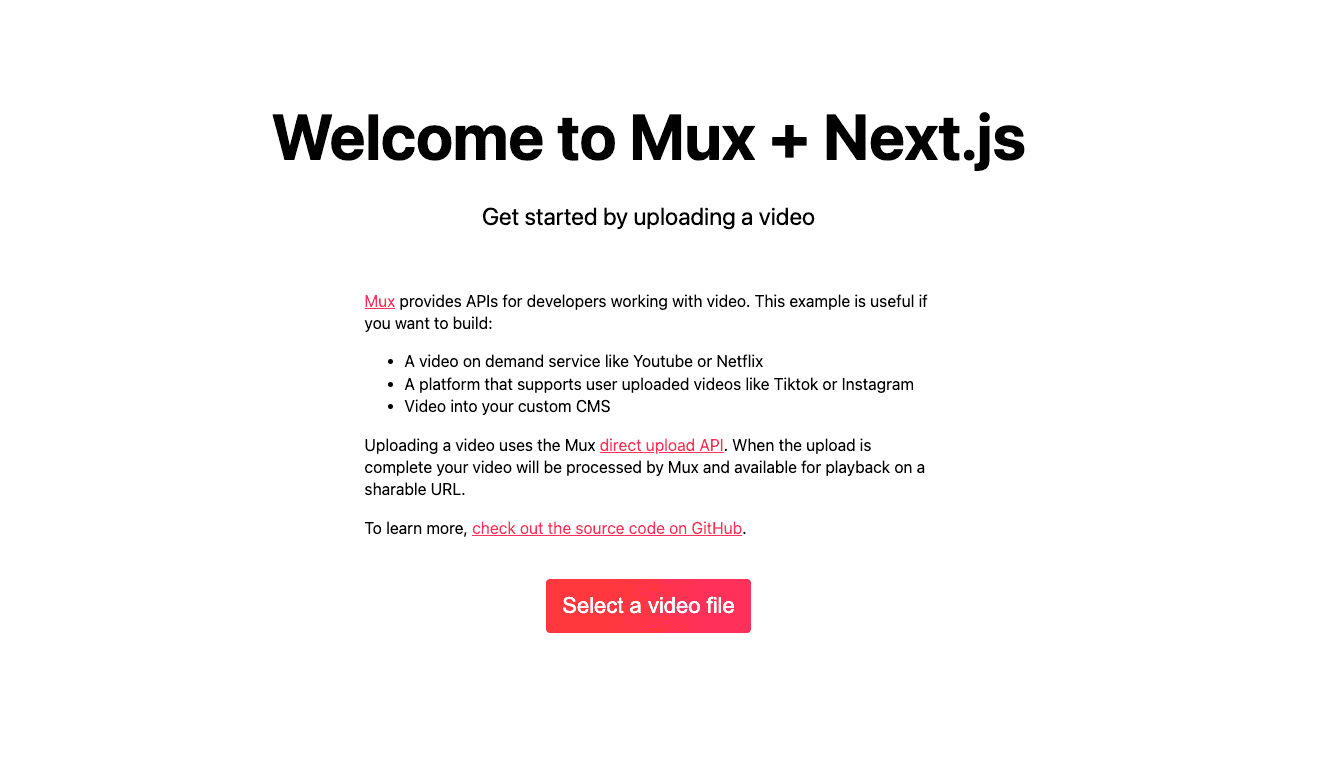
- Users land on the home page,
app/(upload)/page.tsx. The Mux Direct Uploads API provides an endpoint to Mux Uploader React. - The user uploads a video with Mux Uploader. When their upload is complete, Mux Uploader calls a server action that redirects to...
app/(upload)/asset/[assetId]/page.tsx, which polls the Asset API via server action, waiting for the asset to be ready. Once the asset is ready, it redirects to...app/v/[assetId]/page.tsx, where users can watch their video using Mux Player React. This page uses the Mux Image API and the Next.js Metadata API to provide an og images tailored to each video.

Mux Video Starter
A template for building video uploading & playback with Mux Video & Next.js.
Mux Video
This example uses Mux Video, an API-first platform for video. The example features video uploading and playback in a Next.js application.
Try it out
- https://with-mux-video.vercel.app/
- This project was used to create stream.new
Deploy your own
New to Mux
If you do not already have a Mux account, the easiest way to get started with Mux is through the native integration in the Vercel Marketplace. Vercel Marketplace users will get $20 of usage/month for $0. Learn more.
Existing Mux user
If you have an existing Mux account, you can still deploy easily with Vercel:
Once deployed, continue with step 3 below.
How to use
If you deployed with the native Mux integration, you're all set! However, if you have your own Mux account already, or want to set up things manually, you can follow the following steps.
Step 1. Create your Mux account
The easiest way to get started with Mux is through the native integration in the Vercel Marketplace. Vercel Marketplace users will get $20 of usage/month for $0. Learn more.
You can also get started by creating an account directly in Mux.
Step 2. Create a Next app with this example
Execute create-next-app with npm, Yarn, pnpm, or Bun to bootstrap the example:
Step 3. Set up environment variables
Copy the .env.local.example file in this directory to .env.local (which will be ignored by Git):
Then, go to the settings page in your Mux dashboard, get a new API Access Token. Use that token to set the variables in .env.local:
MUX_TOKEN_IDshould be theTOKEN IDof your new tokenMUX_TOKEN_SECRETshould beTOKEN SECRET
At this point, you're good to npm run dev or yarn dev or pnpm dev. However, if you want to deploy, read on:
Step 4. Deploy on Vercel
You can deploy this app to the cloud with Vercel (Documentation).
To deploy on Vercel, you need to set the MUX_TOKEN_ID and MUX_TOKEN_SECRET environment variables using either the Vercel Dashboard or the Vercel CLI
Then push the project to GitHub/GitLab/Bitbucket and import to Vercel to deploy.
Notes
Preparing for Production
Important: When creating uploads, this demo sets cors_origin: "*" in the app/(upload)/page.tsx file. For extra security, you should update this value to be something like cors_origin: 'https://your-app.com', to restrict uploads to only be allowed from your application.
How it works
- Users land on the home page,
app/(upload)/page.tsx. The Mux Direct Uploads API provides an endpoint to Mux Uploader React. - The user uploads a video with Mux Uploader. When their upload is complete, Mux Uploader calls a server action that redirects to...
app/(upload)/asset/[assetId]/page.tsx, which polls the Asset API via server action, waiting for the asset to be ready. Once the asset is ready, it redirects to...app/v/[assetId]/page.tsx, where users can watch their video using Mux Player React. This page uses the Mux Image API and the Next.js Metadata API to provide an og images tailored to each video.
