QStash With Next.js
This project is a simple example of how to use QStash with Next.js.
Routes in the project:
-
/api/edge(pages router) -
/api/receiver(pages router) -
/api/serverless(pages router) -
/edge(app router) -
/serverless(app router) -
'/publish' (app router)
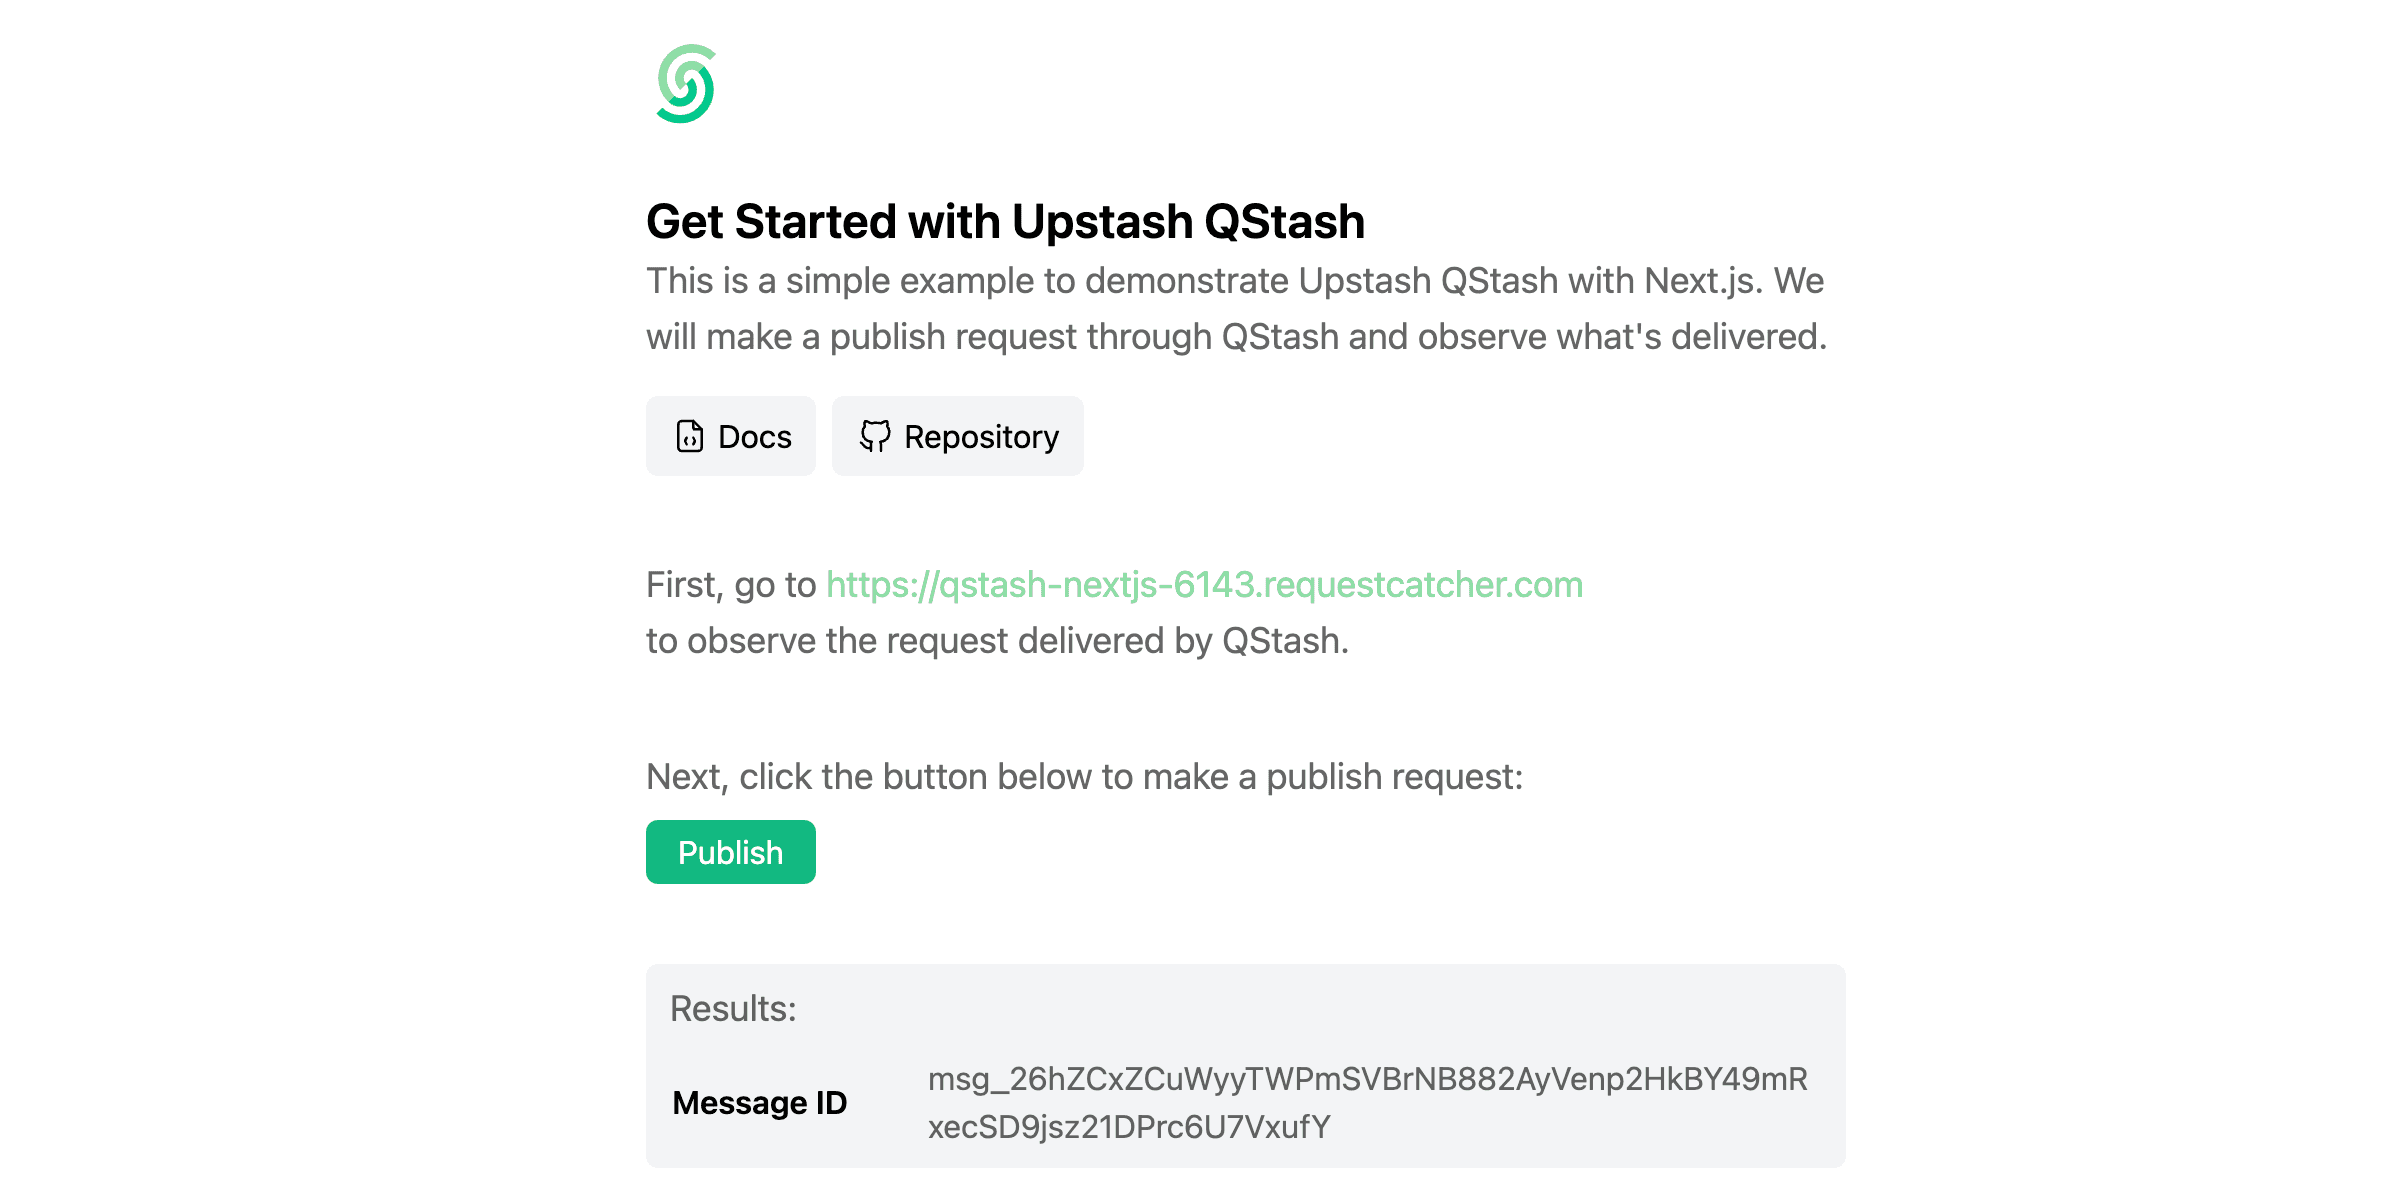
On the landing page of the project, you will find an introduction to QStash. You can click a button to call the /publish endpoint and observe the requests delivered by QStash.
Local Development
1. Install dependencies
npm install2. Set environment variables
Create a .env.local file in the root of the project and add the following environment variables:
QSTASH_CURRENT_SIGNING_KEY=QSTASH_CURRENT_SIGNING_KEY_ID=You can get these values from the Upstash Console.
3. Start the development server
npm run dev4. Start a local tunnel
To test the application, QStash needs to send requests to your local server. You can use a tool like ngrok to create a secure tunnel to your localhost.
ngrok http 3000Copy the resulting url and. Go to the Upstash Console and send a simple request to <ngrok-url>/api/receiver