Troubleshooting Build Errors
You can troubleshoot build errors that occur during the Build step of your deployment to Vercel. This guide will help you understand how to investigate build failures and long build times.
You can use the following views on your dashboard to troubleshoot a build:
- Build logs - the console output when your deployment is building which can be found under the Deployment Status section of the Project's Deployment page.
- Resources tab - the functions, middleware, and assets from your deployment's build.
- Source tab - the output of the build after the deployment is successful. This can also be accessed by appending
/_srcto the Deployment URL
You can navigate to these views from the Deployment page by clicking on the Source tab, the Resources tab or the Build Logs accordion as shown below.
If your build fails, Vercel will report the error message on the Deployments page so that you can investigate and fix the underlying issue.
In the following we show you how to look up the error message of your failed build.
npx plugins add vercel/vercel-pluginBuild logs provide you with an insight into what happened during the build of a deployment and can be accessed by:
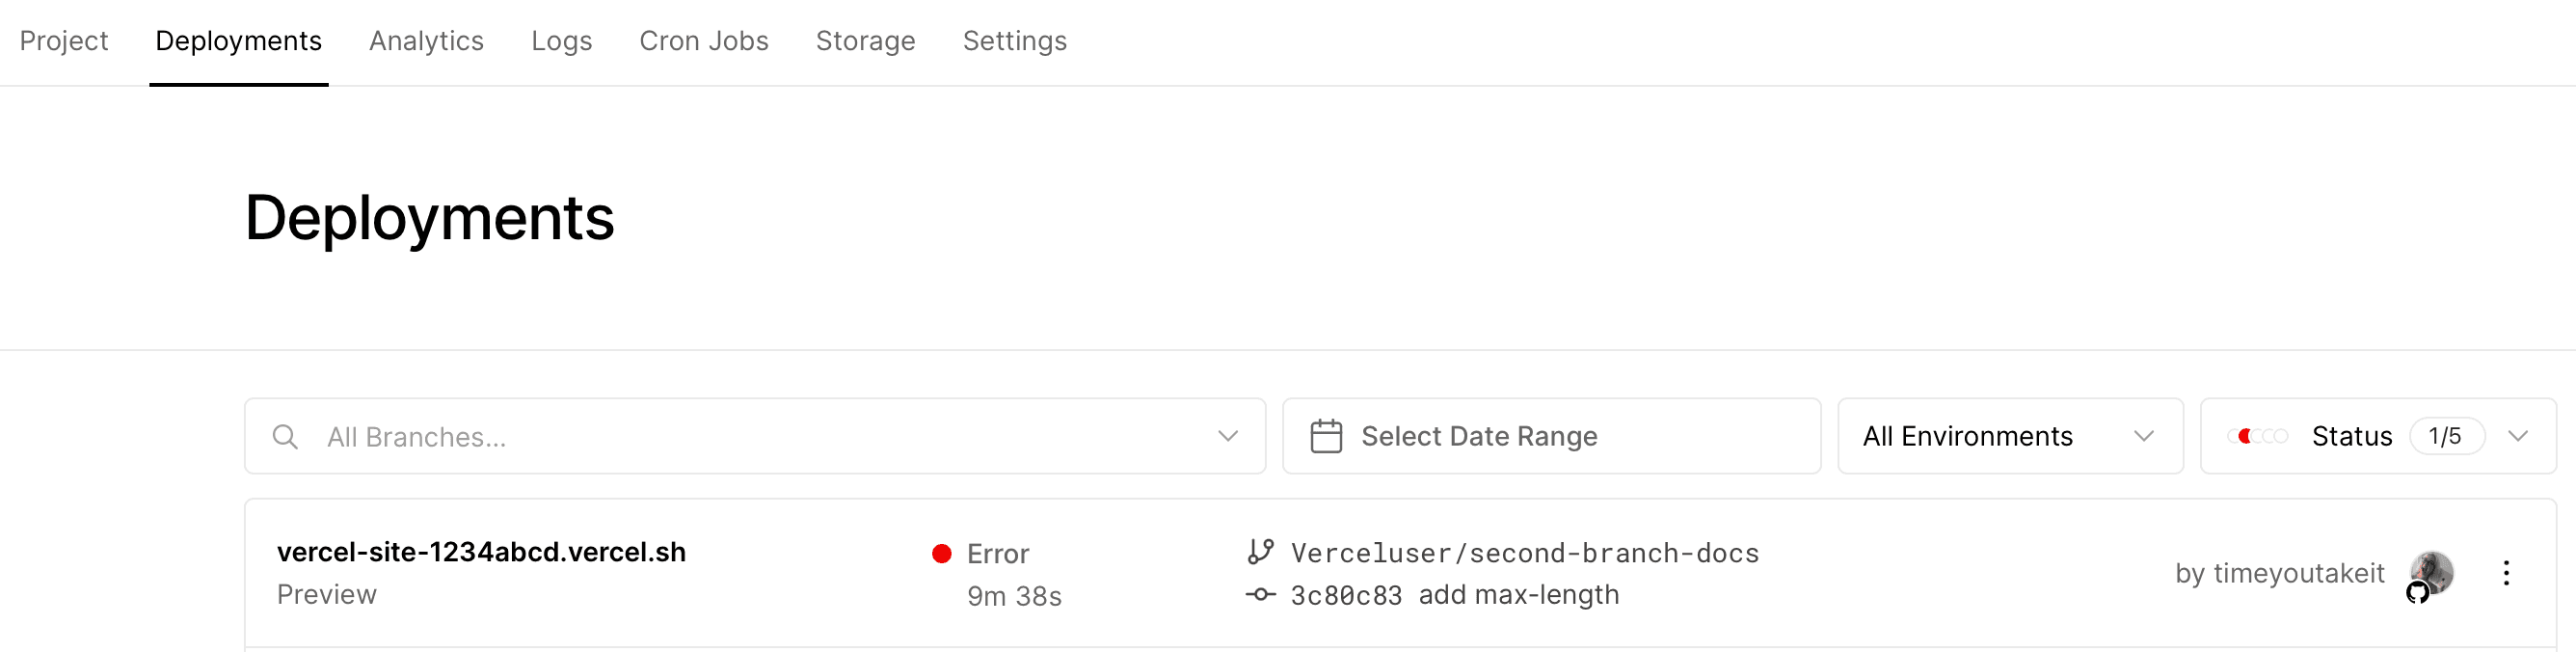
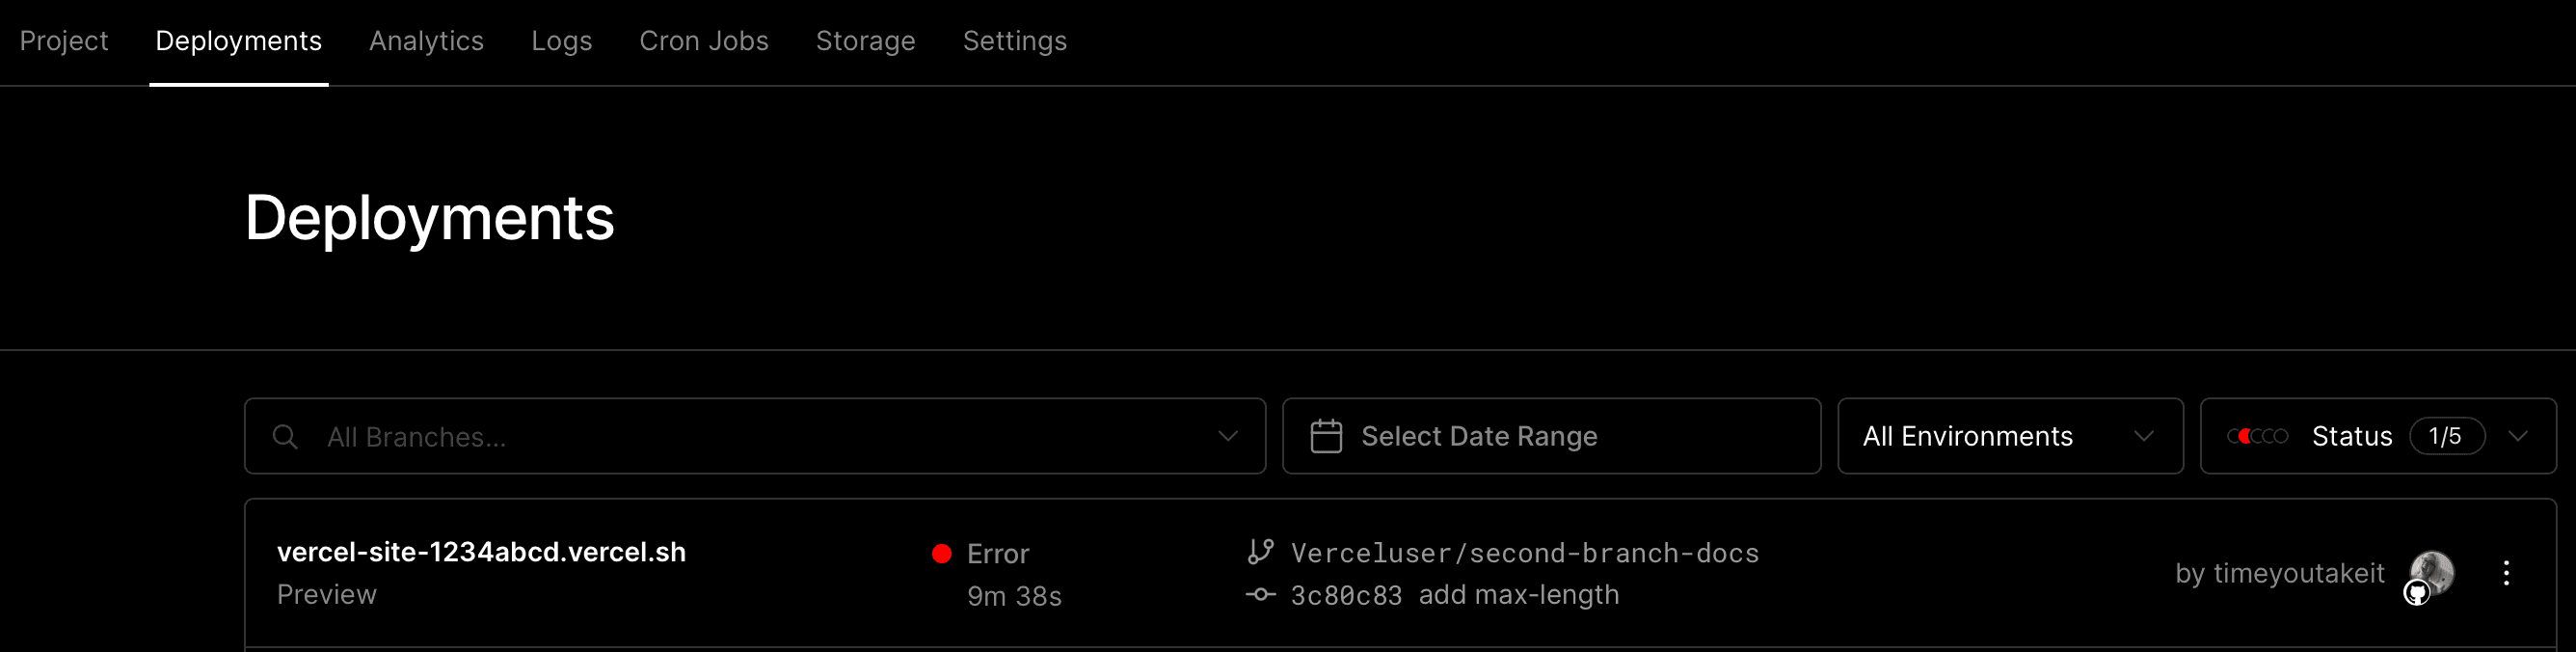
- From your Vercel dashboard, select the project and then Deployments in the sidebar
- Select the deployment. When there are build issues you will notice an error status next to deployment name
-
On the errored deployment's page, you will see a summary of the error in the preview section. In the Deployment Details section, expand the Building accordion to expand the logs. There are situations where build logs are not available, in this scenario the error will be presented in the UI instead.
-
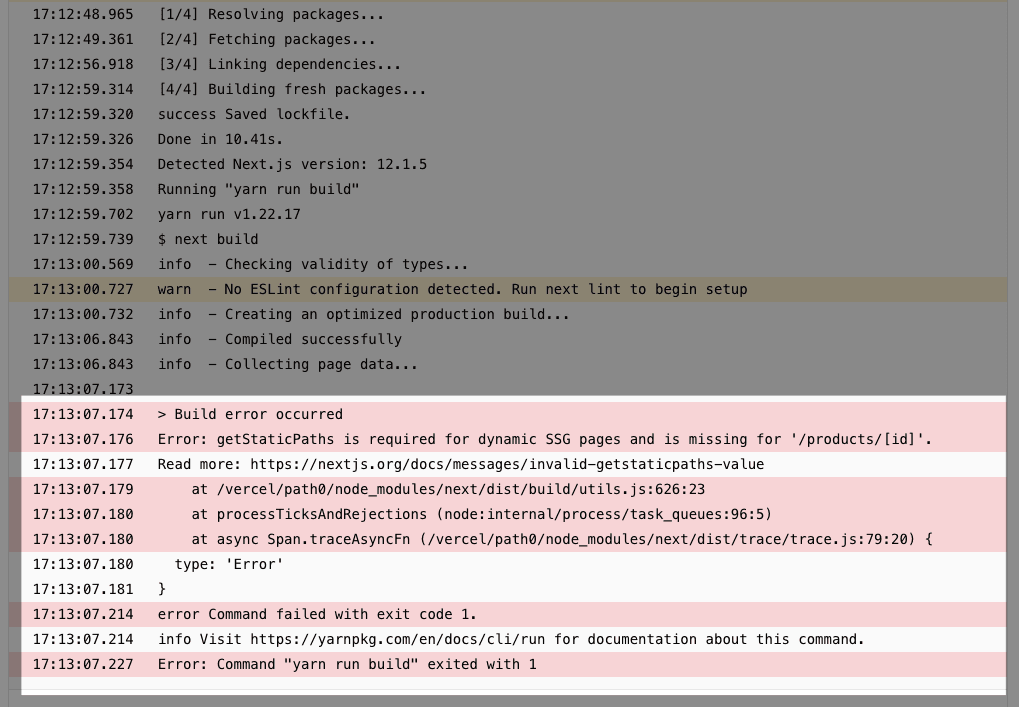
Scroll down in the build logs until you find a red section where the keyword "Error" is mentioned. It can be mentioned once or multiple times. In many cases, the last mention is not indicative like in the example below where it says
yarn run build exited with 1. If you look a few lines above, you will see an additional error which in this case indicates where the problem is with a link for more details. Sometimes, an error may not be mentioned in the lines above but the output will often help you identify where the problem is.
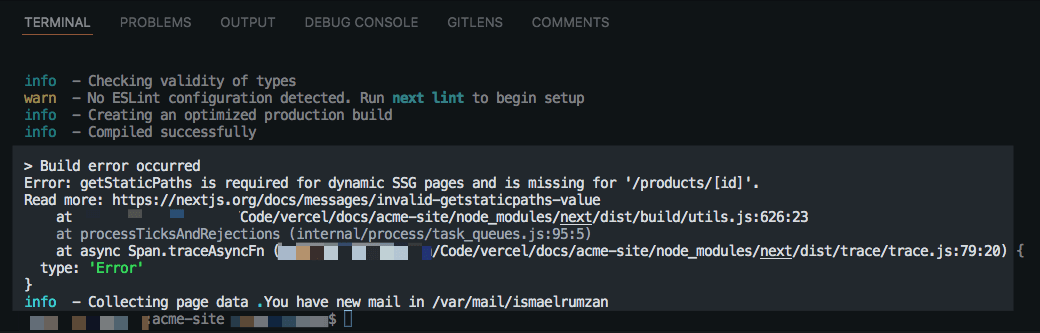
It is recommended to build your project on your local machine first (the build command varies per project) before deploying on Vercel. This will catch issues specific to your code or to your project's dependencies. In the example above, when the command npm run build (that runs next build) is run in the local console for a Next.js project, the error happens after building locally.
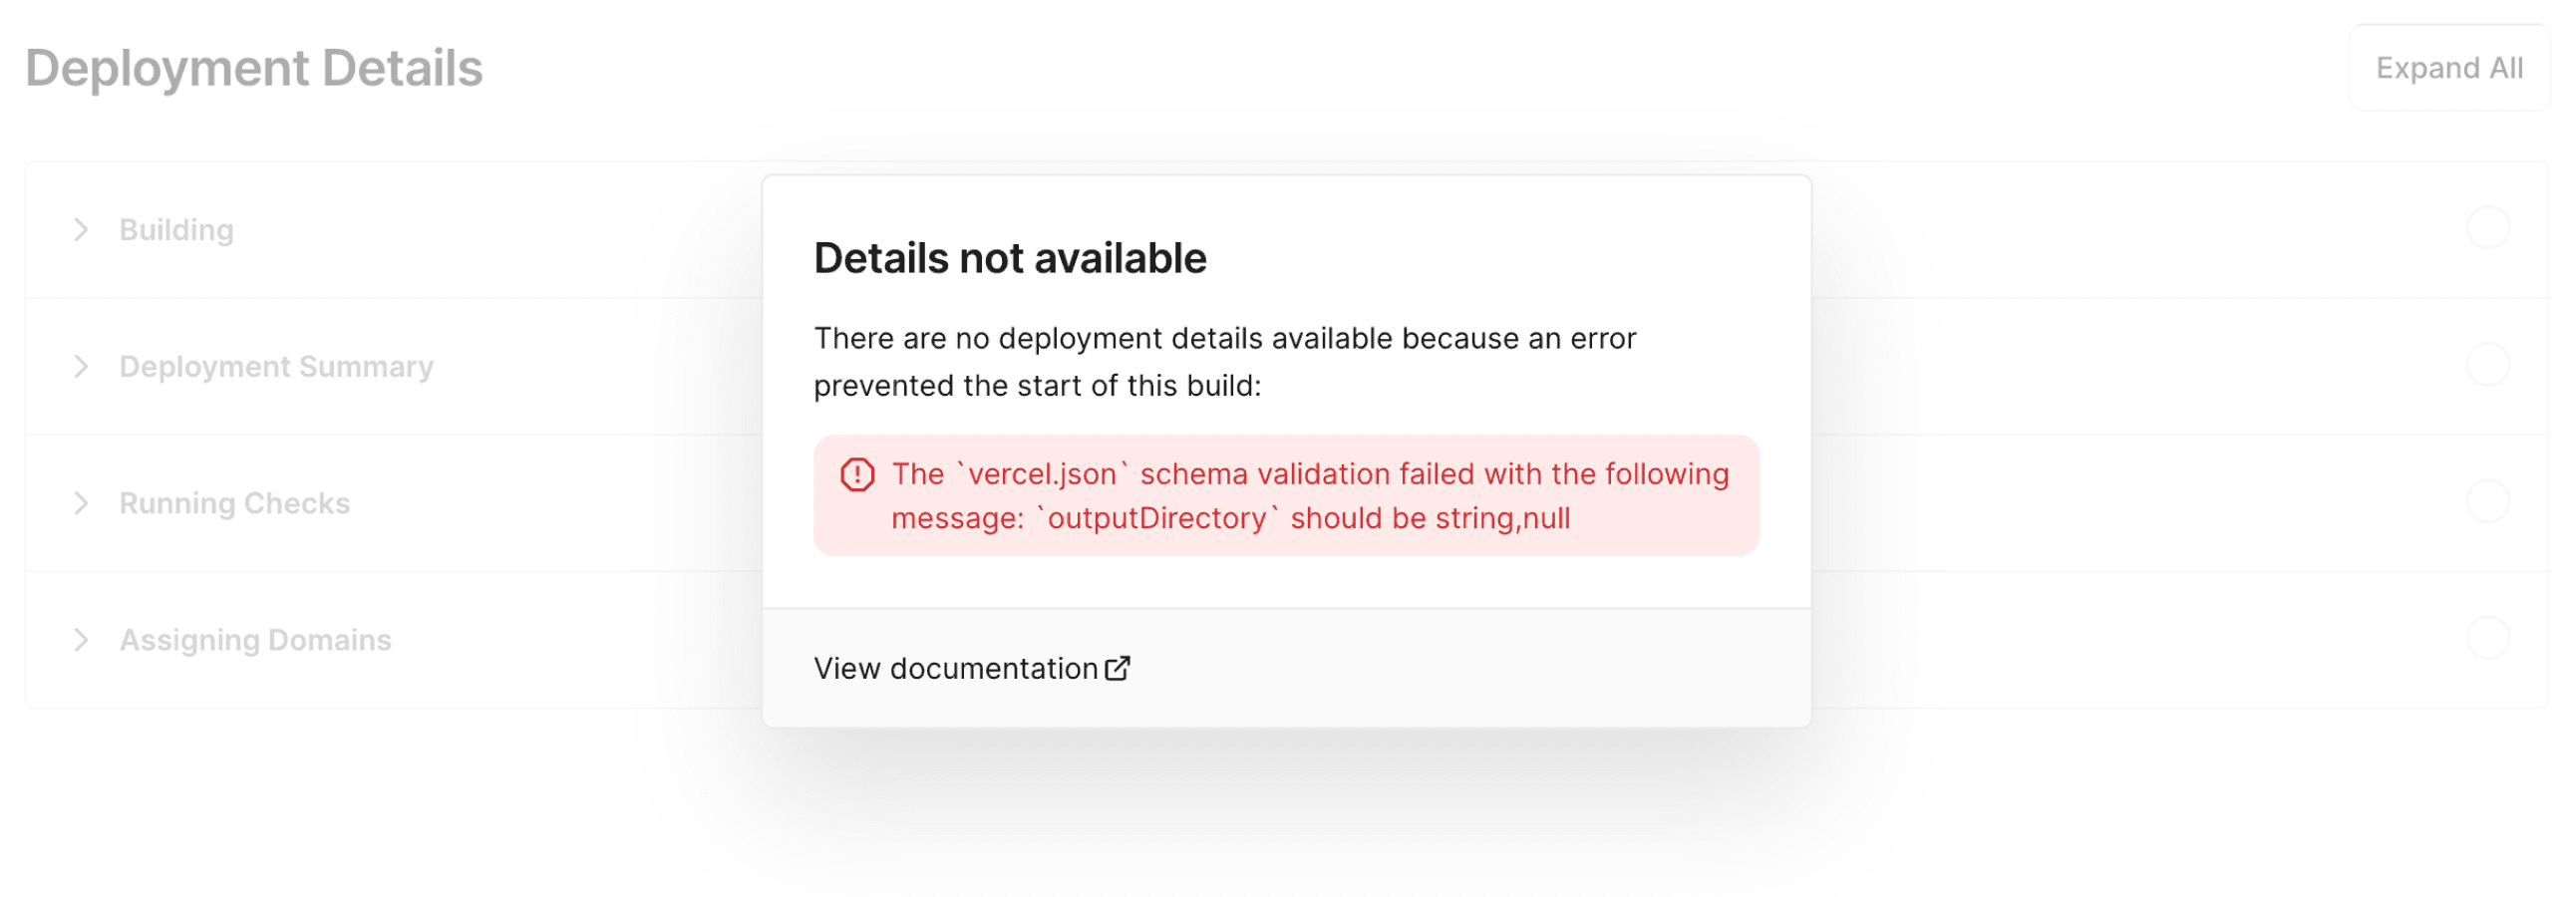
Builds can fail without providing any build logs when Vercel detects a missing precondition that prevents a build from starting. For example:
- An invalid
vercel.jsonconfiguration was committed - When using Ignored Build Steps
- Commits were made from a contributor that is not a team member
- A Marketplace integration resource connected to the project failed to provision before the build started
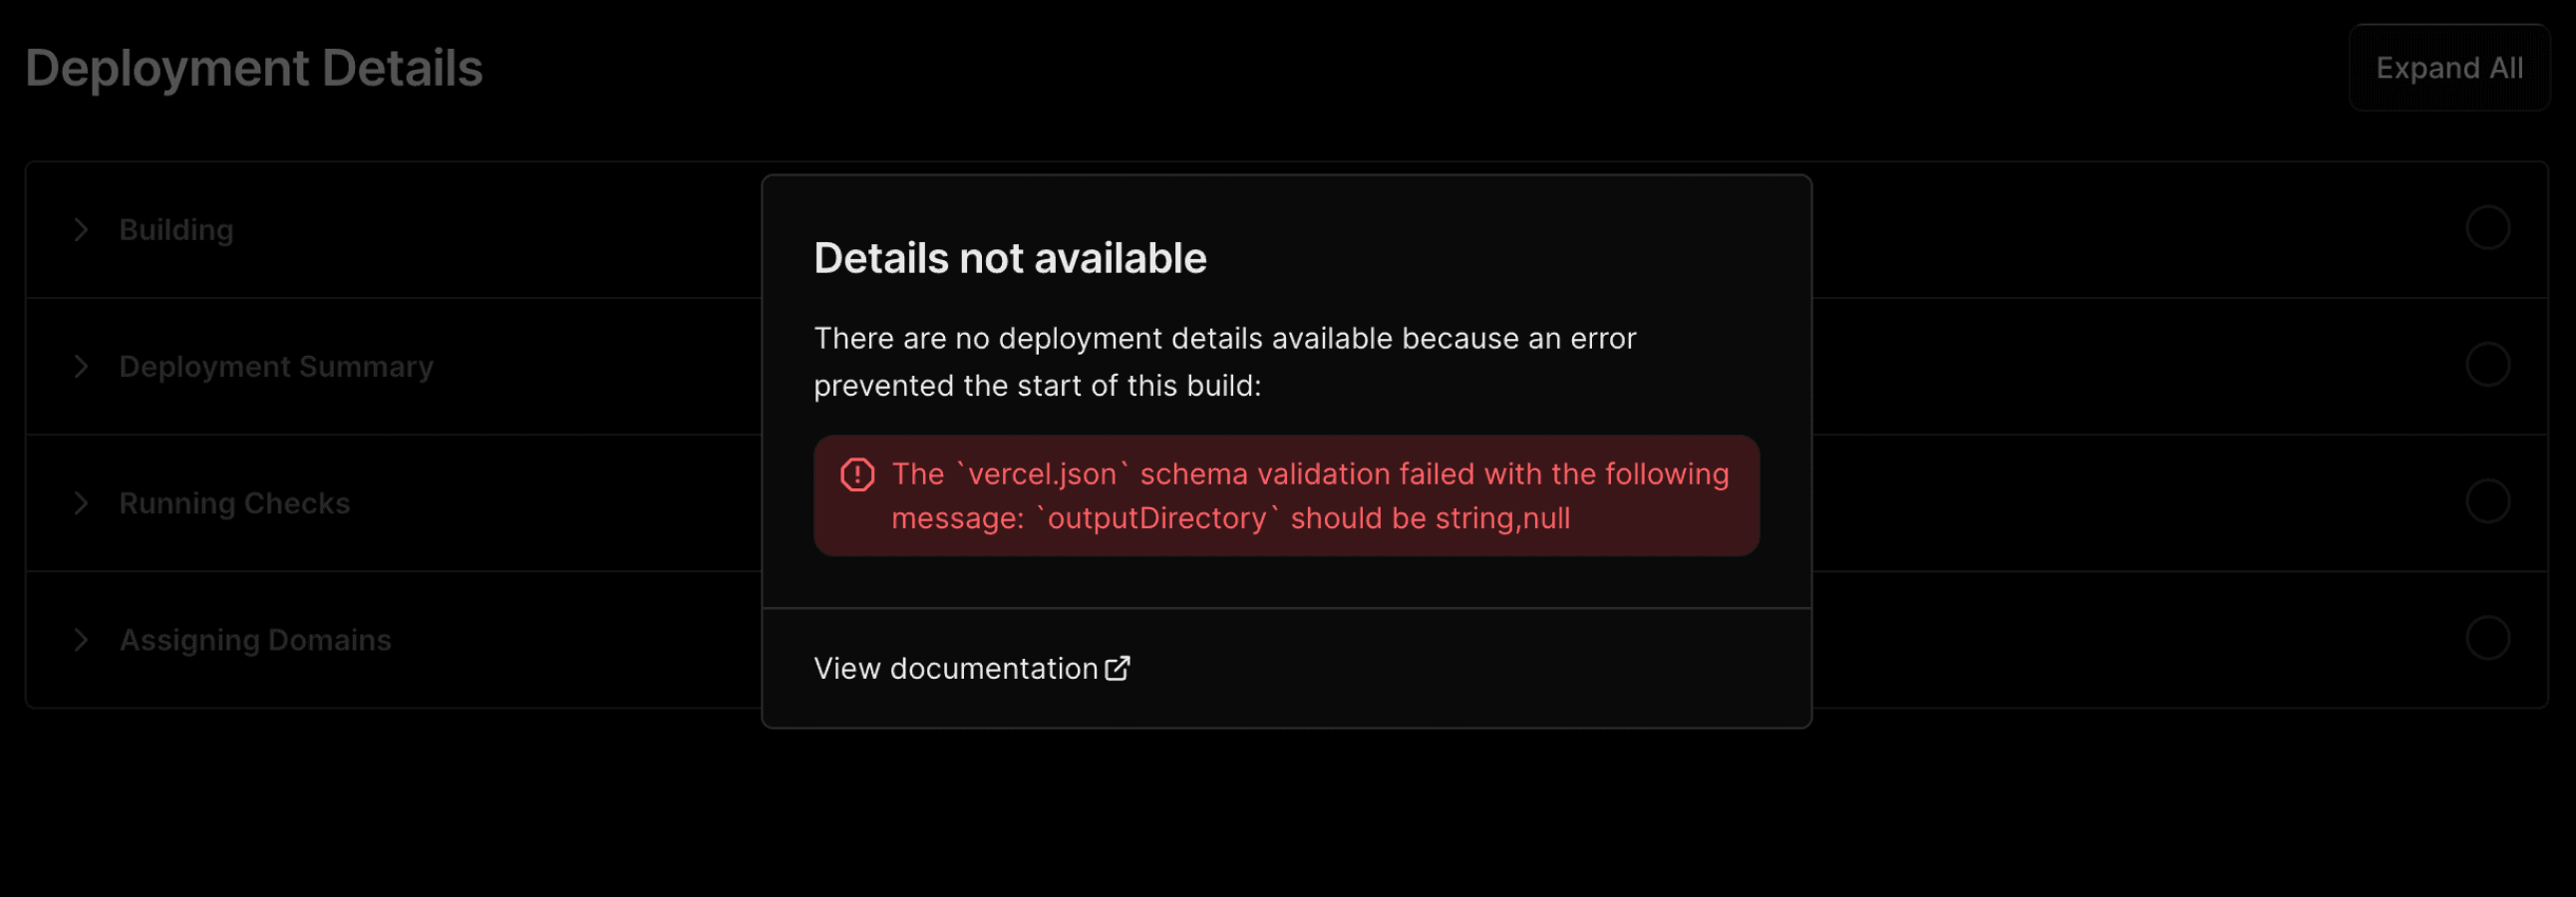
In this case, you cannot access the Building accordion described above, and instead, Vercel will present an overlay that contains the error message.
If the build logs for a deployment show a loading state and never appear, security software on your computer or network is the most likely cause. Vercel streams build logs to the dashboard. Antivirus and network security products that inspect HTTPS traffic can hold a response until it finishes so they can scan it, which prevents a streamed response from reaching your browser.
To confirm the cause, open the same deployment on a device or network that doesn't use the security software. If the build logs load there, change the software's configuration in one of these ways:
- Add
vercel.comto the software's list of exceptions or allowed websites - Turn off the feature that inspects HTTPS traffic. Depending on the product, the setting has a name such as "Encrypted web scan", "Web inspection", "HTTPS inspection", or "Deep packet inspection"
For example, Bitdefender on Windows blocks streamed build logs with its Encrypted web scan feature. To allow the logs to load:
- Open Bitdefender and select Protection
- In the Online Threat Prevention card, select Settings
- Select Manage exceptions and add
vercel.comas an exception. Alternatively, turn off Encrypted web scan
If you can't find a matching setting, contact the software's vendor. If the build logs keep loading on a device without security software, contact Vercel Support.
If your project is connected to a Marketplace integration resource, Vercel provisions integration resources and runs any configured deployment integration actions before the Build step starts. While this happens, the deployment is held in a provisioning state and the build does not begin.
If provisioning fails, the deployment fails before any build output is produced, so no build logs are available. This can happen when the integration provider cannot complete the request, for example because the integration account is suspended on the provider's side.
To identify a provisioning failure:
- From your Vercel dashboard, select the project and then Deployments in the sidebar
- Select the failed deployment
- In the Deployment Details section, expand the Provisioning Integrations step. It lists each connected integration resource and deployment action with its status. A failed or timed-out item is marked with an error state, which tells you the deployment failed during provisioning rather than during the build
To resolve the failure:
- Open the affected integration from the Integrations section of your dashboard and select Manage to open the provider's dashboard, then resolve the issue on the provider's side
- Redeploy the project. Provisioning runs again on the new deployment
While the Provisioning Integrations step is still pending, you can also select Skip to let the deployment continue without waiting for the integration. Only skip provisioning if your build does not depend on the resource, since the resource may not be ready when the build runs.
If a build fails because a package from devDependencies in your package.json isn't installed, check whether the project sets the NODE_ENV environment variable to production. For example, a TypeScript project can fail with this error even though typescript is listed in devDependencies:
It looks like you're trying to use TypeScript but do not have the required package(s) installed.

Please install typescript and @types/node by running:
npm install --save-dev typescript @types/node
Vercel installs devDependencies by default. However, your project's environment variables are available when Vercel installs dependencies, and some package managers skip devDependencies when NODE_ENV is production:
| Package manager | Skips devDependencies when NODE_ENV=production | Install Command that installs devDependencies |
|---|---|---|
| npm | Yes | npm install --include=dev |
| pnpm 9 and earlier | Yes | pnpm install --prod=false |
| pnpm 10 and later | No | Not needed |
| Yarn 1 | Yes | yarn install --production=false |
To fix the build, use one of these options:
- Remove the variable: Delete
NODE_ENVfrom your project's environment variables, then redeploy. Frameworks such as Next.js setNODE_ENVtoproductionon their own when they build, so most projects don't need the variable. - Keep the variable and change the install command: In your project's Build and Deployment settings, turn on Override for the Install Command, enter the command for your package manager from the table, and redeploy.
Sometimes, your Deployment Build can hit platform limits so that the build will be cancelled and throw a corresponding error that will be shown in the Build logs. Review the limits below in case you run into them.
Every build container has a fixed amount of resources available to it. You can find the resources available for each build machine type here.
By default, the system generates this report only when it detects a problem. To receive a report for every deployment, set VERCEL_BUILD_SYSTEM_REPORT=1 as an environment variable.
This report helps you detect hidden Out of Memory (OOM) events, and provides insights into disk usage by breaking down the sizes of your source code, node_modules, and output, and flagging files over 100 MB. The input size in the report corresponds to the size of your checked-out repository or files uploaded by CLI. The node_modules size represents the total size of all node_modules folders on disk.
| Resource | Allocation | Description |
|---|---|---|
| Memory | Varies | Depends on the build machine type. Builds exceeding this limit will be cancelled |
| CPUs | Varies | Number of CPUs allocated for build processing. Depends on the build machine type |
| Disk Space | Varies | Depends on the build machine type. Builds exceeding this limit will be cancelled |
| System Report | Conditional | Generated in Build logs when memory or disk space limits are reached. Available by default |
| Forced Reporting | Optional | Set VERCEL_BUILD_SYSTEM_REPORT=1 as an environment variable to enable reporting for all builds |
Review the below steps to help navigate this situation:
- Review what package the error is related to and explore the package's documentation to see if the memory allocation can be customized with an install or Build command
- If no package is specified, look into reducing the amount of JavaScript that your Project might be using or find a more efficient JavaScript bundler
- Review what you are importing in your code such as third-party services, icons and media files
The total build duration is shown on the Vercel Dashboard and includes all three steps: building, checking, and assigning domains. Each step also shows the individual duration.
A Build can last for a maximum of 45 minutes. If the build exceeds this time, the deployment will be canceled and the error will be shown on the Deployment's Build logs. If you run into this limit, review this guide that explains how to reduce the Build time with a Next.js Project.
The maximum size of the build cache is the same for every build machine type, including Elastic build machines. The cache is retained for one month and applies at the level of each Build cache key.
It is not possible to manually configure which files are cached at this time.
You may come across the following Build-specific errors when deploying your Project. The link for each error provides possible causes of the error that can help you troubleshoot.
- Missing Build script
- Recursive invocation of commands
- Pnpm engine unsupported
- Corepack cannot find matching keyid
A 'module not found' error is a syntax error that will appear at build time. This error appears when the static import statement cannot find the file at the declared path. For more information, see How do I resolve a 'module not found' error?
A Ruby project, such as a Jekyll site, can fail while installing gems when its Gemfile.lock was generated on macOS or Windows. Vercel builds run on Linux, and Bundler stops when the lockfile doesn't list the Linux platform.
To fix the error, add the Linux platform to the lockfile on your local machine, then commit the updated Gemfile.lock:
bundle lock --add-platform x86_64-linuxThe first Build in a Project will take longer as the Build cache is initially empty. Subsequent builds that have the same Build cache key will take less time because elements from your build, such as framework files and node modules, will be reused from the available cache. The next sections will describe the factors that affect the Build cache to help you decrease the Build time. For more ways to shorten builds and lower their cost, see How to reduce build costs on Vercel.
A successful build saves the following to the Build cache, with all paths relative to the repository root:
- Builder output. Each builder that runs during your build contributes its own cache output. The
@vercel/nodebuilder caches everynode_modulesand.yarn/cachedirectory in the repository (the glob**/{node_modules,.yarn/cache}/**). Framework builders add the framework-preset files listed below. The@vercel/staticbuilder contributes nothing to the cache. - Everything under
.vercel/builders. The builders Vercel installs to run your build. - Files under
.vercel/cache, except pnpm's cache directory. Files that tools write here persist across builds. Under.vercel/cache/pnpm, onlylockfile-verified.jsonlis retained, as described below. lockfile-verified.jsonlfrom pnpm, under.vercel/cache/pnpm. See Caching process for how pnpm uses this file.
Anything under .vercel/output is never cached. Restoring it would make the next deployment appear prebuilt.
Vercel caches framework-preset files based on the Framework Preset selected in your Project settings. The following files are cached in addition to the builder output above:
| Framework | Cache Pattern |
|---|---|
| Next.js | .next/cache/** |
| Nuxt | .nuxt/** |
| Gatsby.js | {.cache,public}/** |
| Eleventy | .cache/** |
| Jekyll | {vendor/bin,vendor/cache,vendor/bundle}/** |
| Middleman | {vendor/bin,vendor/cache,vendor/bundle}/** |
Note that the framework detection is dependent on the preset selection made in the Build settings. You should make sure that the correct framework is set for your project for optimum build caching.
At the beginning of each build, the previous Build's cache is restored prior to the Install Command or Build command executing. Each deployment is associated with a unique Build cache key that is derived from the combination of the following data:
- Personal Account or Team
- Project
- Framework Preset
- Root Directory
- Node.js Version
- Package Manager
- Git branch
Let's say that under your account MyTeam, you have a project MySite that is connected to your Git repository MyCode on the main branch for the production environment. When you make a commit to the main branch for the first time, you trigger a build that creates a production deployment with a new unique cache key. For any new commits to the main branch of MyCode, the existing Build cache is used as long as MySite is under MyTeam.
If you create a new Git branch in MyCode and make a commit to it, there is no cache for that specific branch. In this case, the last production Deployment cache is used to create a preview deployment and a new branch cache is created for subsequent commits to the new branch.
If you use Vercel functions to process HTTP requests in your project, each Vercel Function is built separately in the Build step. All functions share the same Build cache, and the Runtime of each function can add files to it. Therefore, the number and size of Vercel functions will affect your Build time. For Next.js projects, Vercel functions are bundled to optimize Build resources as described here.
When you use pnpm, Vercel points pnpm's cache directory at .vercel/cache/pnpm in the repository root by setting the pnpm_config_cache_dir environment variable on pnpm 11 and later, and npm_config_cache_dir on older pnpm versions. A value you set yourself for those variables, or for PNPM_CONFIG_CACHE_DIR or NPM_CONFIG_CACHE_DIR, takes precedence. From that directory, only lockfile-verified.jsonl, pnpm's record of a successful lockfile verification, is kept in the Build cache. The registry metadata, dlx installs, and runtime checksums that pnpm also writes there are dropped. pnpm decides whether a stored verdict is still valid, so changing the lockfile or a relevant setting re-runs verification. Keeping this file lets a subsequent build skip re-verifying an unchanged lockfile, which shortens the Install Command.
At the end of each Build step, successful builds will update the cache and failed builds will not modify the existing cache.
Since development dependencies (for example, packages such as webpack or Babel) are not needed in production, you may want to prevent them from being installed when deploying to Vercel to reduce the Build time. To skip development dependencies, customize the Install Command to be npm install --omit=dev or yarn install --production.
Only skip development dependencies when the build doesn't use them. If the build needs a package from devDependencies, such as typescript, it fails with the error described in Missing development dependencies.
Sometimes, you may not want to use the Build cache for a specific deployment. You can invalidate or delete the existing Build cache in the following ways:
- Use the Redeploy button for the specific deployment in the Project's Deployments page. In the popup window that follows, leave the checkbox Use existing Build Cache unchecked. See Redeploying a project for more information.
- Use
vercel --forcewith Vercel CLI to build and deploy the project without the Build cache - Use an Environment Variable
VERCEL_FORCE_NO_BUILD_CACHEwith a value of1on your project to skip restoring the existing Build cache at the start of the build, so the build starts with an empty cache. A successful build still uploads a fresh cache afterward. - Use an Environment Variable
VERCEL_FORCE_NO_BUILD_CACHE_UPLOADwith a value of1on your project to skip uploading the Build cache at the end of the build, so the existing cache is left unchanged. This does not affect cache restore. - Use an Environment Variable
TURBO_FORCEwith a value oftrueon your project to skip Turborepo Remote Cache - Use the
forceNewoptional query parameter with a value of1when creating a new deployment with the Vercel API to skip the Build cache
Was this helpful?