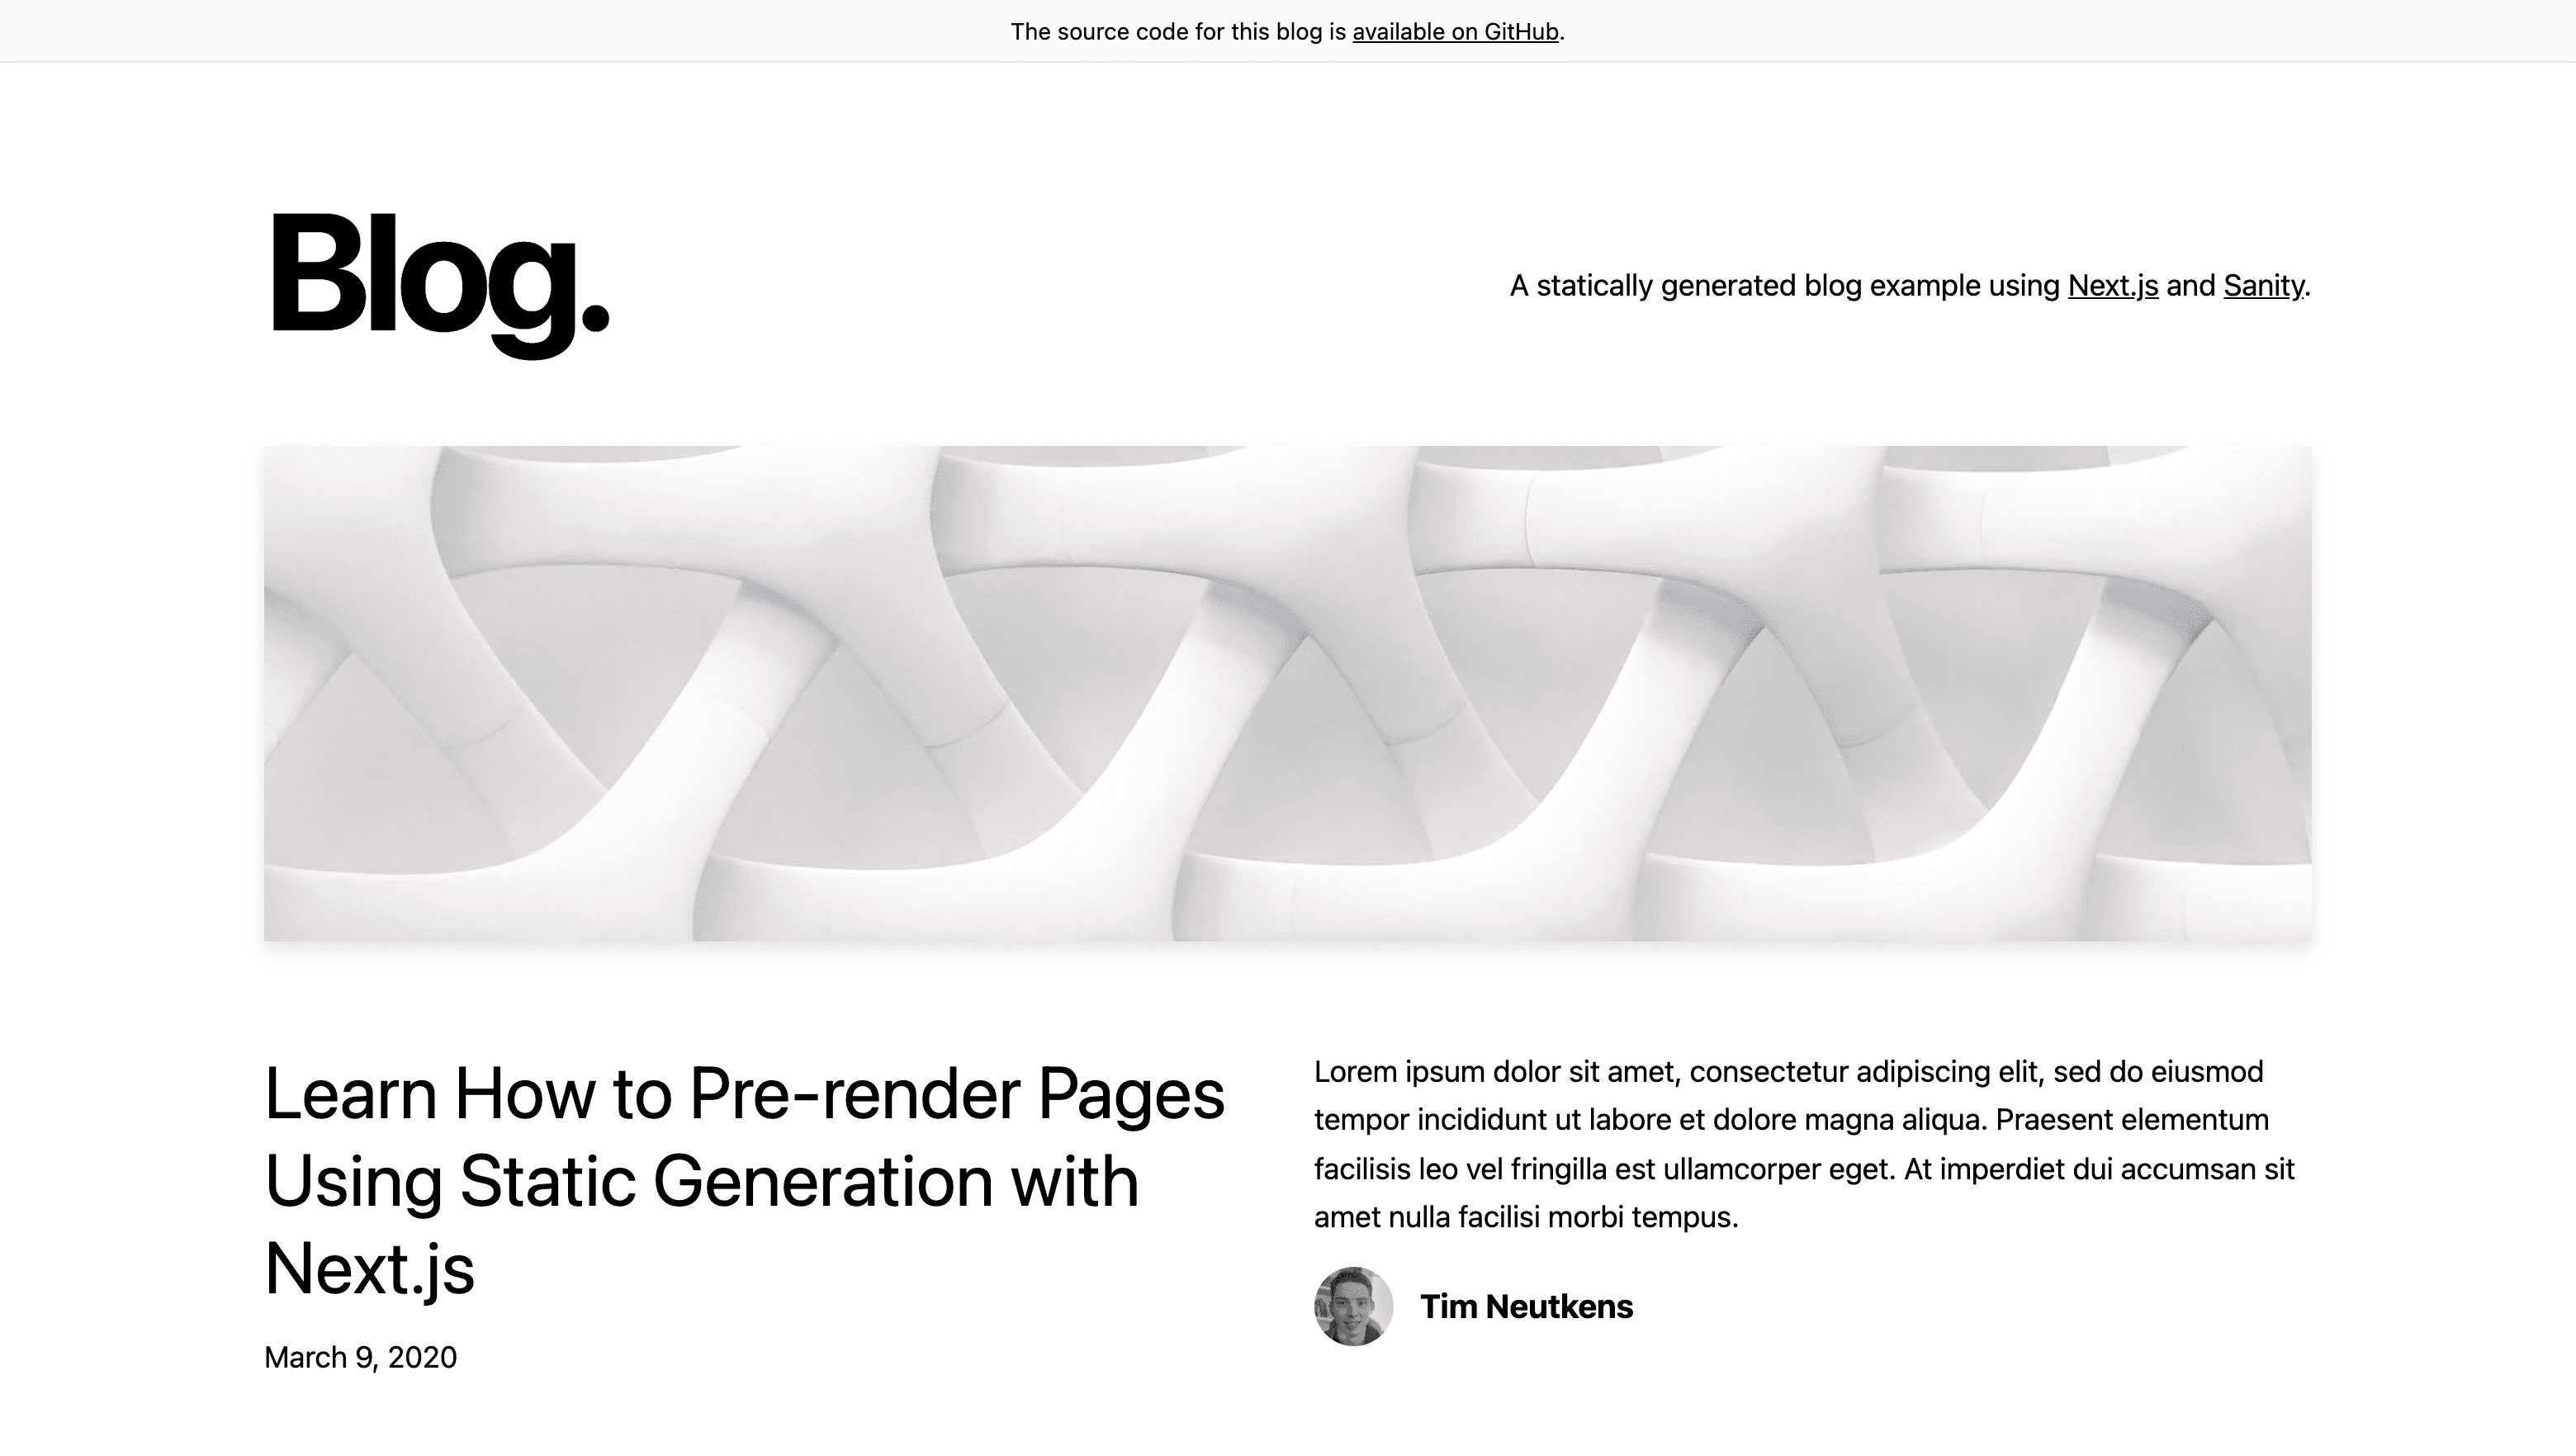
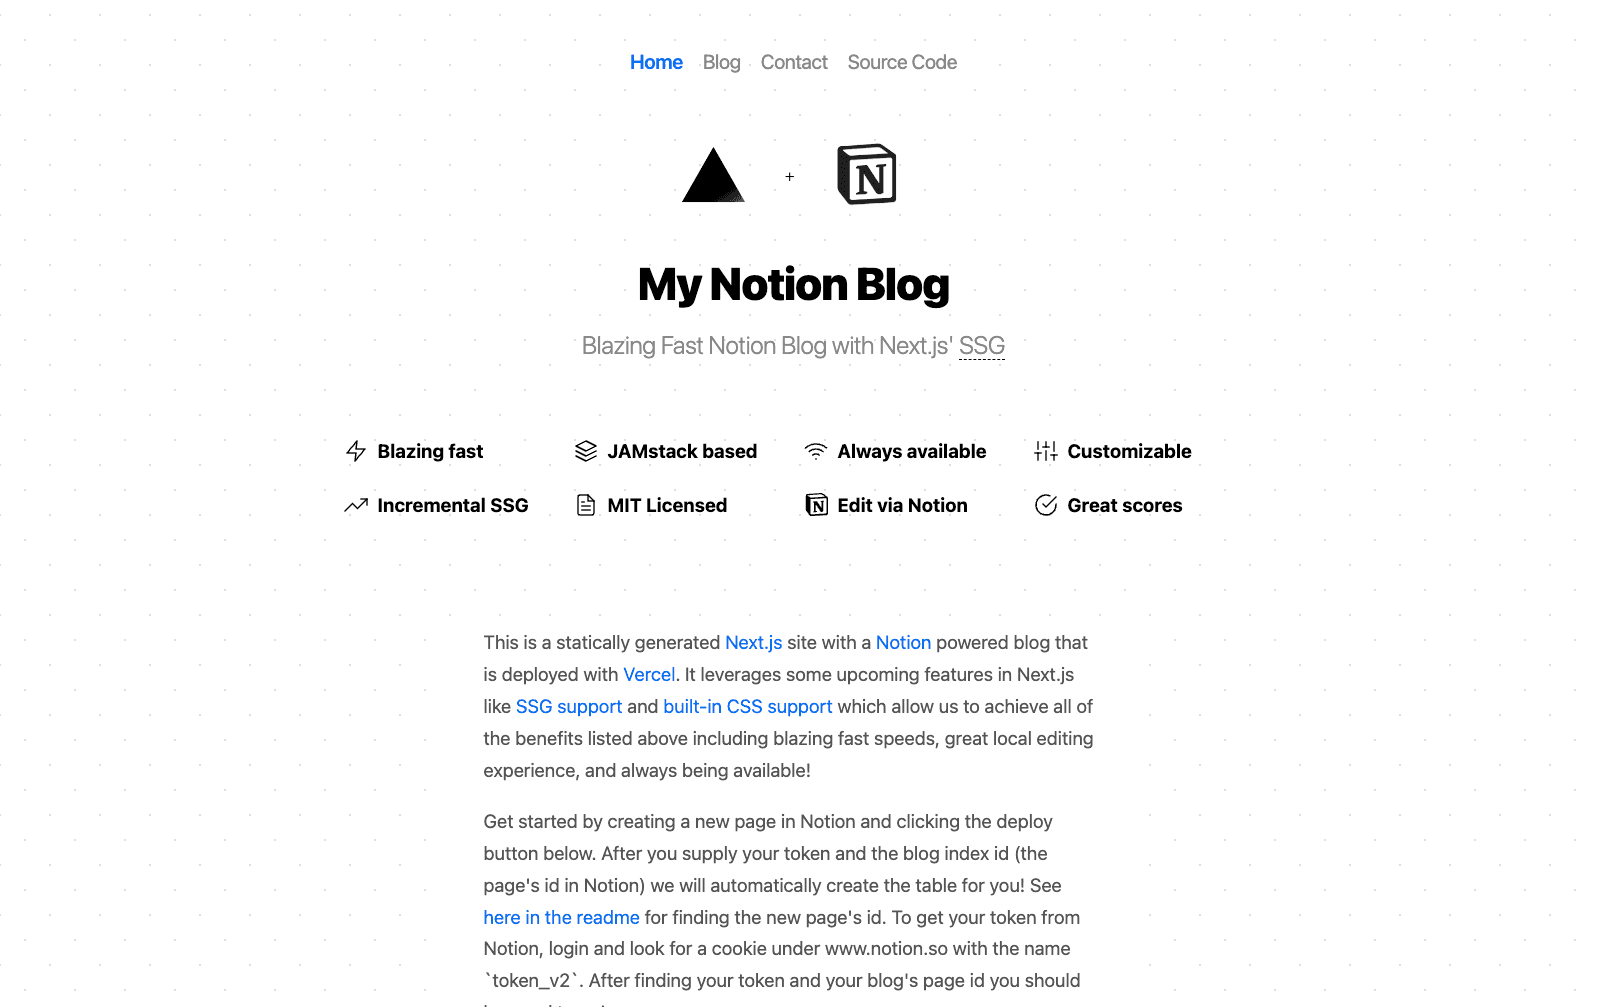
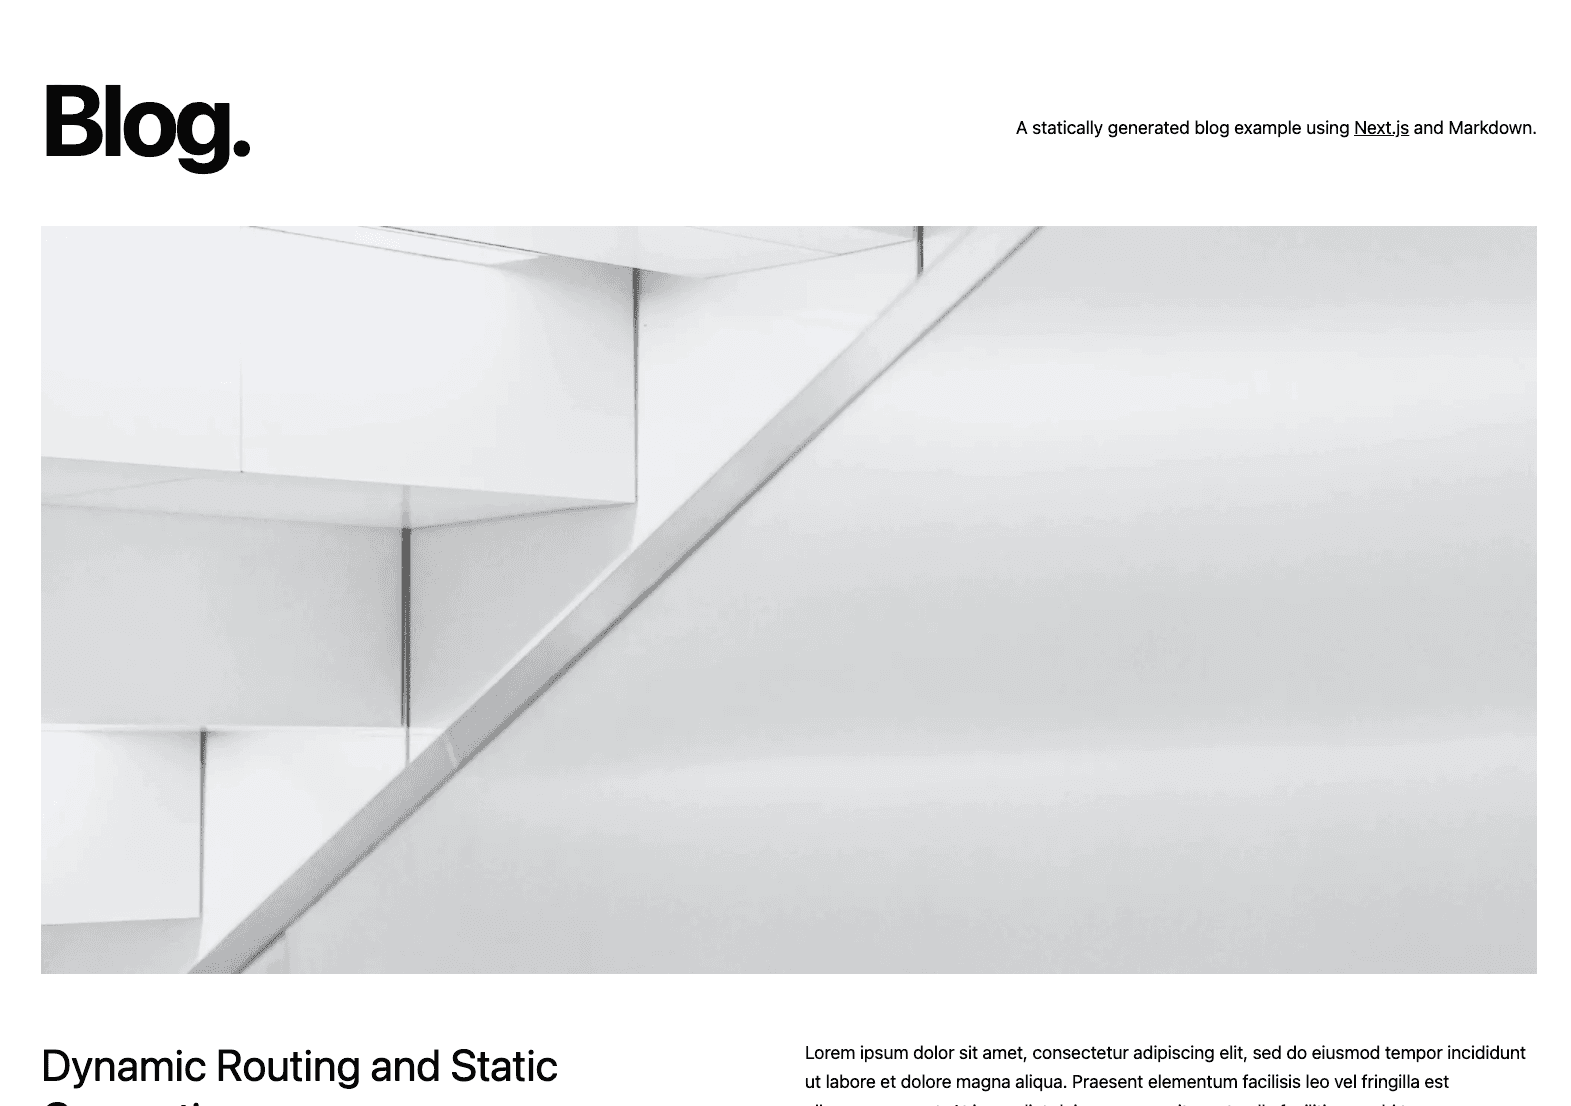
Fullstack Blog with Next.js + Prisma
Fullstack Blog with Next.js, Typescript and Prisma
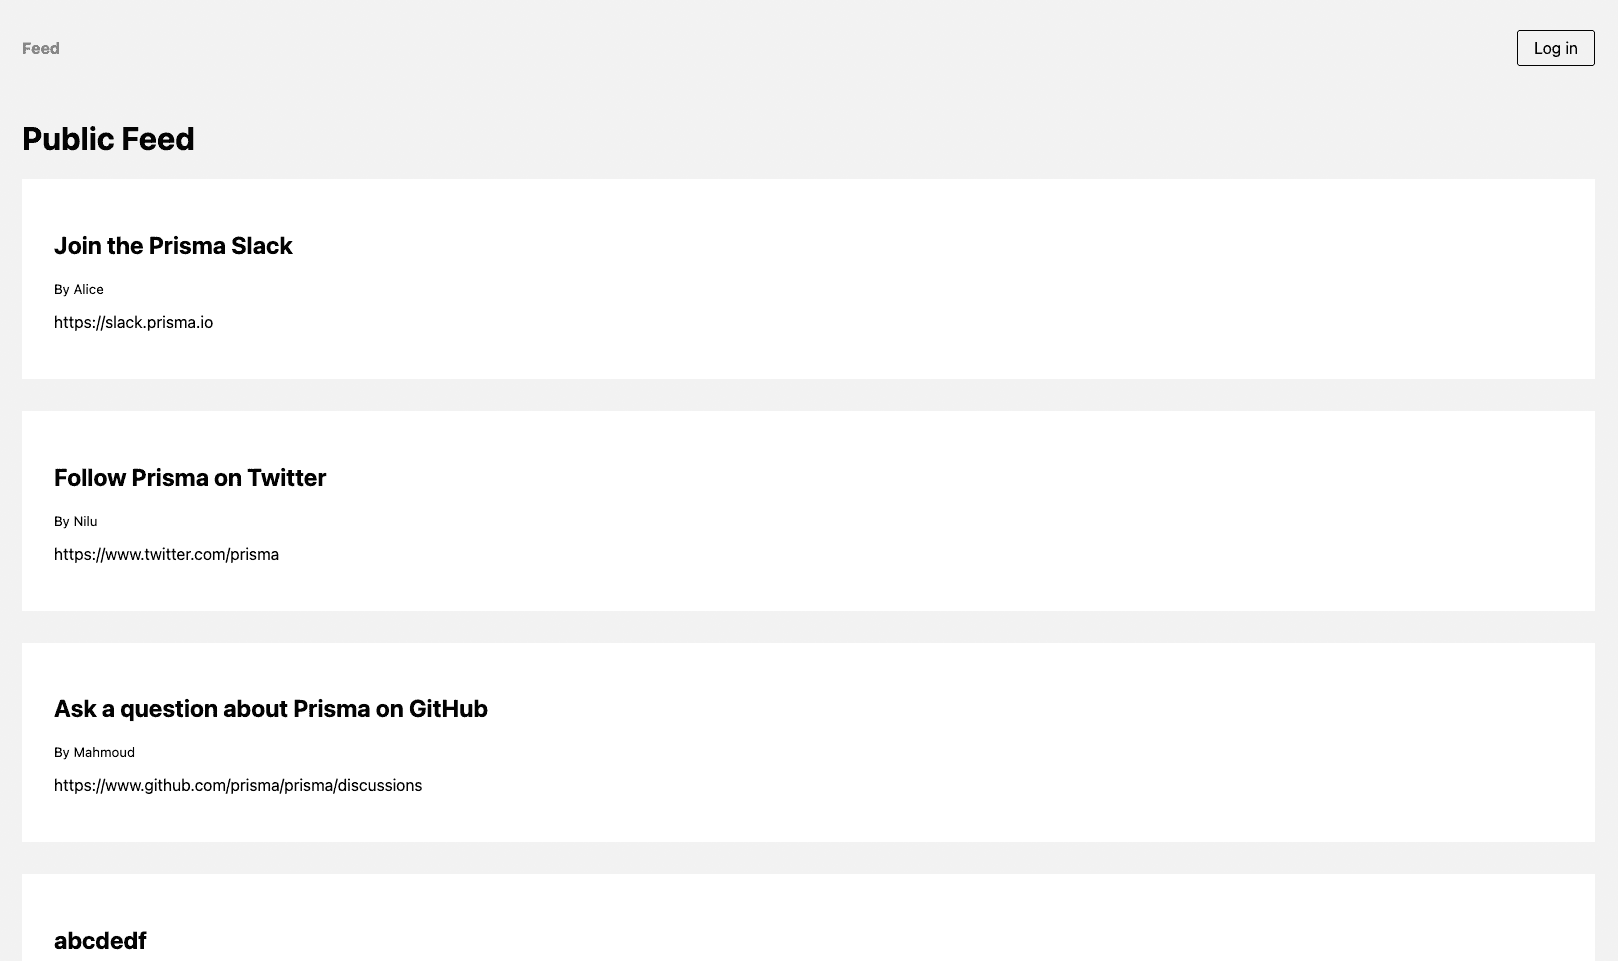
Fullstack Authentication Example with Next.js and NextAuth.js
With Railway Integration
Without the Railway integration
This is a starter that shows how to implement a fullstack app in TypeScript with Next.js with the following stack:
- React (frontend)
- Next.js API routes
- Prisma Client (backend).
- NextAuth.js for authentication.
- PostgreSQL as the database of choice.
Before you deploy the application to Vercel, ensure you
- (Optional) Sign in to Railway and create a PostgreSQL database
- Create a separate GitHub OAuth application before you deploy your application
- Update the Authorization callback URL with the URL of the deployed app after successfully deploying the app
Note that the app uses a mix of server-side rendering with getServerSideProps (SSR) and static site generation with getStaticProps (SSG). When possible, SSG is used to make database queries already at build-time (e.g. when fetching the public feed). Sometimes, the user requesting data needs to be authenticated, so SSR is being used to render data dynamically on the server-side (e.g. when viewing a user's drafts).
Getting started
1. Download and install dependencies
Clone this repository:
Install npm dependencies:
2. Create and seed the database
If you're using Docker on your computer, the following script to set up PostgreSQL database using the docker-compose.yml file at the root of your project:
Run the following command to create your PostgreSQL database. This also creates the User, Post, Account, Session and VerificationToken tables that are defined in prisma/schema.prisma:
When npx prisma migrate dev is executed against a newly created database, seeding is also triggered. The seed file in prisma/seed.ts will be executed and your database will be populated with the sample data.
3. Configuring your authentication provider
In order to get this example to work, you need to configure the GitHub authentication provider from NextAuth.js.
Configuring the GitHub authentication provider
First, log into your GitHub account.
Then, navigate to Settings, then open to Developer Settings, then switch to OAuth Apps.
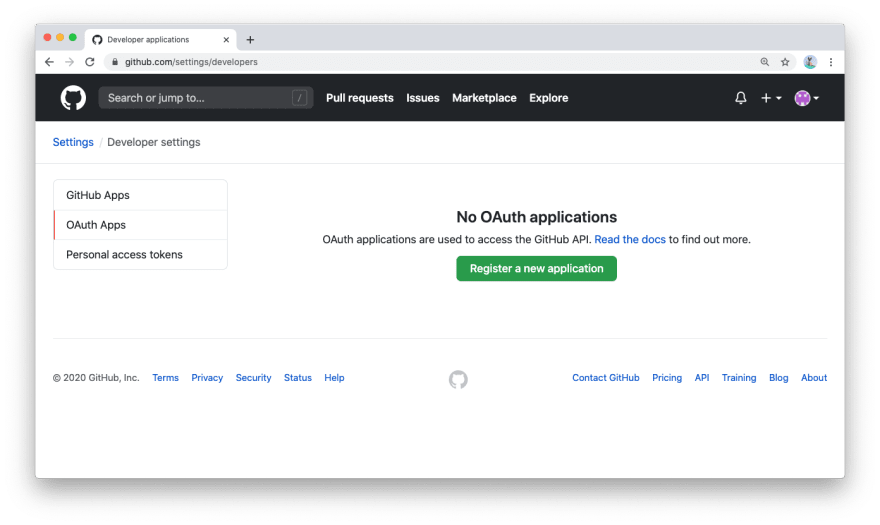
Clicking on the Register a new application button will redirect you to a registration form to fill out some information for your app. The Authorization callback URL should be the Next.js /api/auth route.
An important thing to note here is that the Authorization callback URL field only supports a single URL, unlike e.g. Auth0, which allows you to add additional callback URLs separated with a comma. This means if you want to deploy your app later with a production URL, you will need to set up a new GitHub OAuth app.

Click on the Register application button, and then you will be able to find your newly generated Client ID and Client Secret. Copy and paste this info into the .env file in the root directory.
The resulting section in the .env file might look like this:
4. Start the app
The app is now running, navigate to http://localhost:3000/ in your browser to explore its UI.
Evolving the app
Evolving the application typically requires three steps:
- Migrate your database using Prisma Migrate
- Update your server-side application code
- Build new UI features in React
For the following example scenario, assume you want to add a "profile" feature to the app where users can create a profile and write a short bio about themselves.
1. Migrate your database using Prisma Migrate
The first step is to add a new table, e.g. called Profile, to the database. You can do this by adding a new model to your Prisma schema file file and then running a migration afterwards:
Once you've updated your data model, you can execute the changes against your database with the following command:
2. Update your application code
You can now use your PrismaClient instance to perform operations against the new Profile table. Here are some examples:
Create a new profile for an existing user
Create a new user with a new profile
Update the profile of an existing user
3. Build new UI features in React
Once you have added a new endpoint to the API (e.g. /api/profile with /POST, /PUT and GET operations), you can start building a new UI component in React. It could e.g. be called profile.tsx and would be located in the pages directory.
In the application code, you can access the new endpoint via fetch operations and populate the UI with the data you receive from the API calls.
Switch to another database (e.g. PostgreSQL, MySQL, SQL Server, MongoDB)
If you want to try this example with another database than SQLite, you can adjust the the database connection in prisma/schema.prisma by reconfiguring the datasource block.
Learn more about the different connection configurations in the docs.
PostgreSQL
For PostgreSQL, the connection URL has the following structure:
Here is an example connection string with a local PostgreSQL database:
MySQL
For MySQL, the connection URL has the following structure:
Here is an example connection string with a local MySQL database:
Microsoft SQL Server
Here is an example connection string with a local Microsoft SQL Server database:
MongoDB
Here is an example connection string with a local MongoDB database:
Because MongoDB is currently in Preview, you need to specify the previewFeatures on your generator block:
Next steps
- Check out the Prisma docs
- Share your feedback in the Prisma Discord
- Create issues and ask questions on GitHub
- Watch our biweekly "What's new in Prisma" livestreams on Youtube

Fullstack Blog with Next.js + Prisma
Fullstack Blog with Next.js, Typescript and Prisma
Fullstack Authentication Example with Next.js and NextAuth.js
With Railway Integration
Without the Railway integration
This is a starter that shows how to implement a fullstack app in TypeScript with Next.js with the following stack:
- React (frontend)
- Next.js API routes
- Prisma Client (backend).
- NextAuth.js for authentication.
- PostgreSQL as the database of choice.
Before you deploy the application to Vercel, ensure you
- (Optional) Sign in to Railway and create a PostgreSQL database
- Create a separate GitHub OAuth application before you deploy your application
- Update the Authorization callback URL with the URL of the deployed app after successfully deploying the app
Note that the app uses a mix of server-side rendering with getServerSideProps (SSR) and static site generation with getStaticProps (SSG). When possible, SSG is used to make database queries already at build-time (e.g. when fetching the public feed). Sometimes, the user requesting data needs to be authenticated, so SSR is being used to render data dynamically on the server-side (e.g. when viewing a user's drafts).
Getting started
1. Download and install dependencies
Clone this repository:
Install npm dependencies:
2. Create and seed the database
If you're using Docker on your computer, the following script to set up PostgreSQL database using the docker-compose.yml file at the root of your project:
Run the following command to create your PostgreSQL database. This also creates the User, Post, Account, Session and VerificationToken tables that are defined in prisma/schema.prisma:
When npx prisma migrate dev is executed against a newly created database, seeding is also triggered. The seed file in prisma/seed.ts will be executed and your database will be populated with the sample data.
3. Configuring your authentication provider
In order to get this example to work, you need to configure the GitHub authentication provider from NextAuth.js.
Configuring the GitHub authentication provider
First, log into your GitHub account.
Then, navigate to Settings, then open to Developer Settings, then switch to OAuth Apps.

Clicking on the Register a new application button will redirect you to a registration form to fill out some information for your app. The Authorization callback URL should be the Next.js /api/auth route.
An important thing to note here is that the Authorization callback URL field only supports a single URL, unlike e.g. Auth0, which allows you to add additional callback URLs separated with a comma. This means if you want to deploy your app later with a production URL, you will need to set up a new GitHub OAuth app.

Click on the Register application button, and then you will be able to find your newly generated Client ID and Client Secret. Copy and paste this info into the .env file in the root directory.
The resulting section in the .env file might look like this:
4. Start the app
The app is now running, navigate to http://localhost:3000/ in your browser to explore its UI.
Evolving the app
Evolving the application typically requires three steps:
- Migrate your database using Prisma Migrate
- Update your server-side application code
- Build new UI features in React
For the following example scenario, assume you want to add a "profile" feature to the app where users can create a profile and write a short bio about themselves.
1. Migrate your database using Prisma Migrate
The first step is to add a new table, e.g. called Profile, to the database. You can do this by adding a new model to your Prisma schema file file and then running a migration afterwards:
Once you've updated your data model, you can execute the changes against your database with the following command:
2. Update your application code
You can now use your PrismaClient instance to perform operations against the new Profile table. Here are some examples:
Create a new profile for an existing user
Create a new user with a new profile
Update the profile of an existing user
3. Build new UI features in React
Once you have added a new endpoint to the API (e.g. /api/profile with /POST, /PUT and GET operations), you can start building a new UI component in React. It could e.g. be called profile.tsx and would be located in the pages directory.
In the application code, you can access the new endpoint via fetch operations and populate the UI with the data you receive from the API calls.
Switch to another database (e.g. PostgreSQL, MySQL, SQL Server, MongoDB)
If you want to try this example with another database than SQLite, you can adjust the the database connection in prisma/schema.prisma by reconfiguring the datasource block.
Learn more about the different connection configurations in the docs.
PostgreSQL
For PostgreSQL, the connection URL has the following structure:
Here is an example connection string with a local PostgreSQL database:
MySQL
For MySQL, the connection URL has the following structure:
Here is an example connection string with a local MySQL database:
Microsoft SQL Server
Here is an example connection string with a local Microsoft SQL Server database:
MongoDB
Here is an example connection string with a local MongoDB database:
Because MongoDB is currently in Preview, you need to specify the previewFeatures on your generator block:
Next steps
- Check out the Prisma docs
- Share your feedback in the Prisma Discord
- Create issues and ask questions on GitHub
- Watch our biweekly "What's new in Prisma" livestreams on Youtube
